I decided I would update my Dell PowerEdge 1950 server to the latest BIOS version and also if possible update the firmware for the RAID card, disks, network adapters and so on.
I thought this would be pretty straightforward, oh how I was wrong! I never knew it would be so hard to actually figure out which tool to download and how to use it!
I'm writing this because I may forget what I did and I assume others will also find it useful..
After spending way too much time figuring out all the different ways, the best way I found is to use Dell Repository Manager..
I'd never heard of Dell Repository Manager before and to be honest it did not sound like what I was looking for. However it's perfect (well not quite but it does the job)!
Because my server is an VMware ESXi server I cannot install Windows or Linux firmware updates from it. So I wanted a CD/DVD that I could boot from with all the BIOS and firmware updates on it.
Dell Repository Manager is a Windows based piece of software (which I installed on my Windows 8 desktop).
Once installed there is a datacenter version for rack, tower and blade servers and a client version for desktops and laptops.
So this can be used to update everything from a Dell PE 1950 rack server, to a M620 blade or even a Dell Vostro laptop!
It then can produce a bootable ISO you can burn to CD or DVD and boot your server from and it even runs through all the BIOS and other firmware updates for you one-by-one automatically, while you have a cup of coffee!
First things first..
1. Download and Install "Dell Repository Manager" on a Windows desktop or server (at least vista/2008 for ISO creation to work)
http://www.dell.com/support/drivers/us/en/555/DriverDetails?driverId=X7Y5V
Note: At time of writing the latest I used was 1.5 A00 (released 12/12/2012)
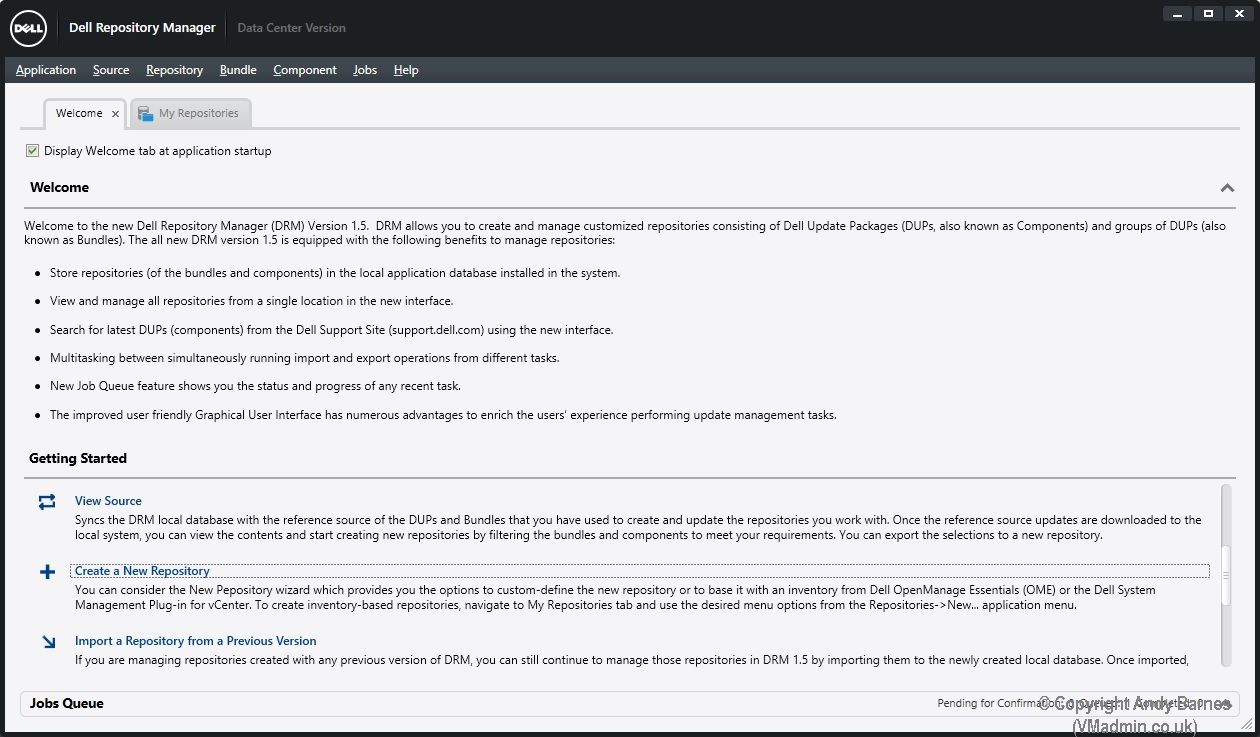
2. Now start the Dell Respoitory Manager Data Center Version
3. Click Create a New Repository
4. Give your repository a name.
As I'm only wanting Dell PE 1950 updates I'll call it 1950!

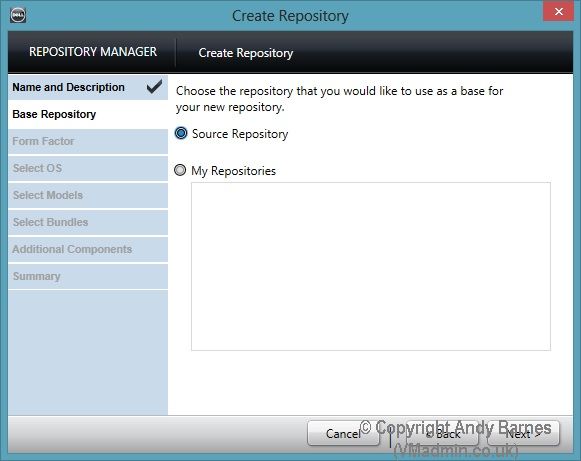
5. Leave the source repository selected and click Next.
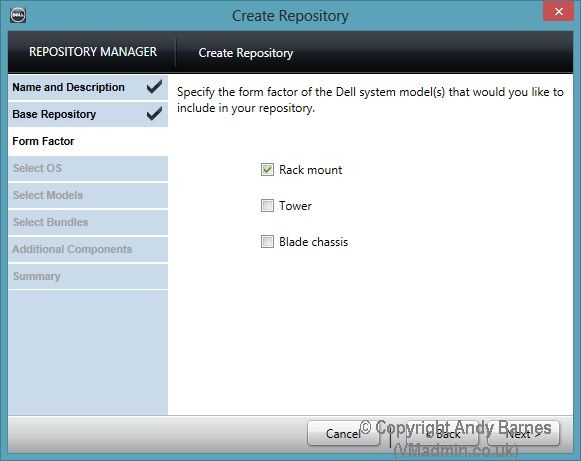
6. Select the form factor your server model belongs to.
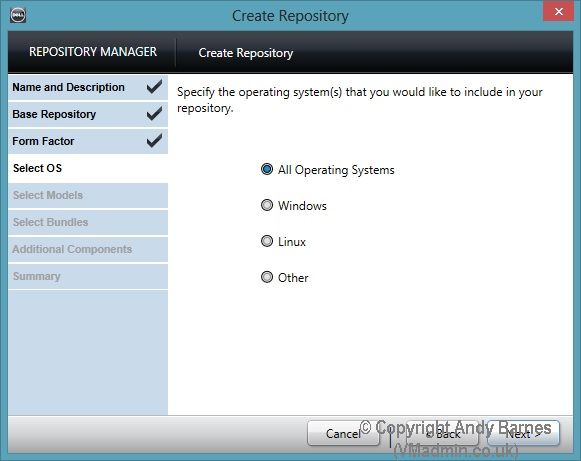
7. Select the OS. Choose all operatings systems.
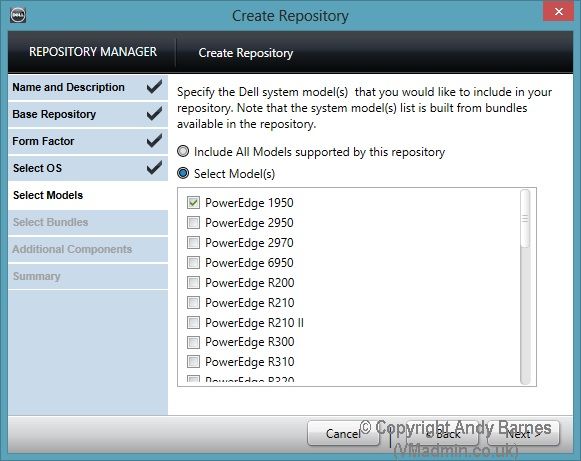
8. Select the models you want to include on the CD/DVD.
Note: The more models you select will ultimatley result in a larger CD/DVD image
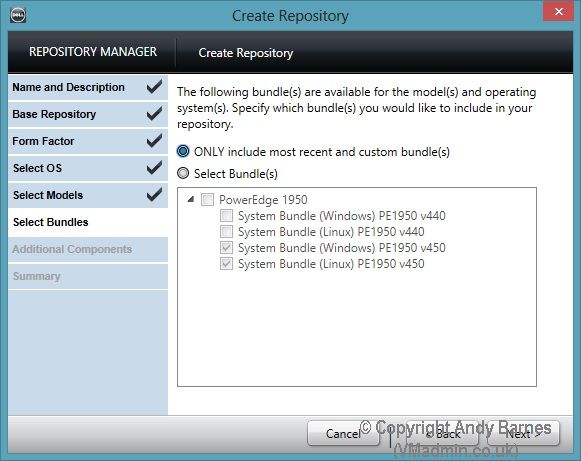
9. Select ONLY include the most recent and custom bundles. Click Next.
10. We are not going to select any additional files. Click Next.

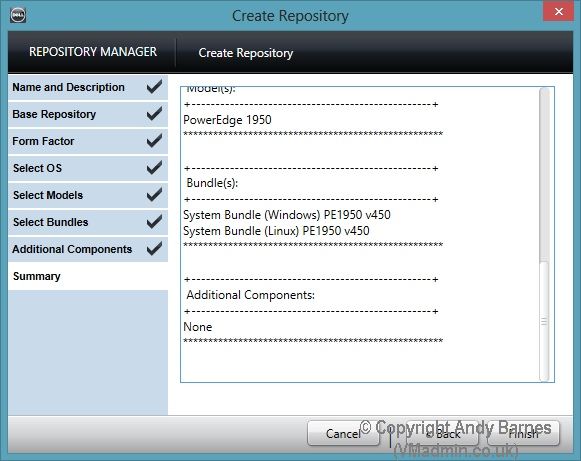
11. Review your repo settings and click Finish.
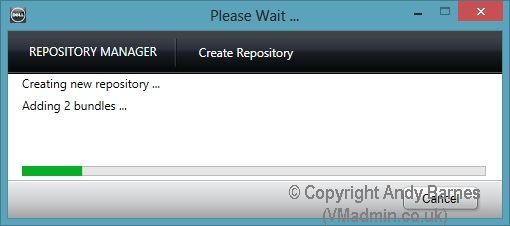
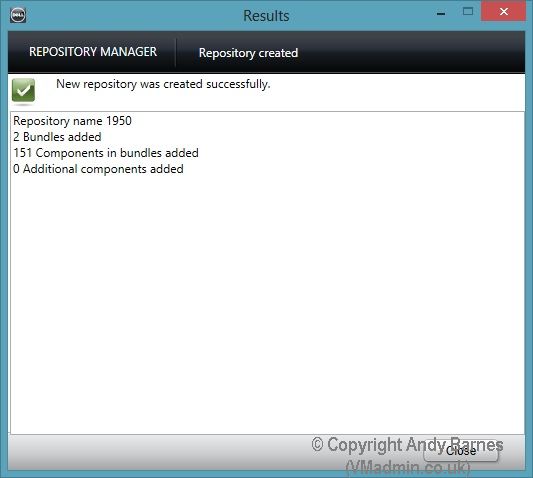
12. Your repository will be created..
13. Notice the number of components, this is the firmware updates!
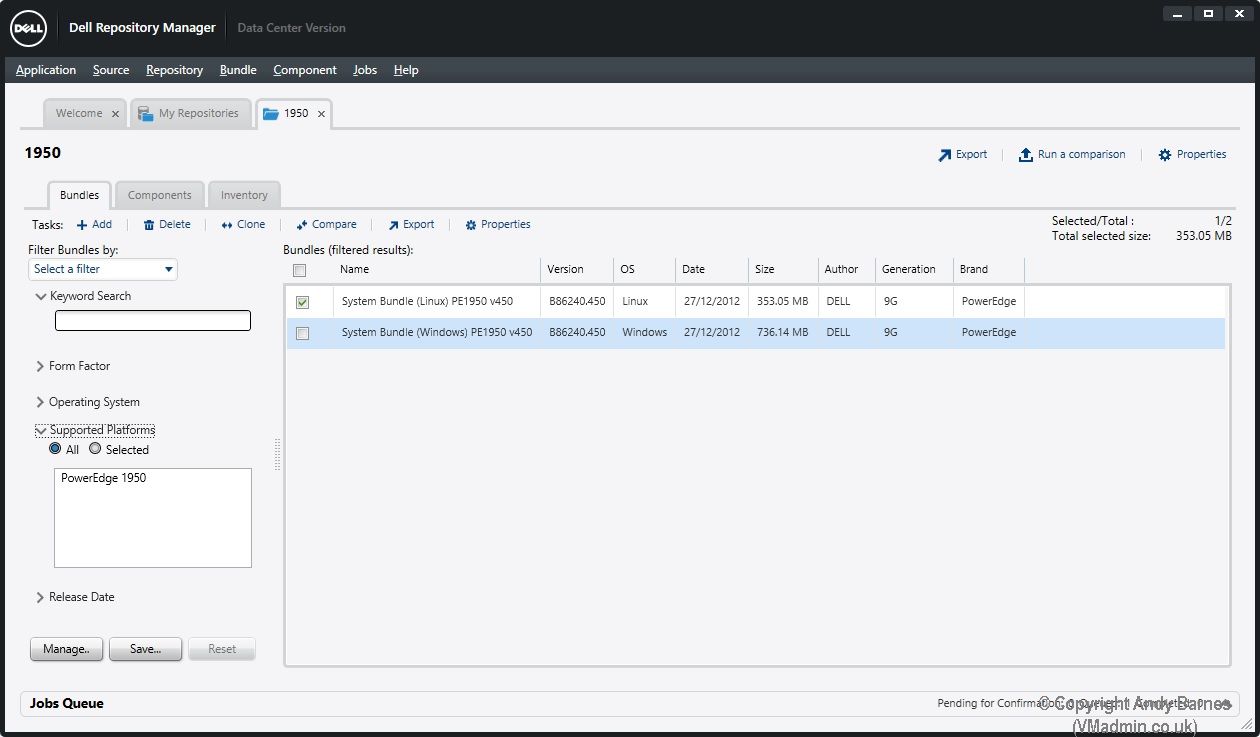
14. Click on your repository and it will open in it's own tab.
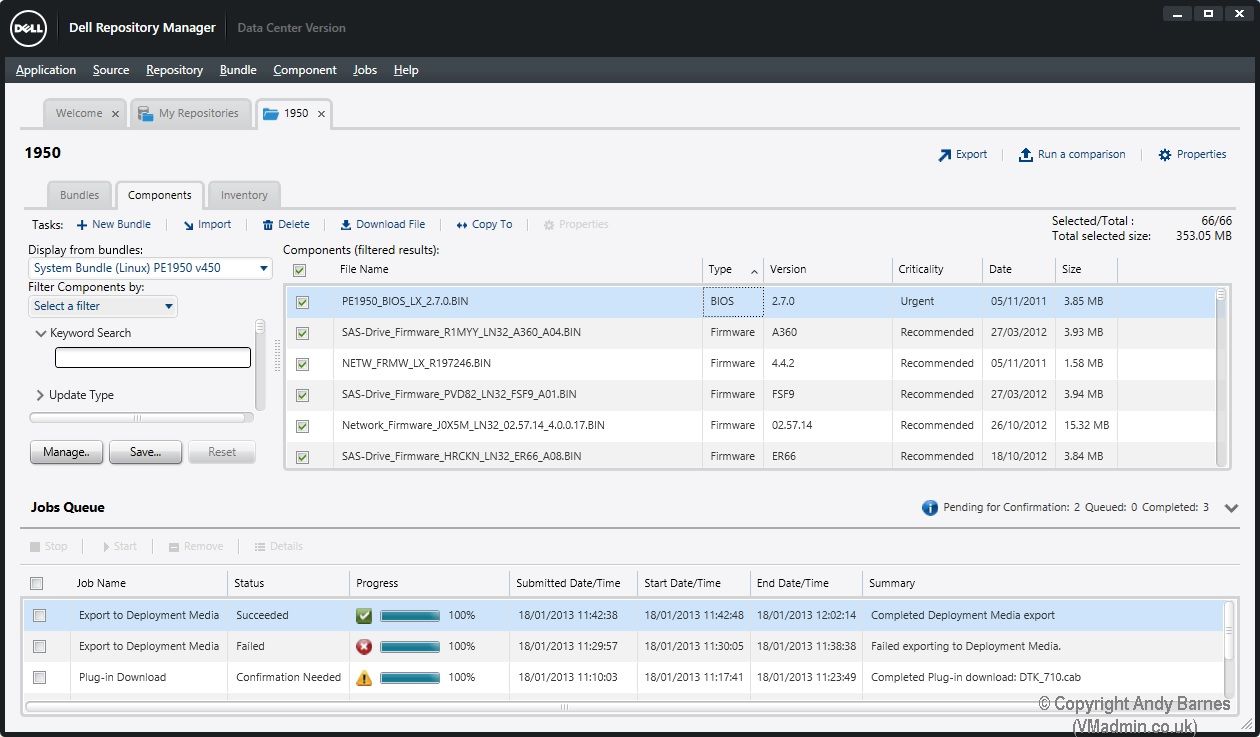
15. Select the Linux System Bundle for your server model.
Note: Don't worry yes we are updating an ESXi server (not Linux), by selecting Linux we will create a bootable (linux based) ISO!
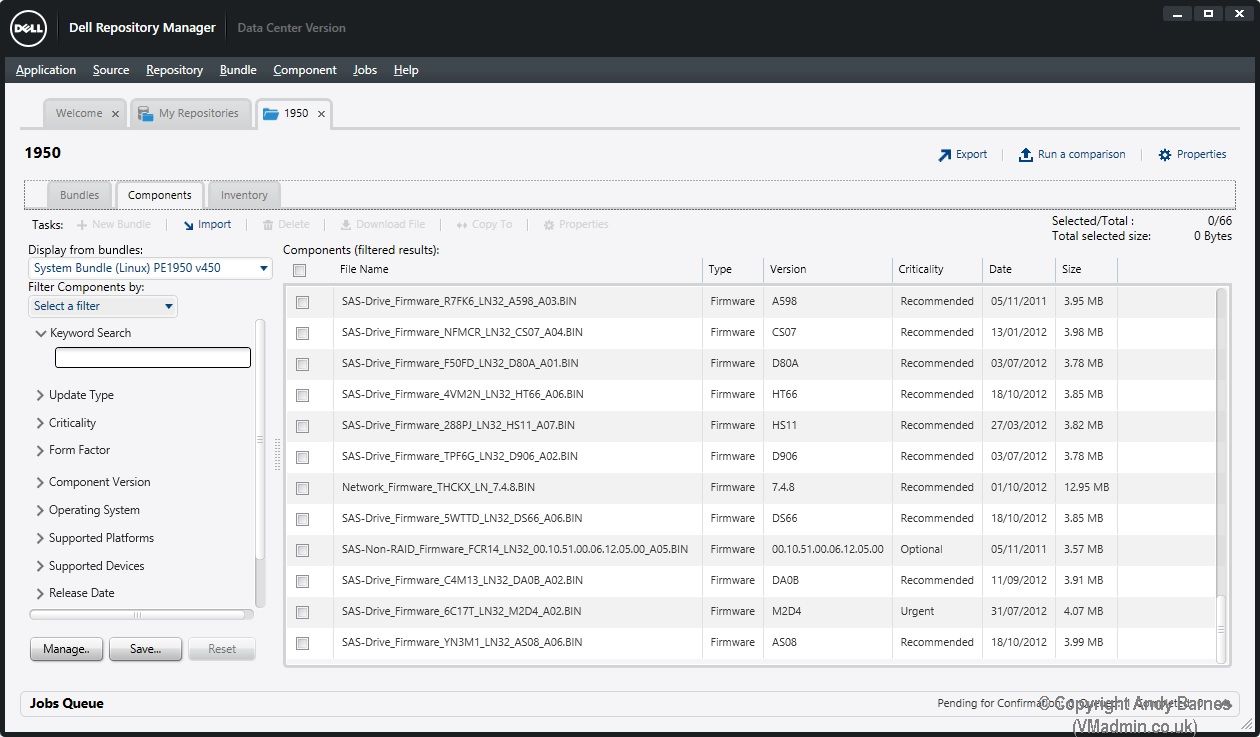
16. If you click on the Components tab you will then see all the individual updates such as the RAID and SAS drive firmware shown here, there should also be a BIOS update.
17. Select all the components (or the ones you want) I did them all!
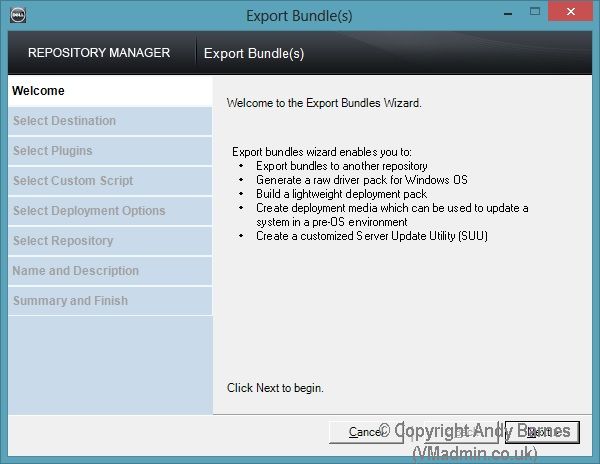
18. Go back to the "Bundles" tab and Click "Export".
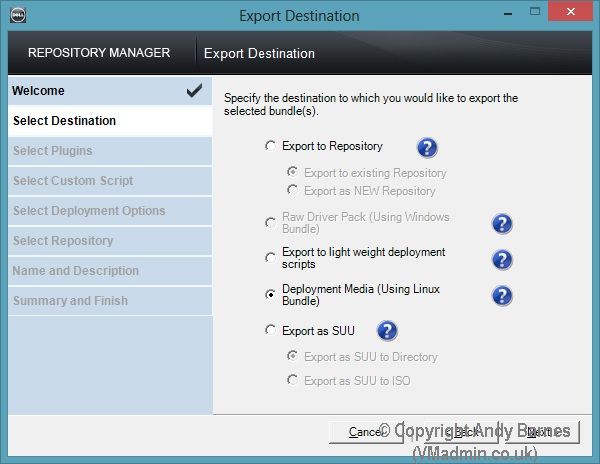
19. We are now going to export all the updates to an ISO. Click Next.
20. Select "Deployment Media (Using Linux Bundle)
Note: This is important to get our bootable ISO.
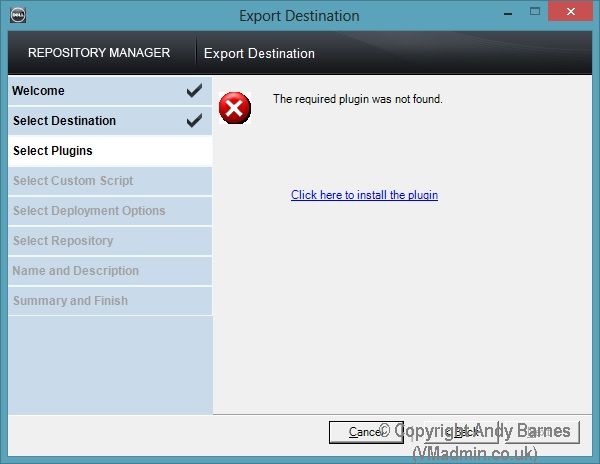
21. You will then get an error message "The required plugin was not found". Click in to install the plugin and wait for it to download and install. This took 2 attempts before it worked for me.
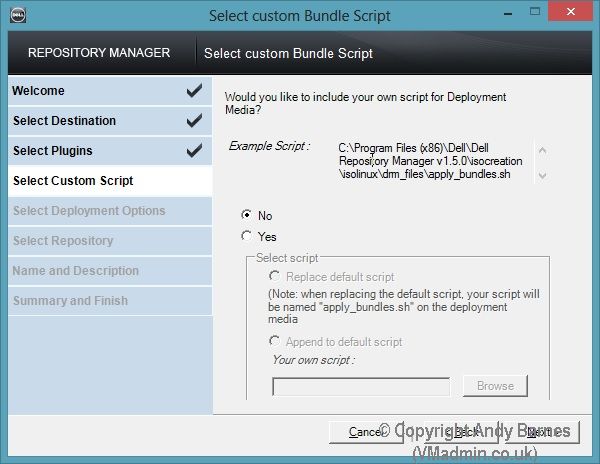
22. Select NO for your own script. It will run it's own script to automatically install all the firmware updates.
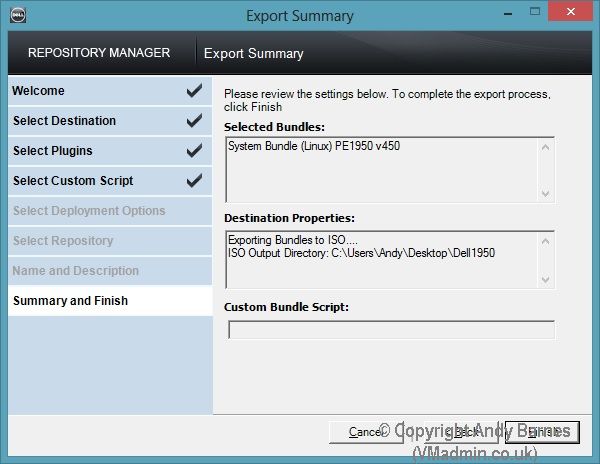
23. Review the summary and the location the ISO will be output to. Click Finish.
24. In the job queue you will notice a task to export deployment media.
Again this bit also took 2 attempts for me before it produced the ISO, not sure why I just put it down to a crap tool!
25. Et voilia! We now have a bootable ISO image. For this one server model it's small enough to fit on a CD too.
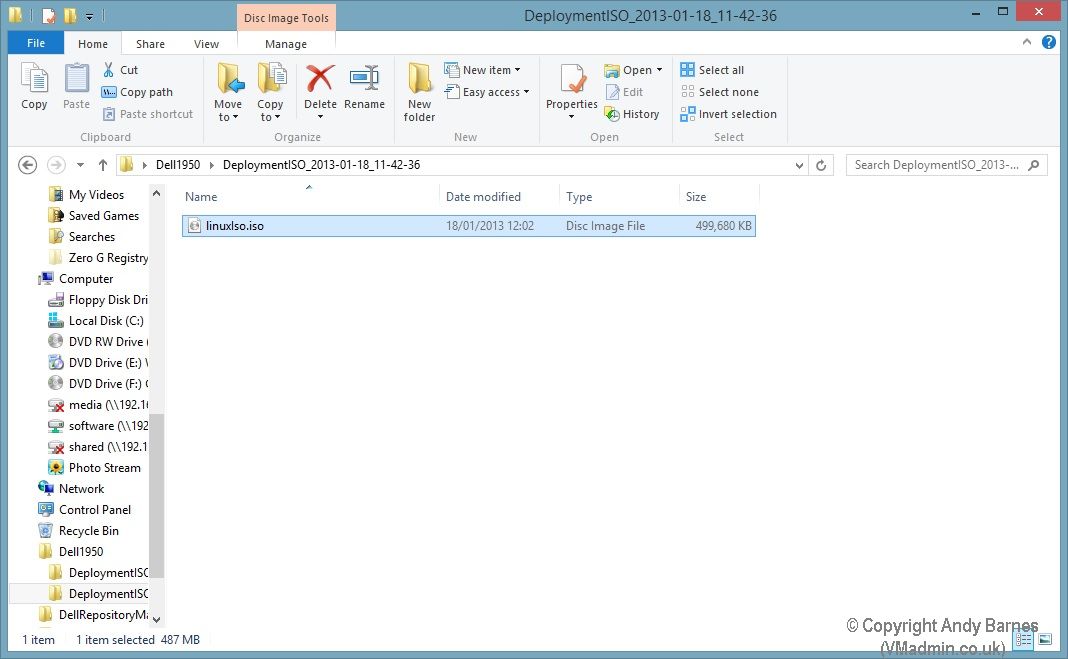
26. Burn with Windows 7/8 builtin ISO burner or your 3rd party tool to a CD/DVD.
27. As this is an ESXi server we are updating, put your host in maintenance mode, vMotion your VMs to other hosts in the cluster (if you have a cluster) or shutdown the VMs.
Then power off the server and boot from the CD.
28. When it boots from the CD you need to press "1" and it will then run through all the BIOS and firmware updates automatically for you.
I hope you found this useful and it saved you from losing the will to live! :-)
Share this blog post on social media:
Tweet


Latest Blog Posts
- vSphere 7 U1 - Part 3 - Creating a Datacenter, HA/DRS Cluster and Adding a Host
- vSphere 7 U1 - Part 2 - Deploying vCenter 7.0 U1 VCSA
- vSphere 7 U1 - Part 1 - Installing ESXi 7.0 U1
- Veeam CBT Data is Invalid - Reset CBT Without Powering Off VM
- View Administrator Blank Error Dialog/Window After Upgrade