Here we are right at the beginning of a multi part how to series I'm putting together on vSphere 5.1.
First things first we are going to install ESXi Server 5.1.0. This is the baremetal hypervisor that will run our VMs and may be one of several servers you wish to build into a cluster managed by vCenter server to provide HA, DRS and vMotion features for VMs.
The ESXi server installation is straightforward, at this initial stage all we need to do is get the hypervisor installed, give it an IP address and password before proceeding with the various steps for the vCenter Server install.
1. Check the server hardware you are installing ESXi 5.1 onto is supported and on the VMware HCL.
2. Login to the VMware license portal to check/upgrade/buy your vSphere licenses.
3. Read the ESXi Setup Guide to ensure you understand the pre-requisites.
4. Download the VMware ESXi 5 ISO file from the VMware download area.
5. Burn the ESXi 5.1 ISO to a CD.
6. Disconnect all Fibre Channel connections (if any) and boot the server from the CD.
7. Select "ESXi-5.1.0-799733-Standard-Installer"
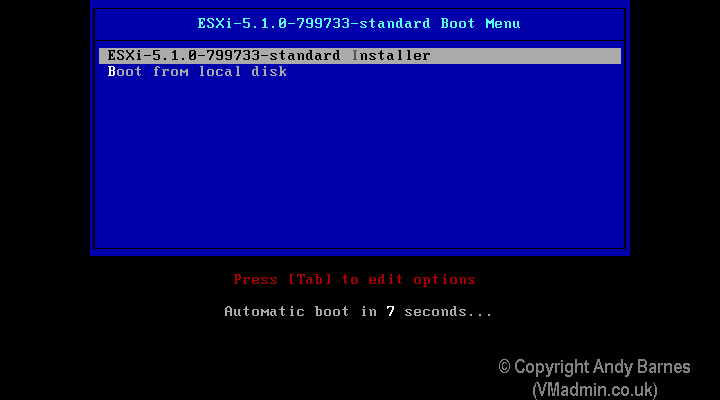
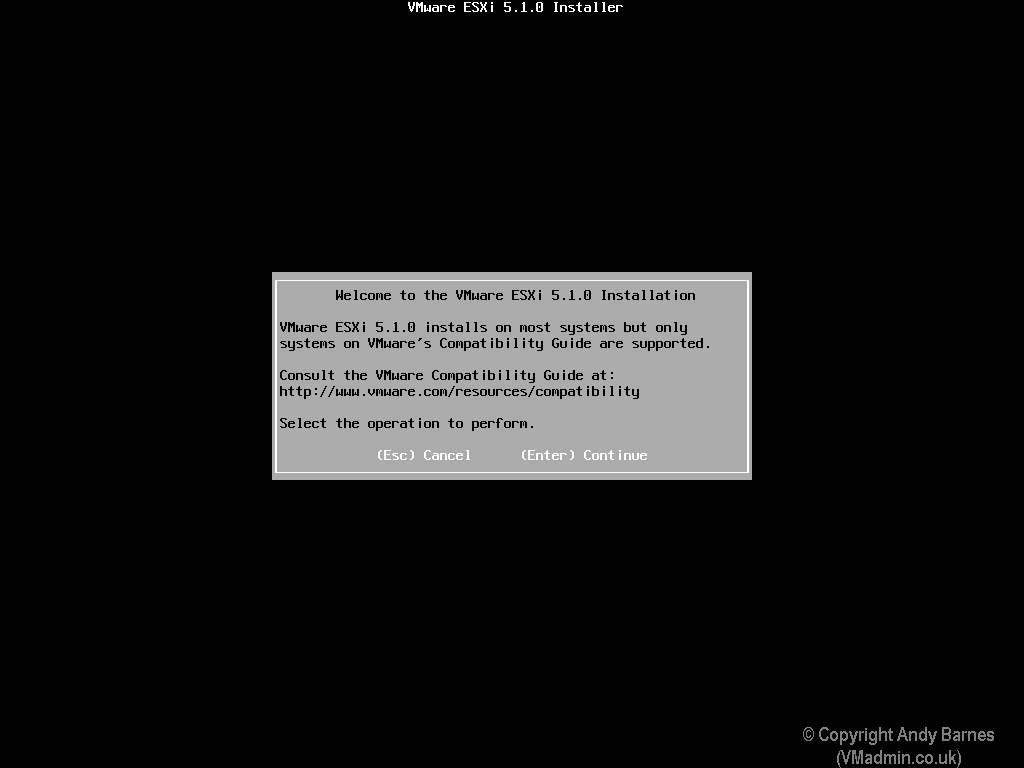
8. When ready to install press "Enter"
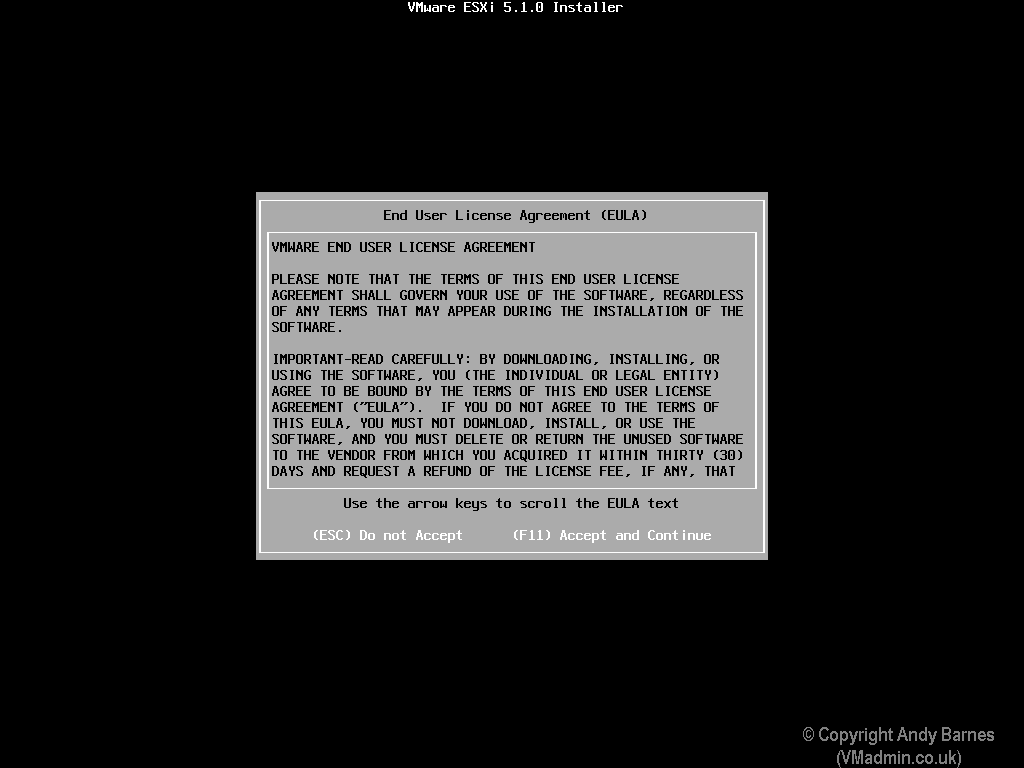
9. Read and accept the license agreement, press F11 to accept.
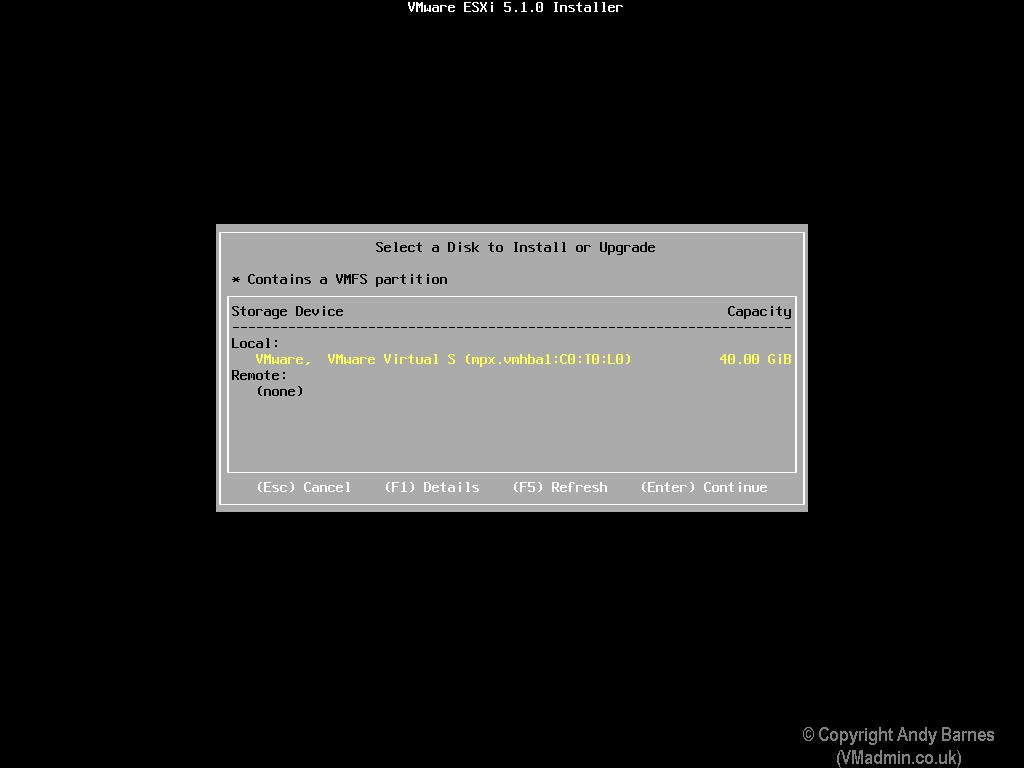
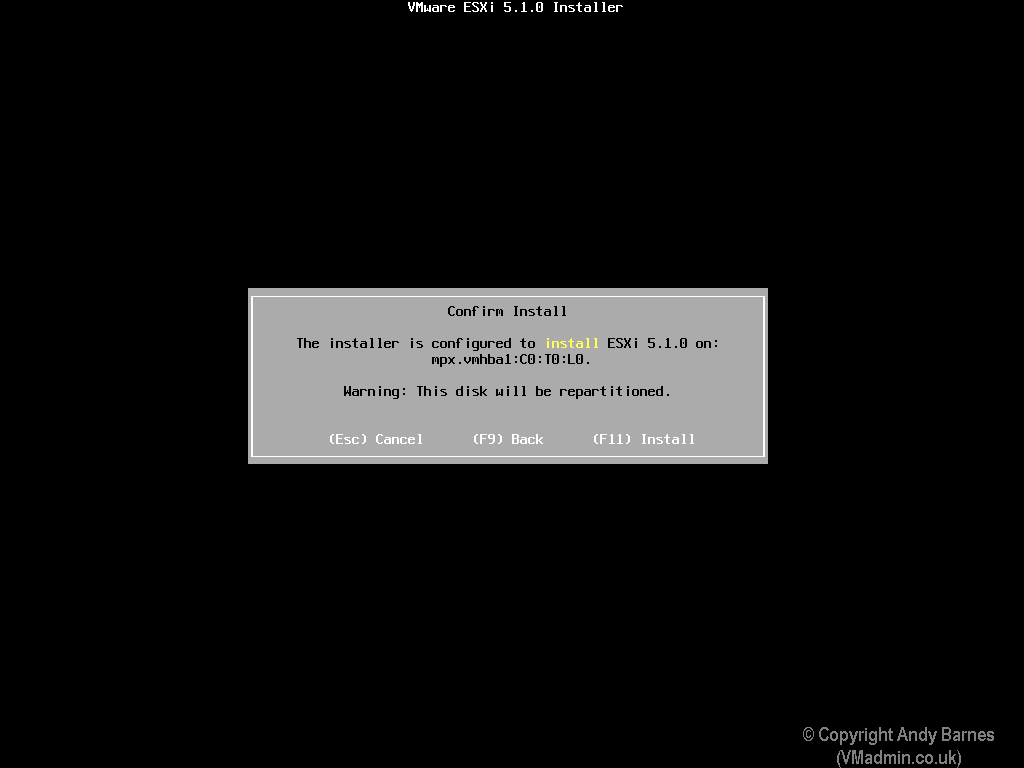
10. Select the correct storage device to install ESXi on and press "Enter"
NOTE: Ensure it is not a fibre channel (FC) VMFS datastore!
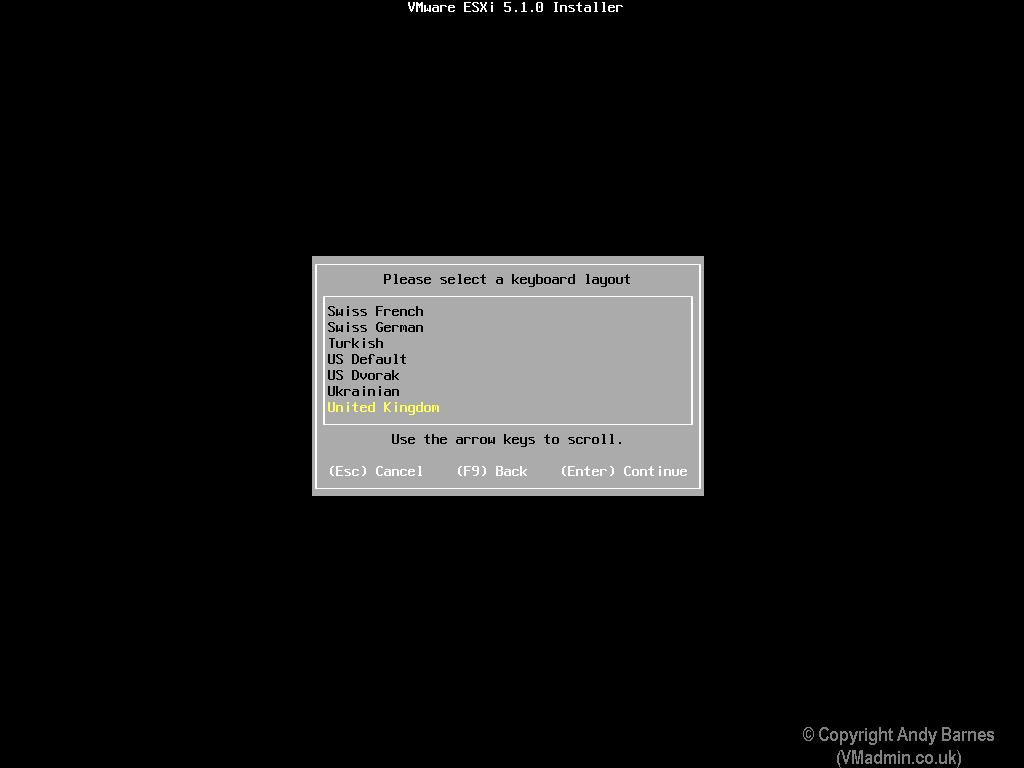
11. Select the keyboard layout and press Enter.
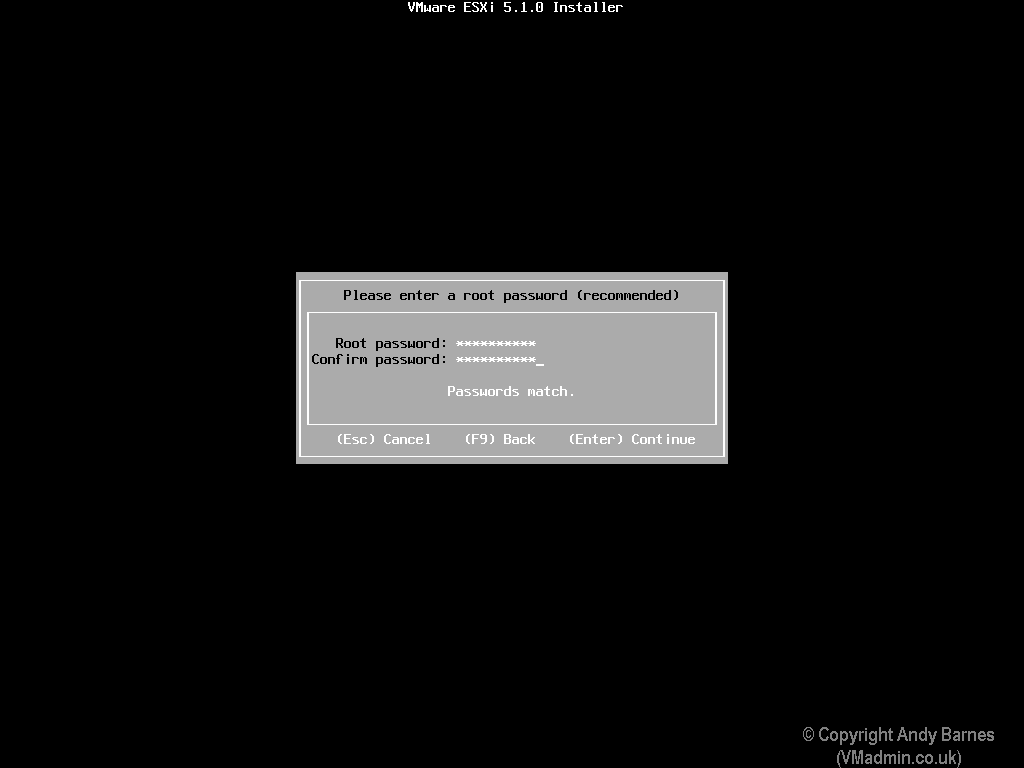
12. Enter a password for the "root" account. Press Enter.
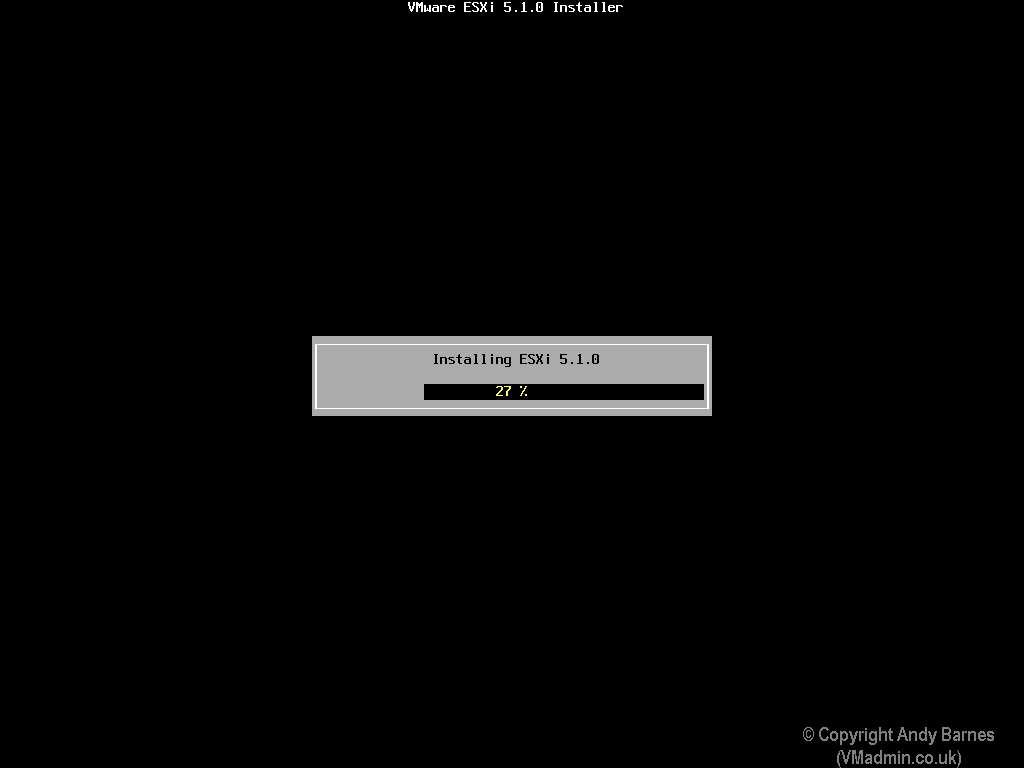
13. Press F11 to start installing ESXi.
Note: The install doesn't take too long, so it's up to you if you want to make a cup of tea!
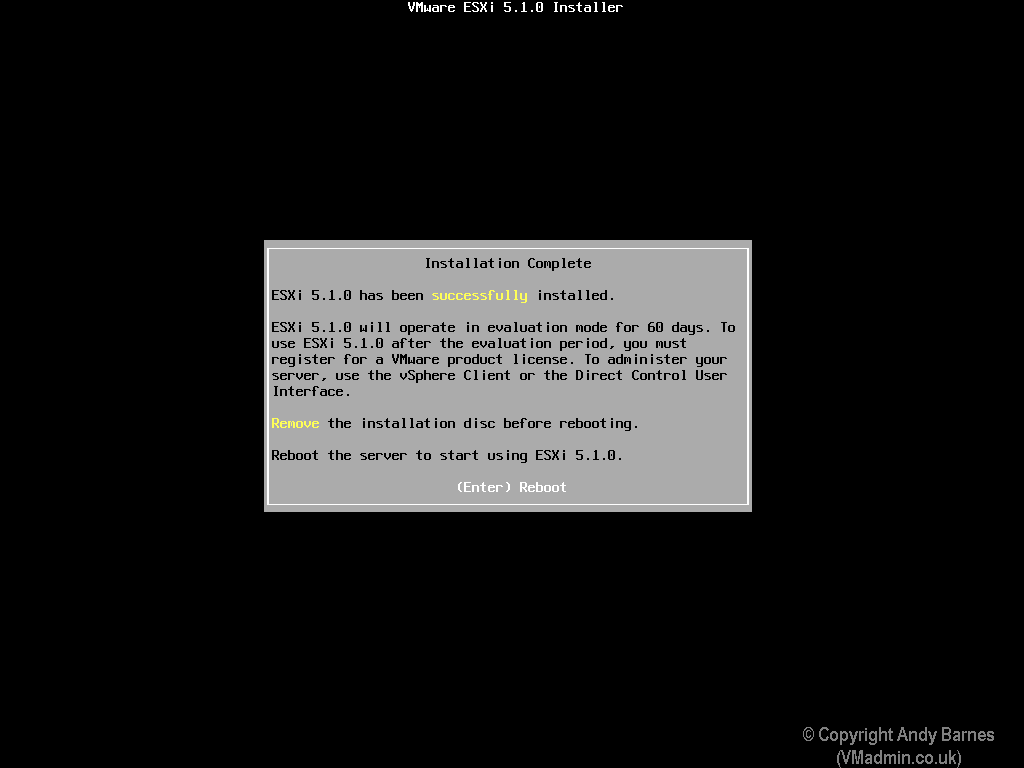
14. Once the installation is complete press Enter to reboot the ESXi server.
15. Once the ESXi server has booted it will receive a DHCP lease (if applicable) you can now manage this with the vSphere client or continue to set a static IP for management (recommended)
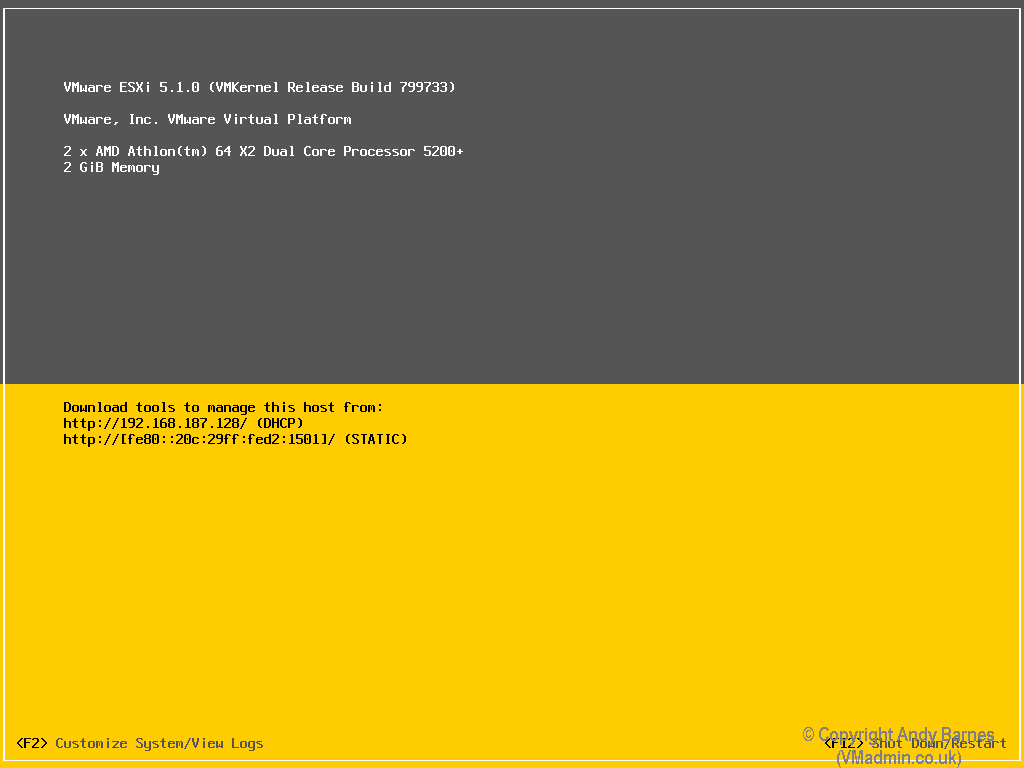
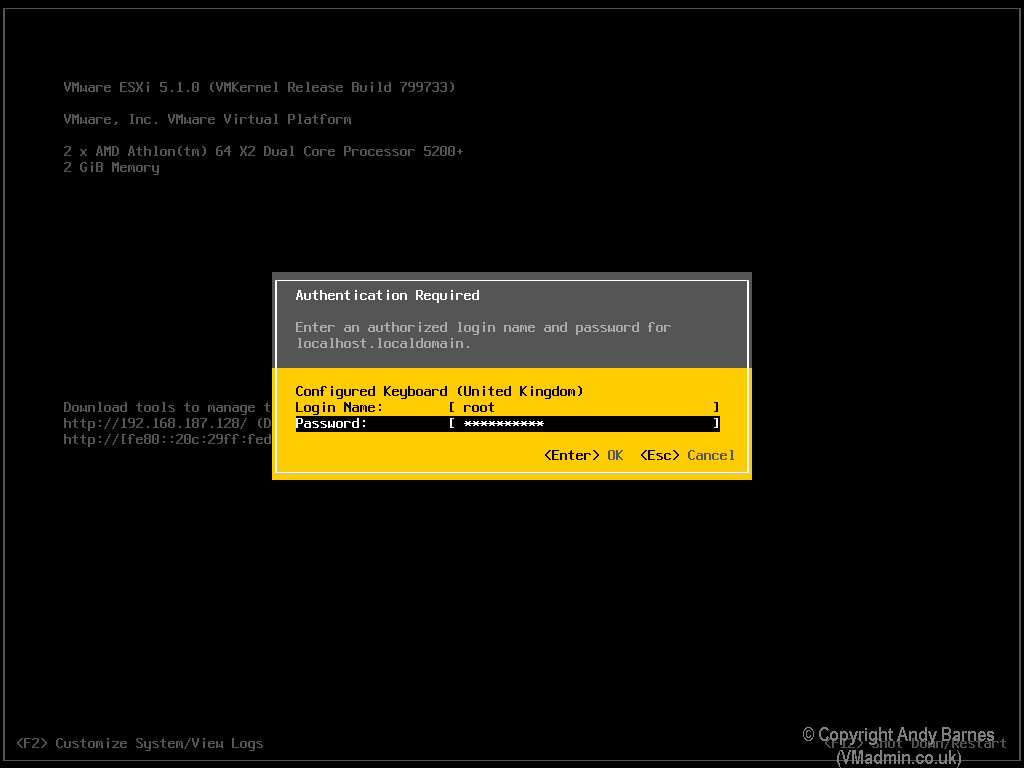
16. Hit F2 and enter your root username and password.
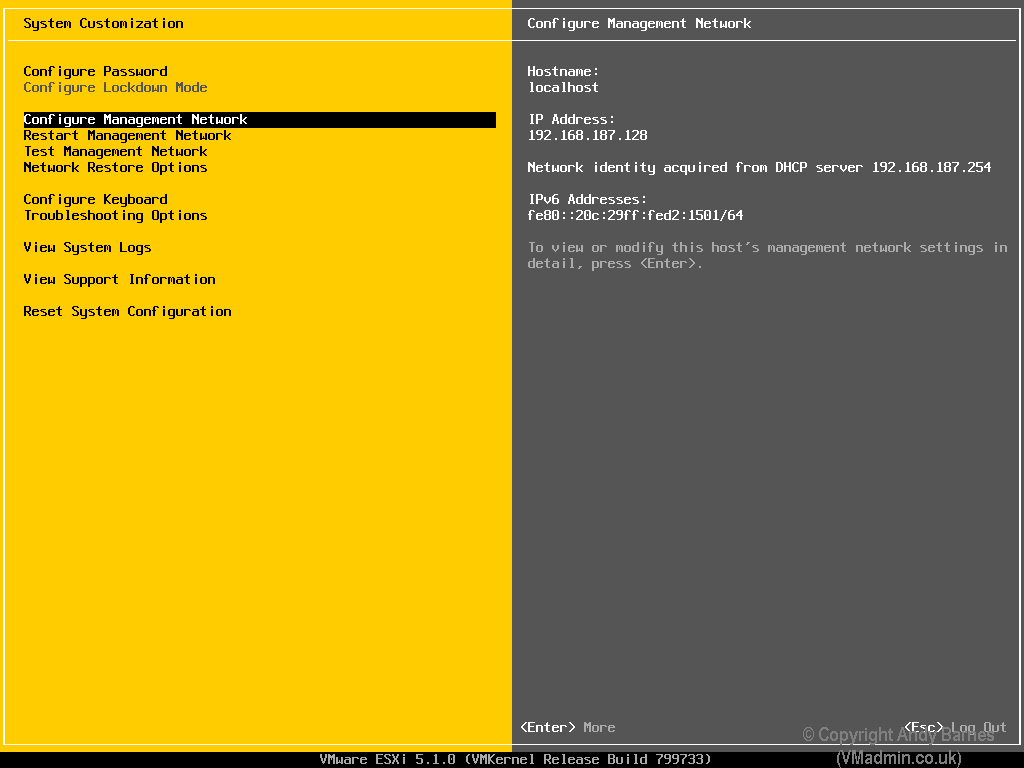
17. Select "Configure management network"
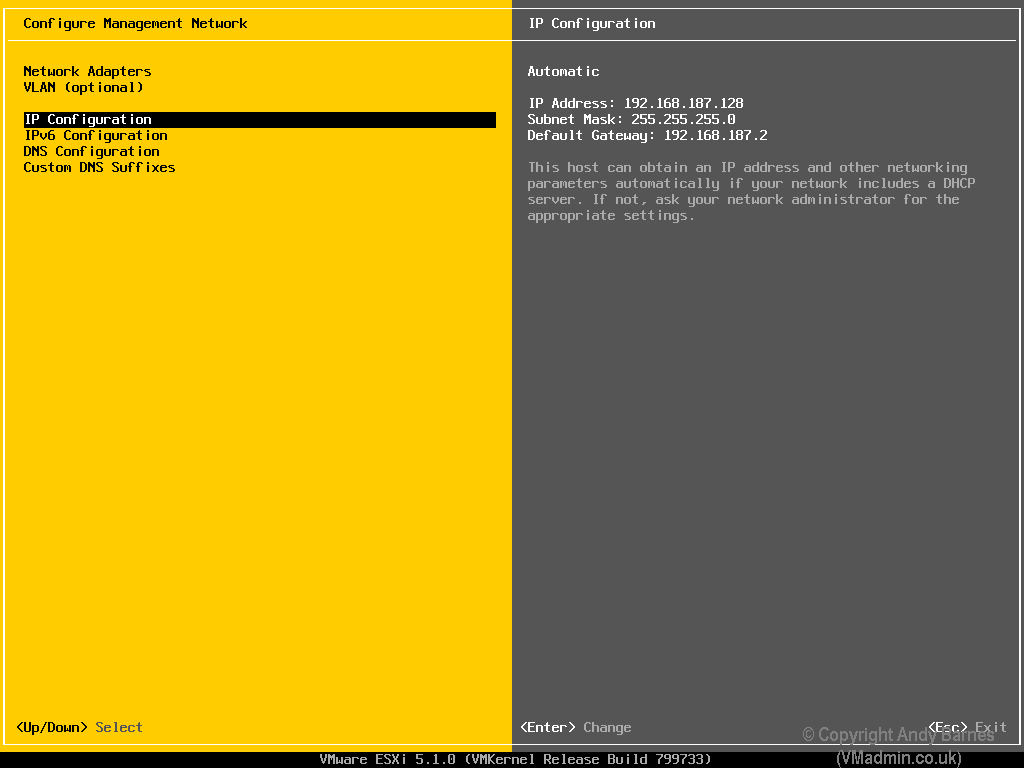
18. Select "IP Configuration"
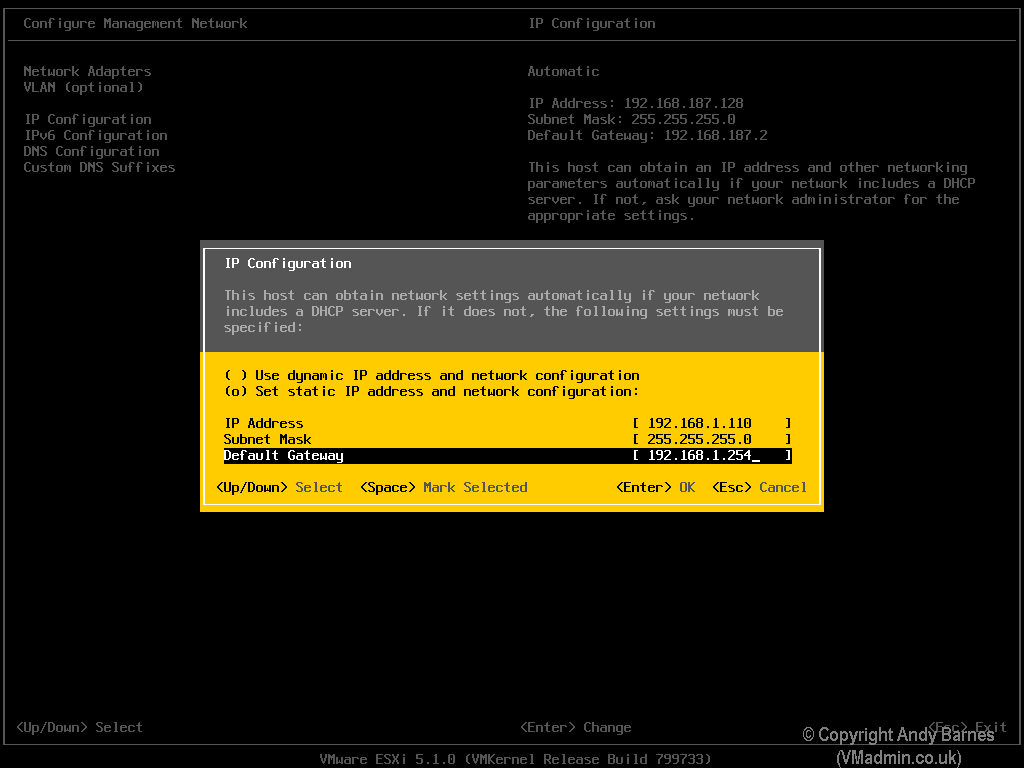
19. Change to "Static IP"
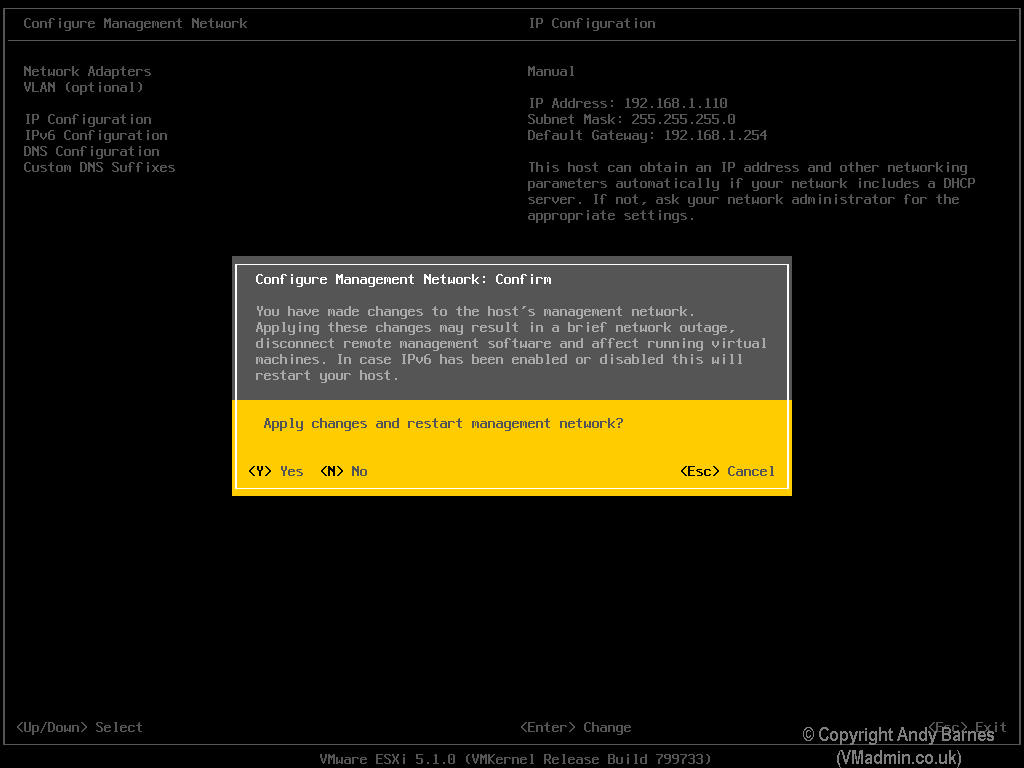
20. Enter your IP address, mask and gateway and hit Enter.
21. Press escape [ESC] to got back to the main menu.
22. You will be asked "Apply changes and restart management network?", say yes [Y]
Note: You can set you VLAN ID in this section too if you need.
23. Job done! you will now see you static IP address is set and you can now manage this with the vSphere client.

- vSphere 5.1 - Part 1 - ESXi Server 5.1 Install
- vSphere 5.1 - Part 2 - vCenter Single Sign On (SSO) Install
- vSphere 5.1 - Part 3 - vCenter Inventory Service Install
- vSphere 5.1 - Part 4 - vCenter Server Install
- vSphere 5.1 - Part 5 - vSphere Client Install
- vSphere 5.1 - Part 6 - vSphere Web Client Install
- vSphere 5.1 - Part 7 - vSphere Update Manager Install
Share this blog post on social media:
Tweet


Latest Blog Posts
- vSphere 7 U1 - Part 3 - Creating a Datacenter, HA/DRS Cluster and Adding a Host
- vSphere 7 U1 - Part 2 - Deploying vCenter 7.0 U1 VCSA
- vSphere 7 U1 - Part 1 - Installing ESXi 7.0 U1
- Veeam CBT Data is Invalid - Reset CBT Without Powering Off VM
- View Administrator Blank Error Dialog/Window After Upgrade