To provision and present a Windows 8.1 (or Windows 8/7) virtual desktop via VMware View, there are a couple of VMware components that need to be installed on the master image and a number of steps performed.
In this part I will guide you through the steps to build a Windows 8.1 master image which will used to provision a desktop pool with View Composer linked clones.
Summary of Steps:
-
Create Virtual Machine
-
Install Operating System
-
Configure Operating System
-
Install VMware Tools
-
Install View Agent
-
Shutdown VM
-
Snapshot VM
If you missed any of the previous parts of the series or want go back/forward here is the jump list:
- Horizon View 6.0 - Part 1 - Installing Horizon View Connection Server
- Horizon View 6.0 - Part 2 - Installing Horizon View Composer
- Horizon View 6.0 - Part 3 - Configuring Horizon View Administrator, Events DB, vCenter and Active Directory
- Horizon View 6.0 - Part 4 - Creating a Windows 8.1 Golden/Master/Template Image
- Horizon View 6.0 - Part 5 - Creating an Automated Desktop Pool with Linked Clones
- Horizon View 6.0 - Part 6 - Creating an RDS Host Farm and Application Pool
- Horizon View 6.0 - Part 7 - Creating an RDS Desktop Pool
1. Create a virtual machine within vSphere Web client.
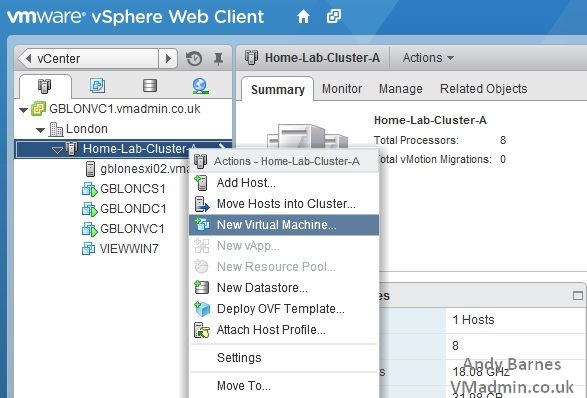
2. Select "Create a new virtual machine"

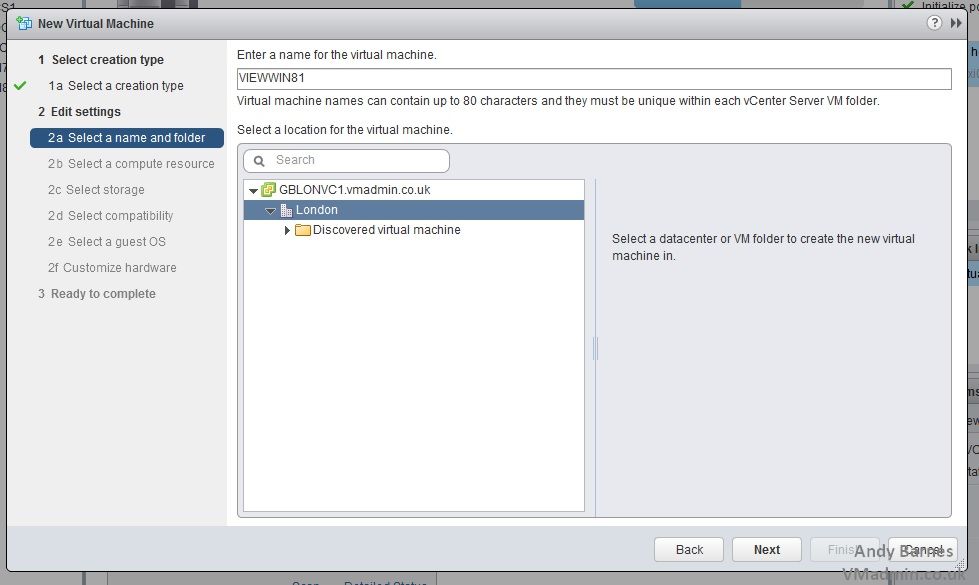
3. Enter a name for the VM and select an inventory location to store the master image within
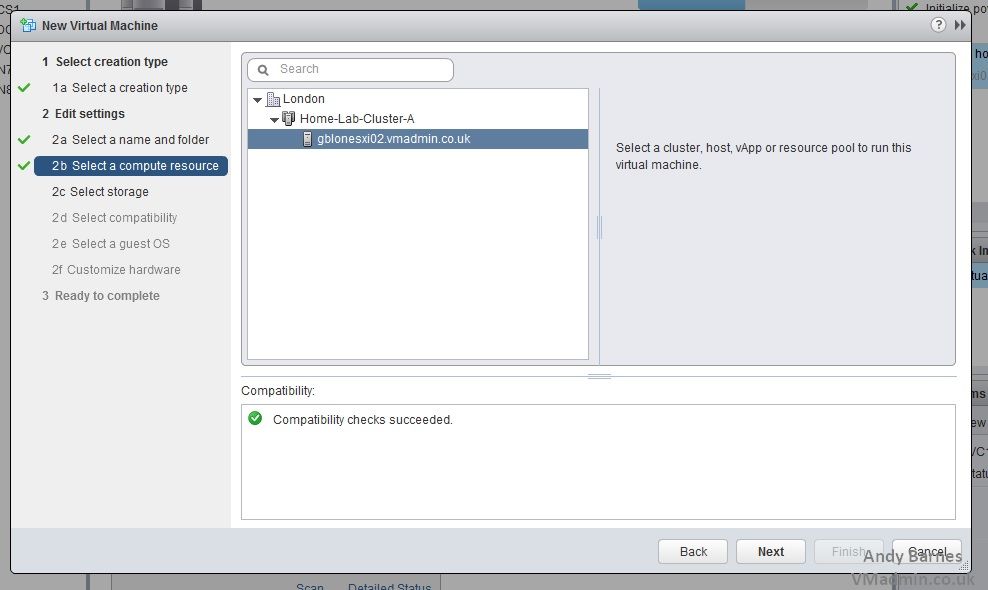
4. Select a vSphere cluster to create the virtual machine in
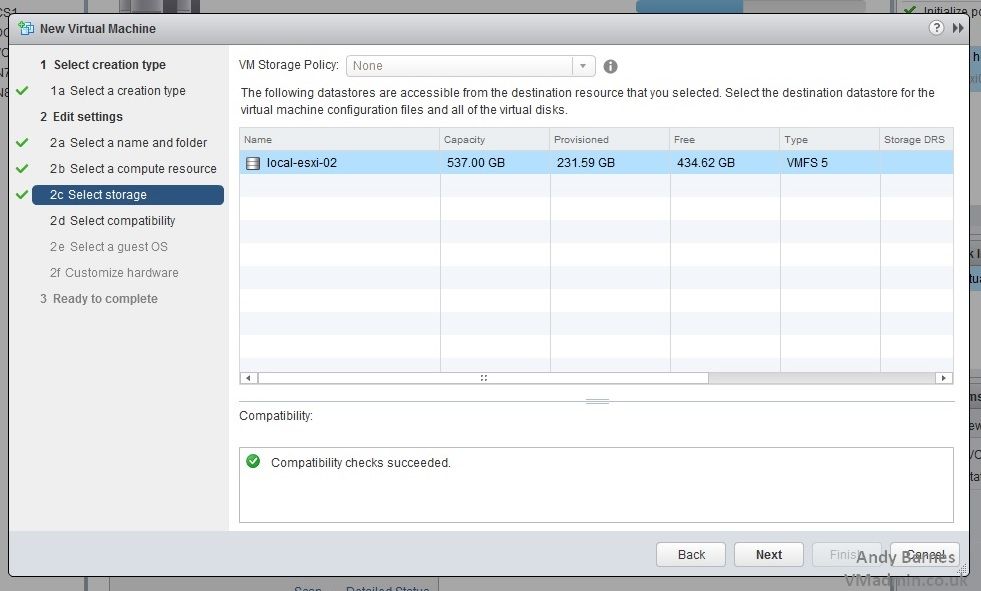
5. Select the VMFS datastore which this VM should be created on.
Note you may want to create a separate datastore purley for template VMs.
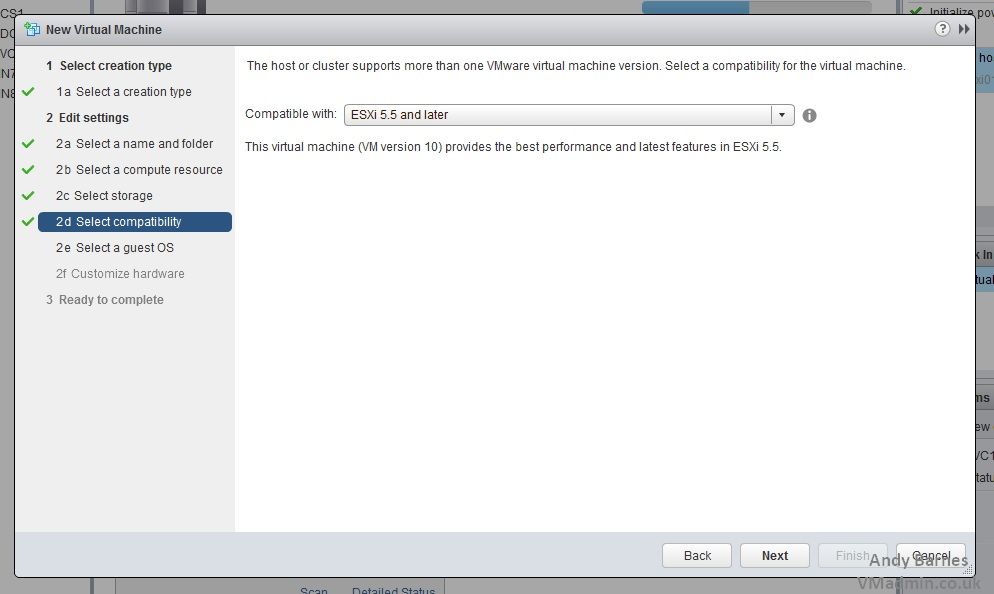
6. Select the VM version (leave as VM version 10)
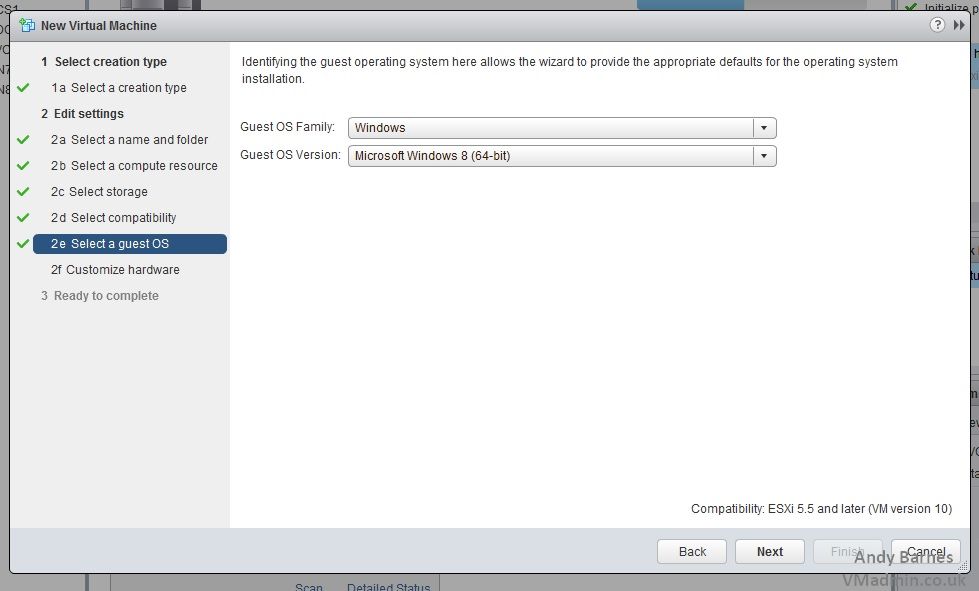
7. Select Windows 8 (32-bit or 64-bit depending on which one you are using.
Note: There is not a separate Guest OS version for Windows 8.1, just select Windows 8.
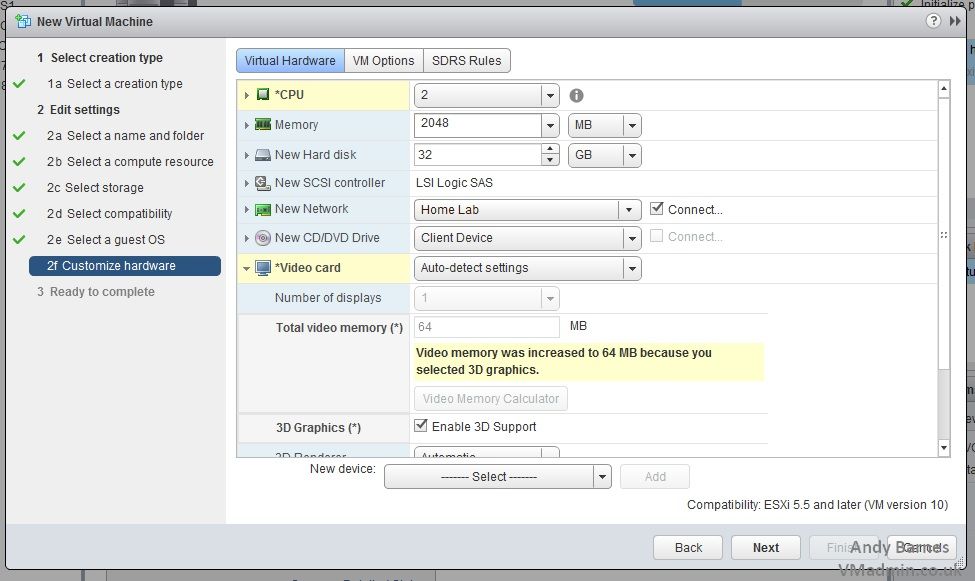
8. Set the vCPU and vRAM to their required values for you're environment.
Expand the Video Card and Tick "Enable 3D support"
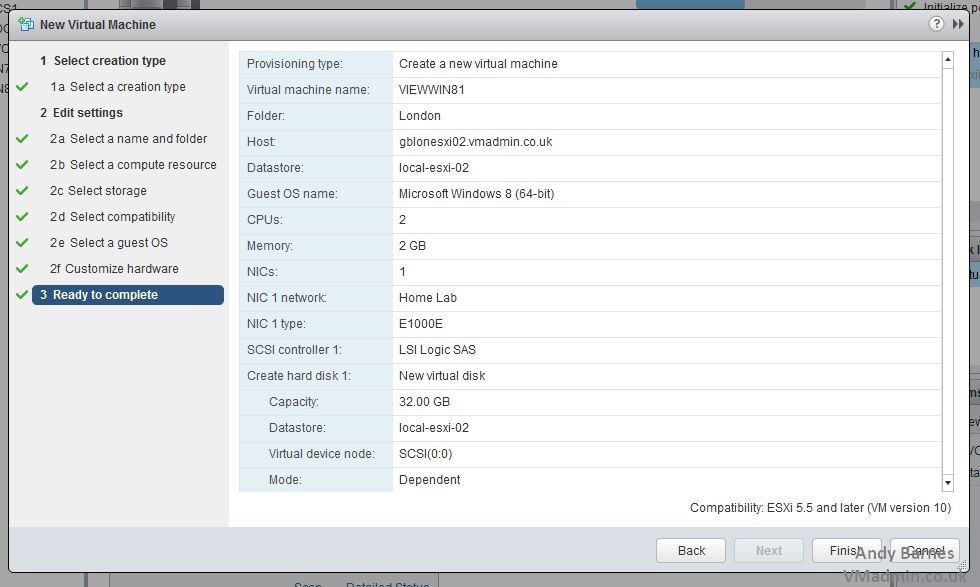
9. Review the VM settings and create the VM.
10. Install Windows 8.1 (Enterprise or Pro edition)
Configure the guest OS and Software (Install any Updates, AntiVirus, Office Apps etc)
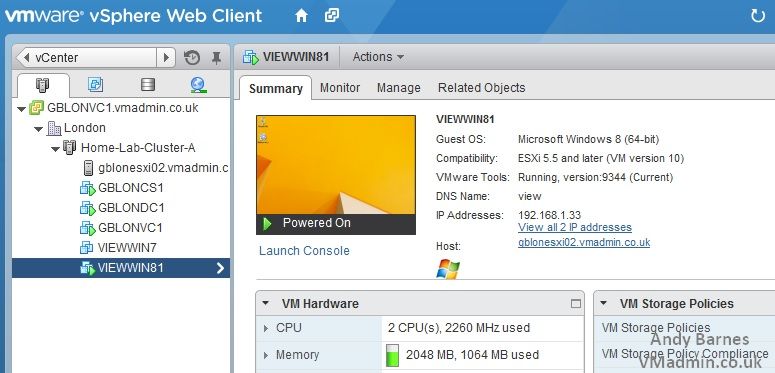
11. Install VMware Tools
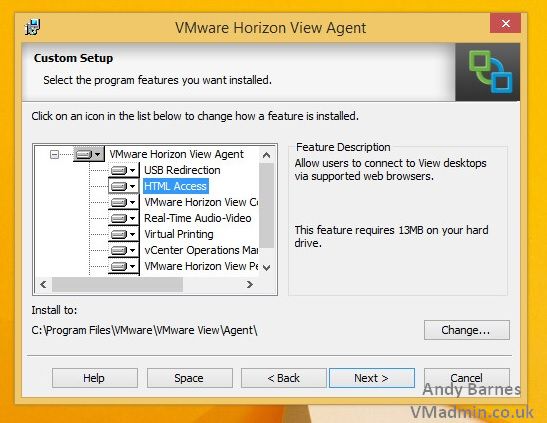
12. Install VMware View Agent

13. Keep the defaults enabled unless you wish to disable any specific components.
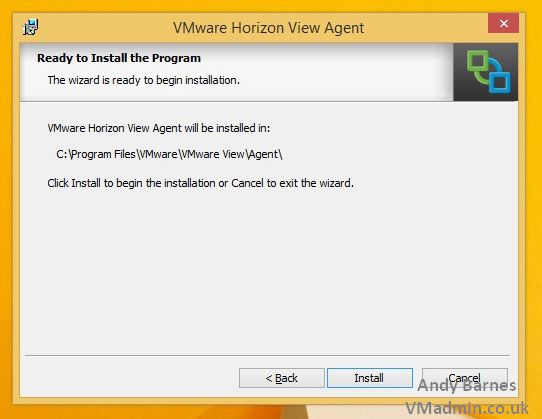
14. Click Install
15. Click Finish
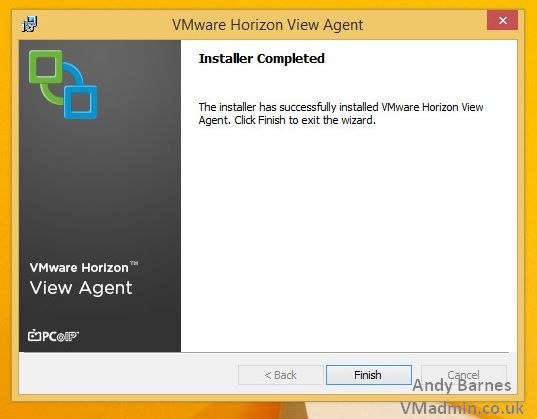
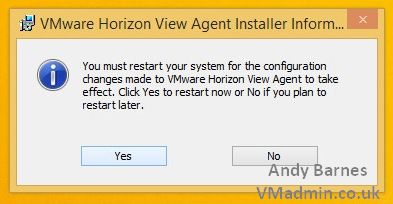
16. Wait a couple of minutes before restating the desktop.
You may notice a number of additional device drivers being installed in the guest OS. You must wait for these to complete installing before you reboot.
17. Optimise the guest OS based on VMware's best practice recommendations
Optimization Guide for Windows 7 and Windows 8 Virtual Desktops in Horizon with View
http://www.vmware.com/resources/techresources/10157
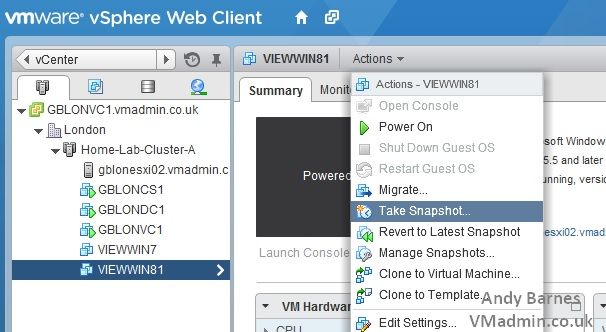
18. Shutdown the guest OS and take a snaphot
Note: The VM must be powered off before you take the snapshot otherwise View Administrator will not allow it to be used.
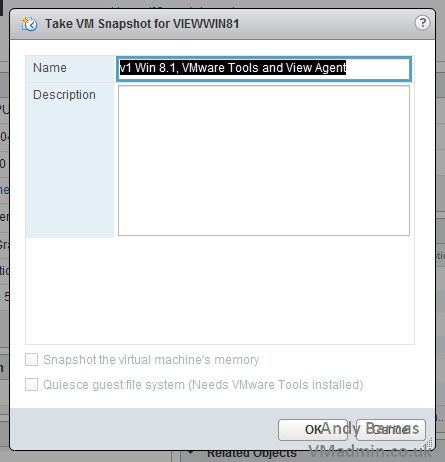
19. Give the snapshot a version number and useful description
Tip: You can use the same steps to create a Windows 7 master image if you require both Windows 7 and Windows 8.
If you missed any of the previous parts of the series or want go back/forward here is the jump list:
- Horizon View 6.0 - Part 1 - Installing Horizon View Connection Server
- Horizon View 6.0 - Part 2 - Installing Horizon View Composer
- Horizon View 6.0 - Part 3 - Configuring Horizon View Administrator, Events DB, vCenter and Active Directory
- Horizon View 6.0 - Part 4 - Creating a Windows 8.1 Golden/Master/Template Image
- Horizon View 6.0 - Part 5 - Creating an Automated Desktop Pool with Linked Clones
- Horizon View 6.0 - Part 6 - Creating an RDS Host Farm and Application Pool
- Horizon View 6.0 - Part 7 - Creating an RDS Desktop Pool
Share this blog post on social media:
Tweet


Latest Blog Posts
- vSphere 7 U1 - Part 3 - Creating a Datacenter, HA/DRS Cluster and Adding a Host
- vSphere 7 U1 - Part 2 - Deploying vCenter 7.0 U1 VCSA
- vSphere 7 U1 - Part 1 - Installing ESXi 7.0 U1
- Veeam CBT Data is Invalid - Reset CBT Without Powering Off VM
- View Administrator Blank Error Dialog/Window After Upgrade