vCenter must be upgraded first, before adding any ESX/ESXi 4 hosts. ESX 3.5 hosts can be added to vCenter 4. However ESX 4 hosts cannot be added to vCenter 2.5.
1. Check the server hardware you are installing ESX Server 4 onto is supported and on the VMware HCL.
2. Login to the VMware license portal to check/upgrade/buy your vSphere licenses.
3. Check the vSphere migration checklist to ensure you meet the prerequisites.
4. Download VMware ESX Server 4 from the VMware download area.
5. Burn the ESX Server 4 ISO to a DVD. Disconnect all Fibre Channel connections and boot the server from the DVD.
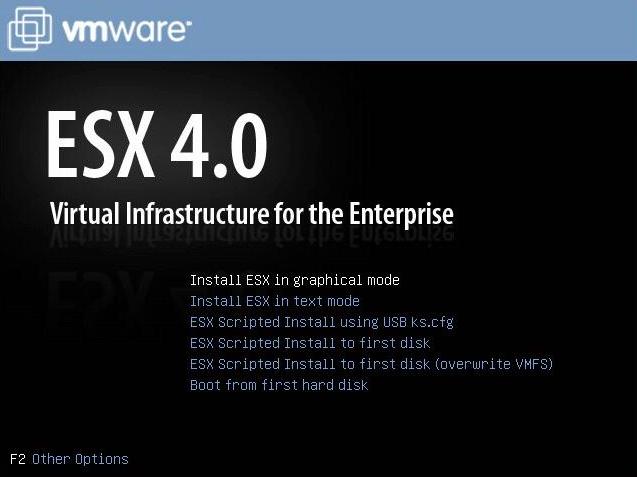
6. Choose "Install ESX in graphical mode".
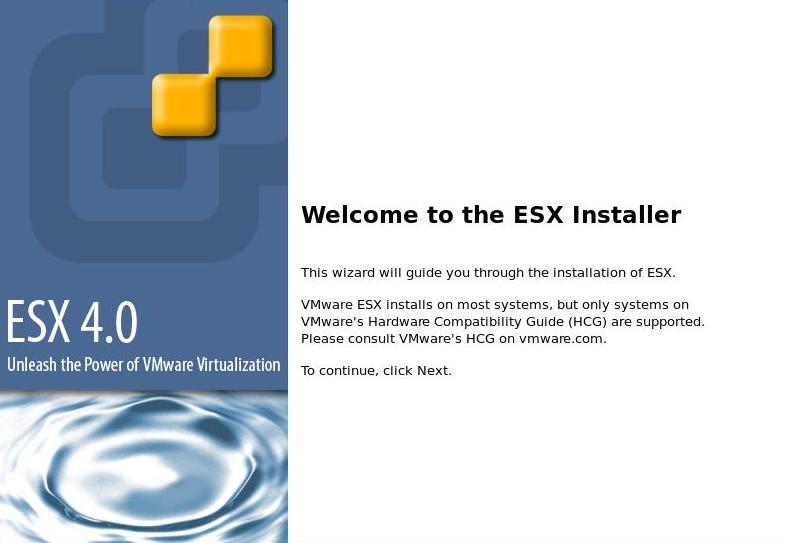
7. You are presented with the ESX installer wizard. Click Next.
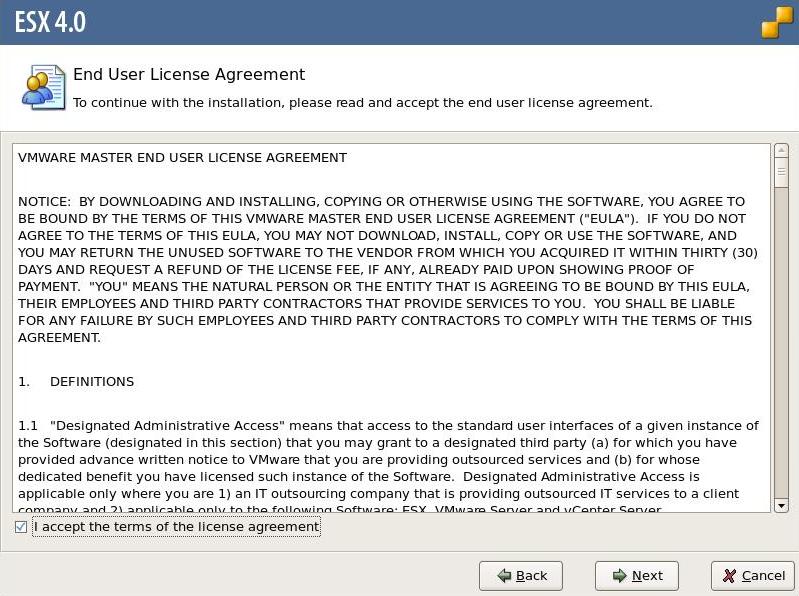
8. Read and Accept the license agreement. Click Next.
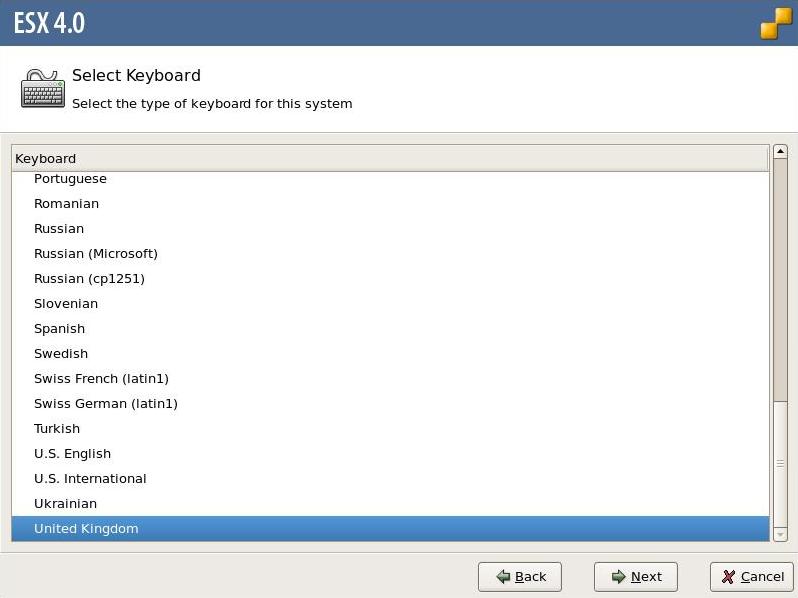
9. Select the keyboard layout. Click Next.
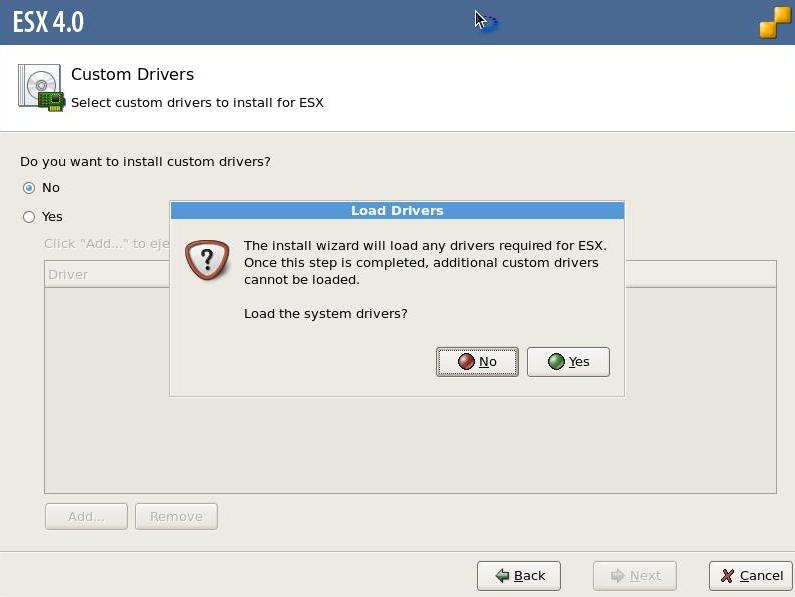
10. Load any custom drivers if required. Click Next.

11. Click "Yes" to load system drivers.
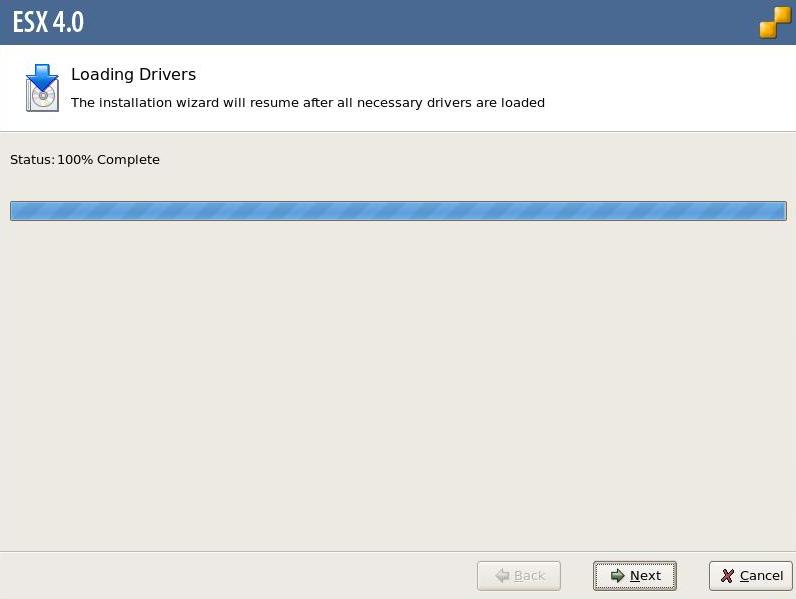
12. After the drivers have loaded Click Next.
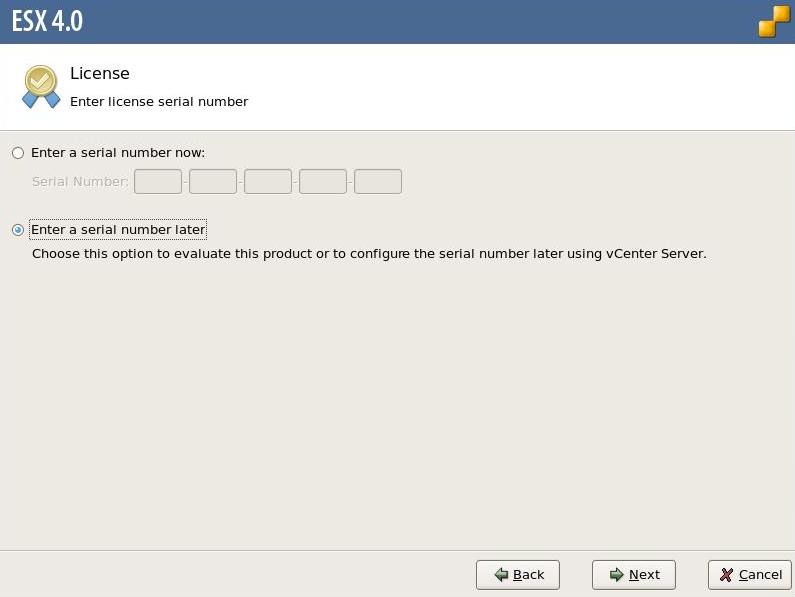
13. Choose to enter the license key or enter it later (evaluation mode). Click Next.
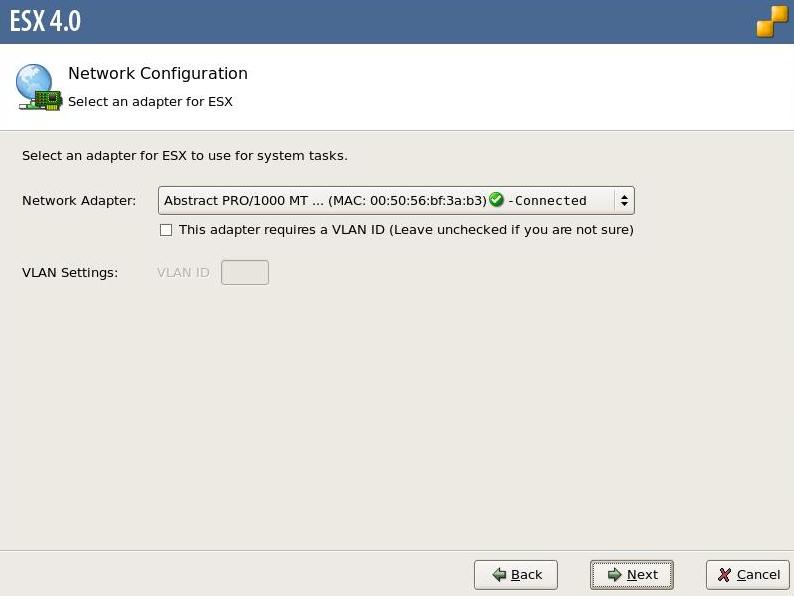
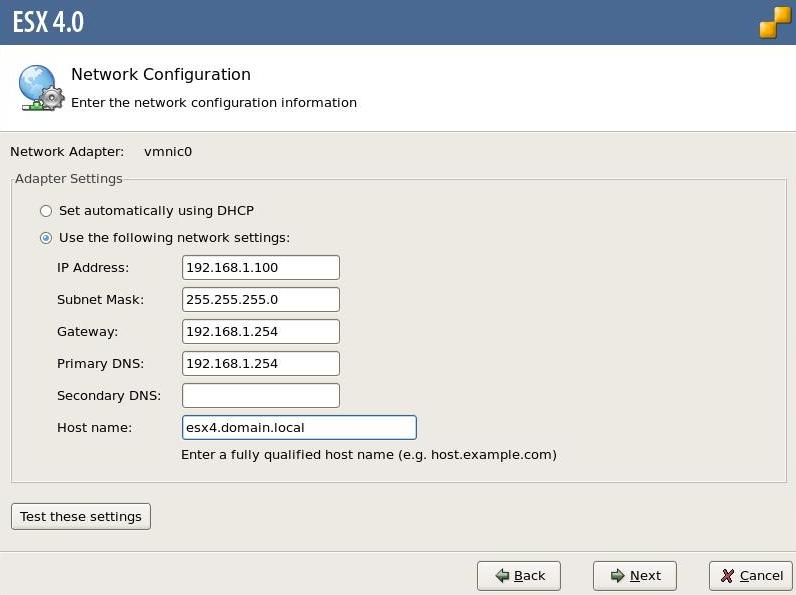
14. Select the network adaptor to give an IP address to the service console (COS), and a VLAN ID if required (if trunk is presented to NICs). Click Next.
15. Configure the network settings as required. Test and Click Next.
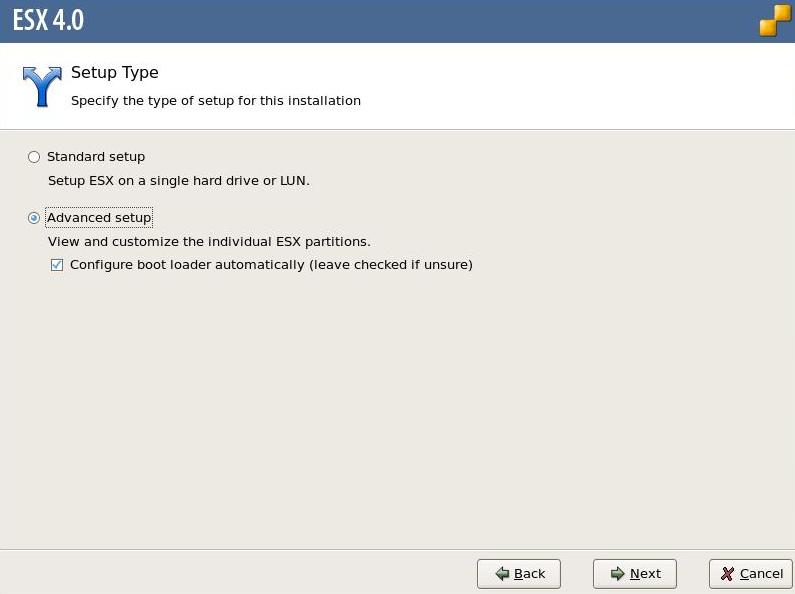
16. Choose advanced setup. Click Next.
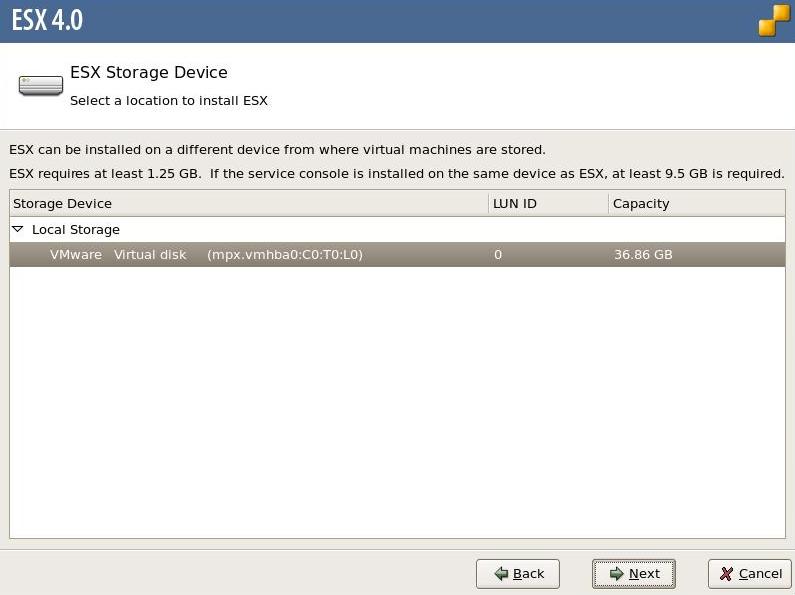
17. Choose the disk to install ESX Server onto. Click Next.
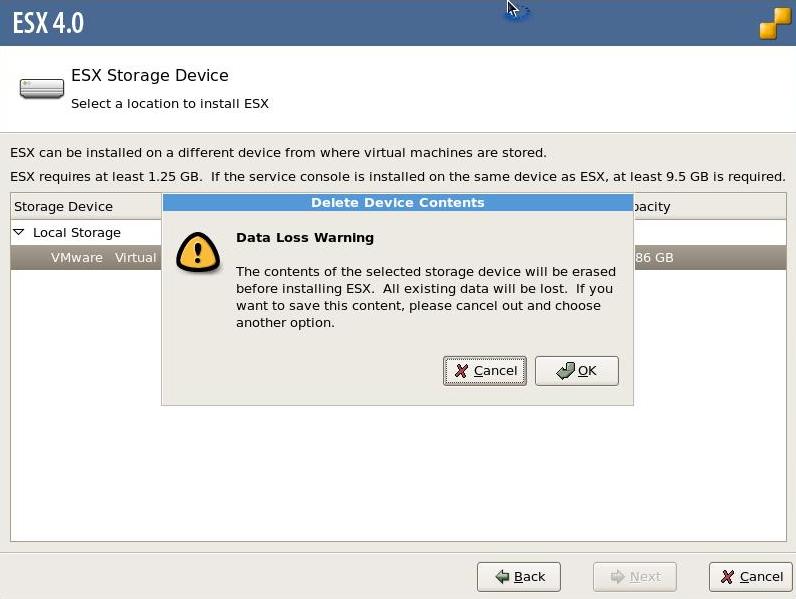
18. This will erase all data currently on the disk. Check you have the right disk and Click OK.
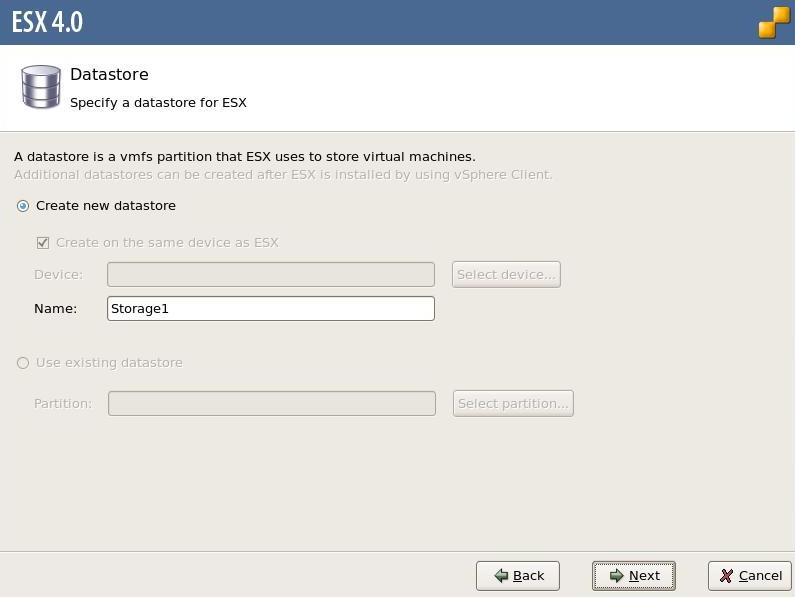
19. Give the local VMFS datastore a name. Click Next.
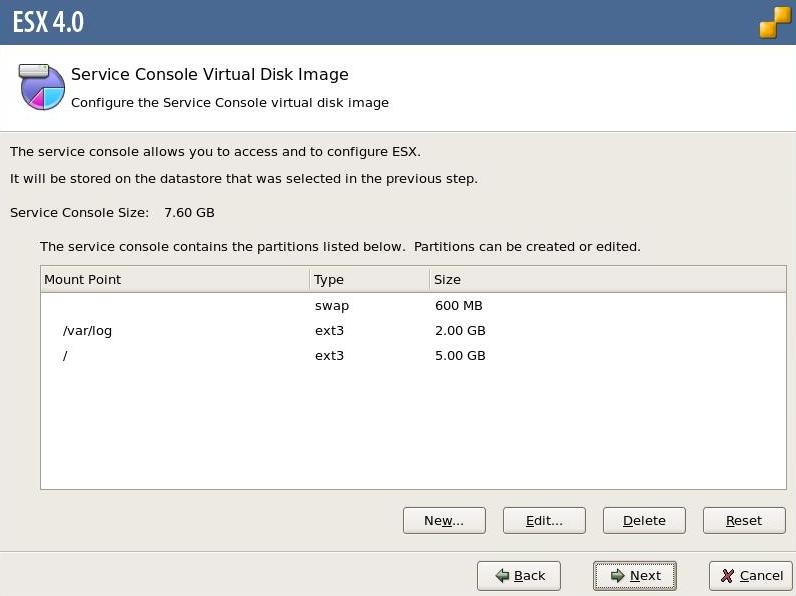
20. Review the default service console (COS) disk layout.
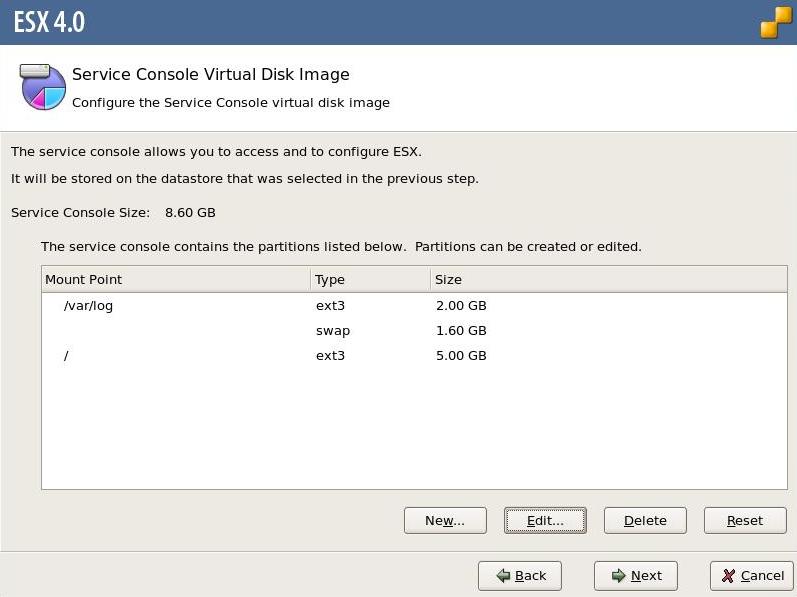
21. Edit the "swap" partition from 800mb to 1600mb. Click Next.
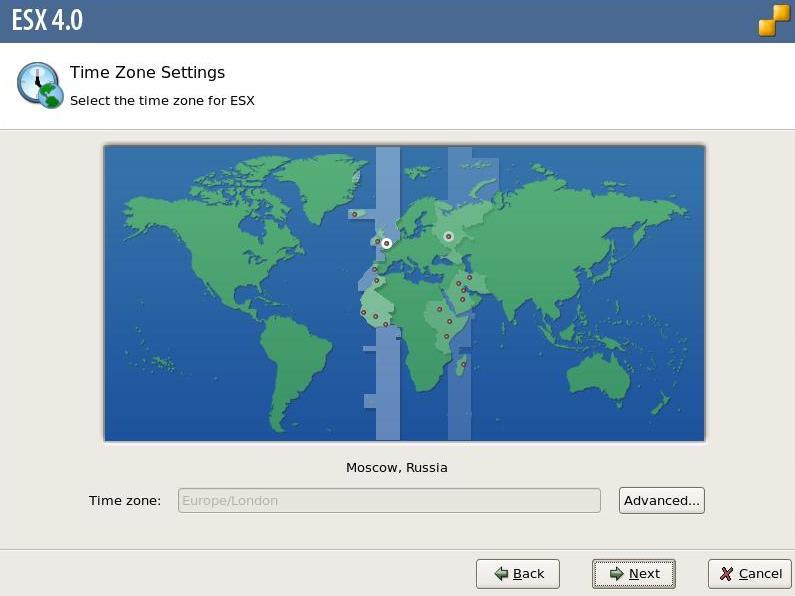
22. Choose the time zone. Click Next.
23. Set an NTP server or manually set the time. Click Next.

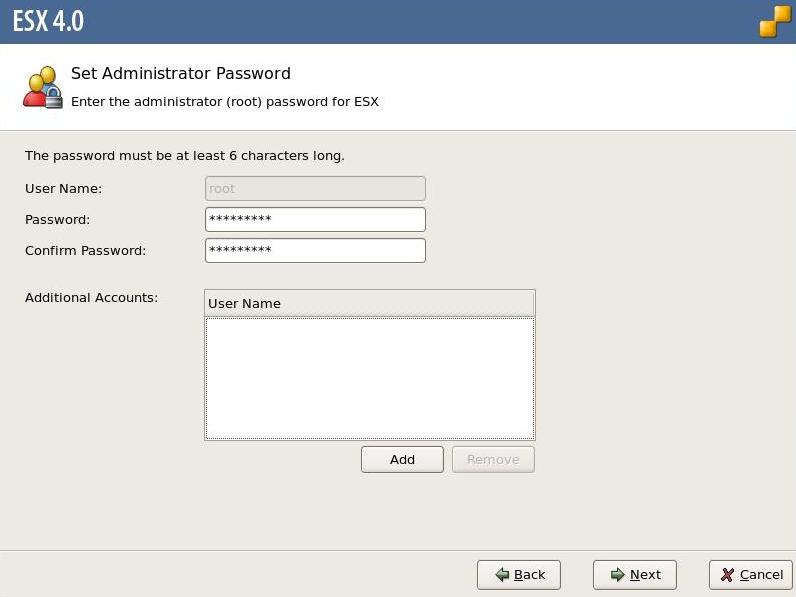
24. Set the administrator ("root") password. Click Next.
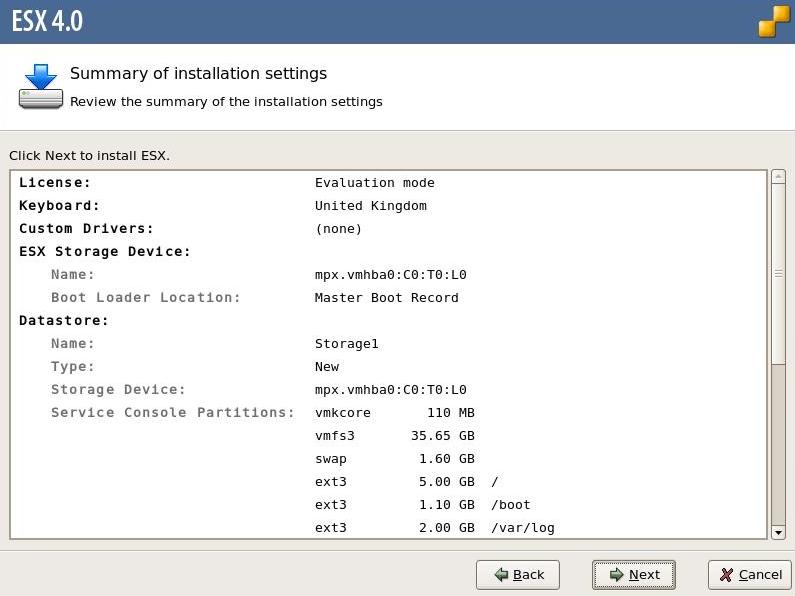
25. Review the installation summary. Click Next.
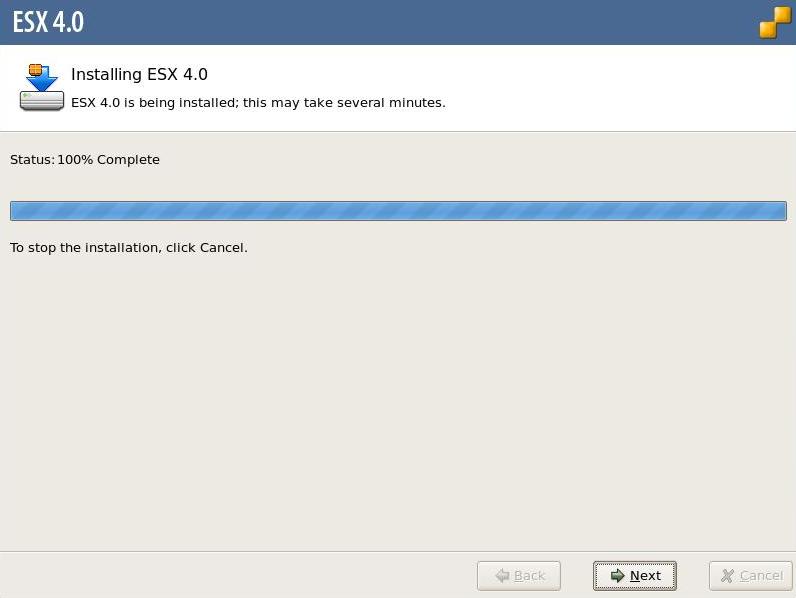
26. When the installation is complete Click Next.
27. Click Finish. The ESX Server will restart.
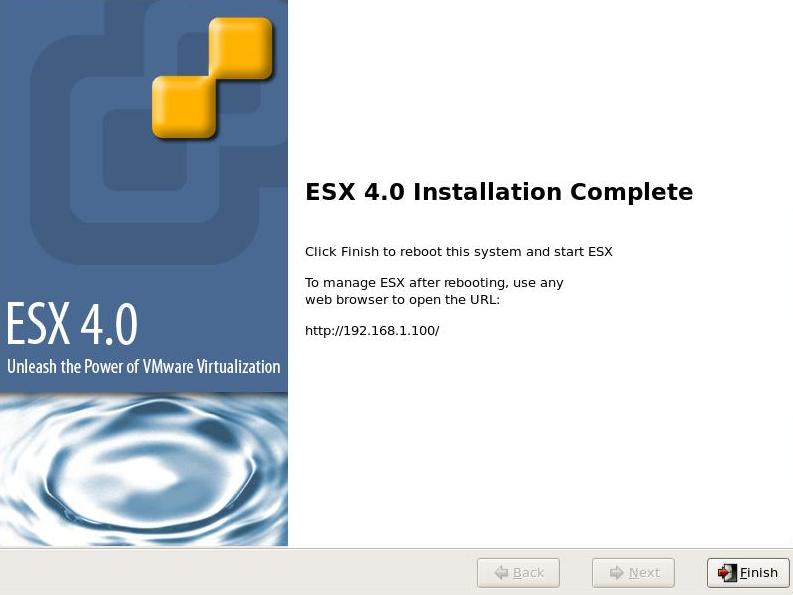
28. The ESX Server will boot up and the login screen will be displayed with the service console (COS) IP address. Use the VMware vSphere client to connect to and configure the server.

Share this blog post on social media:
Tweet


Latest Blog Posts
- vSphere 7 U1 - Part 3 - Creating a Datacenter, HA/DRS Cluster and Adding a Host
- vSphere 7 U1 - Part 2 - Deploying vCenter 7.0 U1 VCSA
- vSphere 7 U1 - Part 1 - Installing ESXi 7.0 U1
- Veeam CBT Data is Invalid - Reset CBT Without Powering Off VM
- View Administrator Blank Error Dialog/Window After Upgrade