1. Check the server hardware you are installing ESXi 4.1 U1 onto is supported and on the VMware HCL.
2. Login to the VMware license portal to check/upgrade/buy your vSphere licenses.
3. Read the ESXi Setup Guide to ensure you understand the pre-requisites.
4. Download the VMware ESXi 4.1 U1 ISO file from the VMware download area.
5. Burn the ESXi 4.1 U1 ISO to a CD.
6. Disconnect all Fibre Channel connections (if any) and boot the server from the DVD.
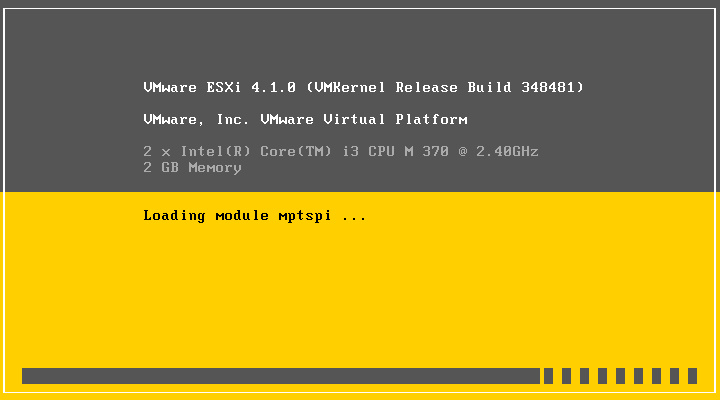
7. Select "ESXi Installer"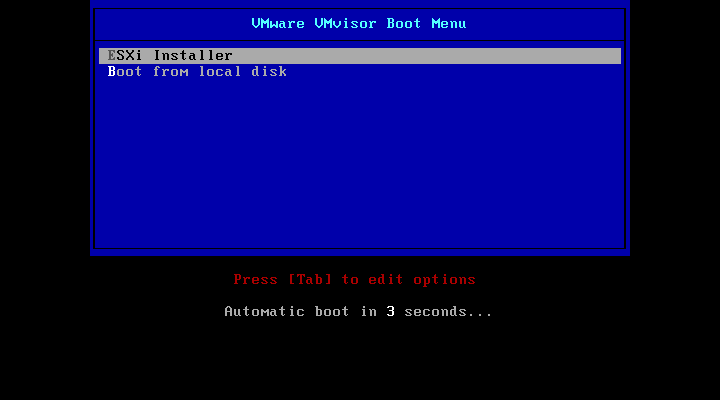
8. When ready to install press "Enter"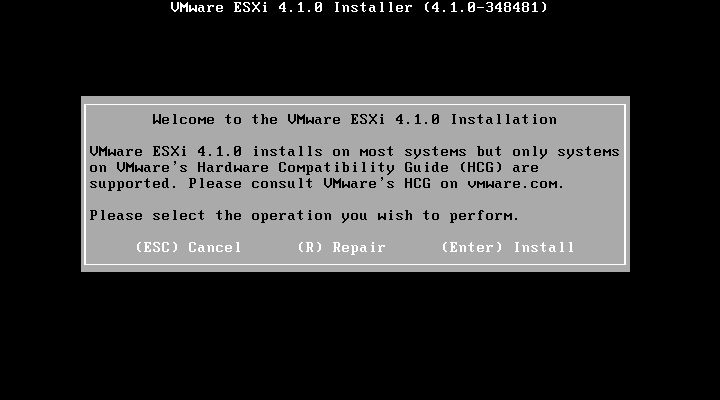
9. Read and accept the license agreement, press F11 to accept.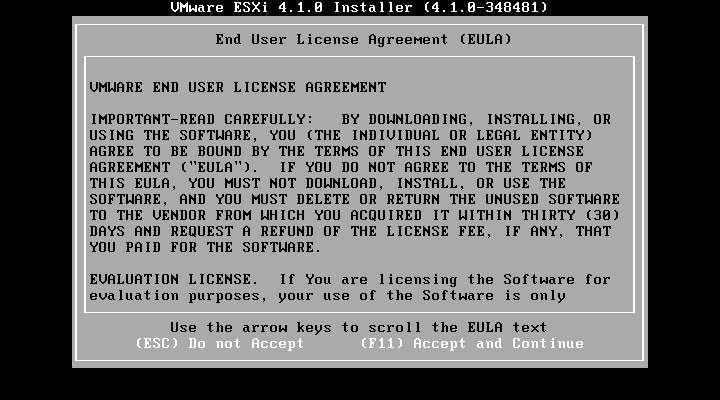
10. Select the correct storage device to install ESXi on and press "Enter"
NOTE: ensure it is not a FC VMFS datastore!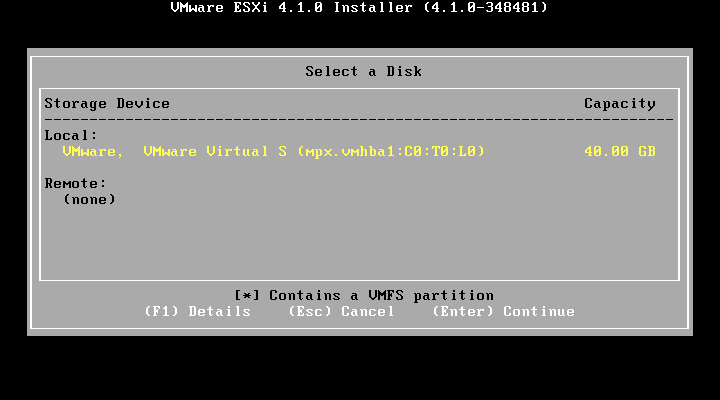
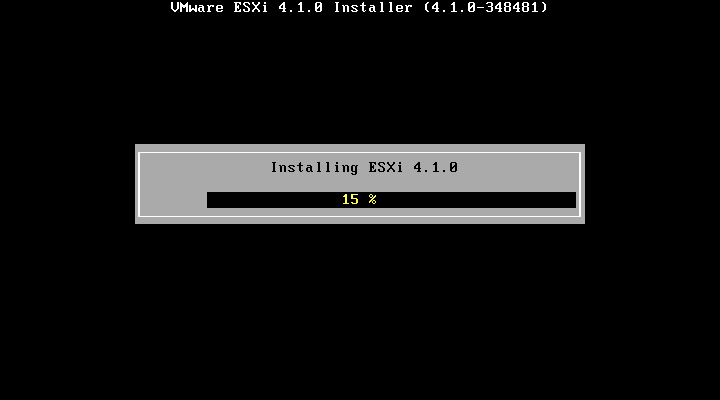
11. Press F11 to start the installation...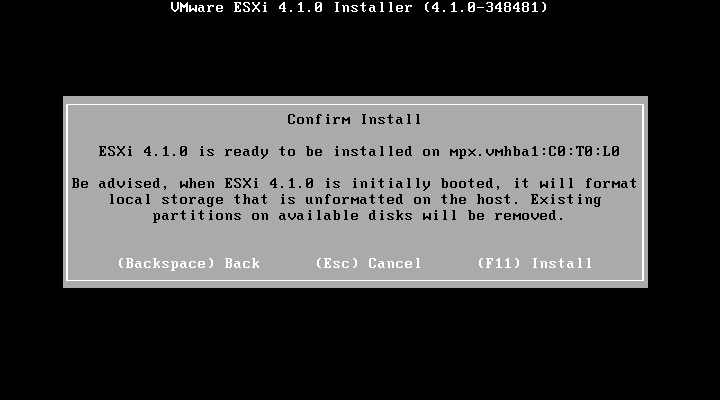
12. After the installation has completed press F11 to reboot the server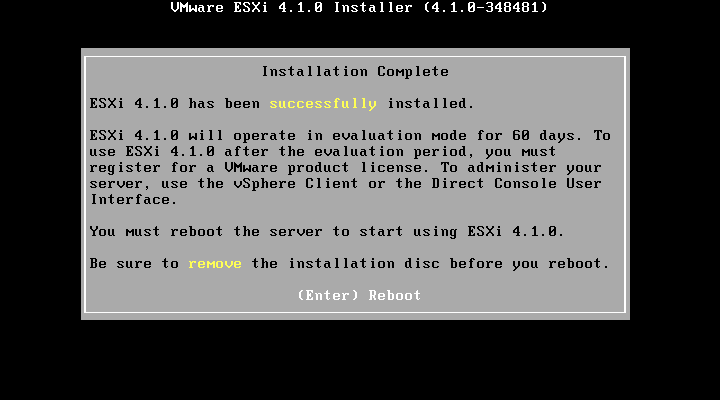
13. The ESXi server will boot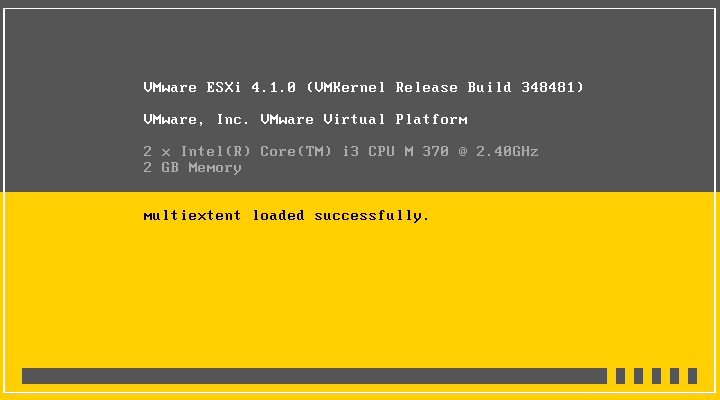
14. Once the ESXi server has booted it will receive a DHCP lease (if applicable) you can now manage this with the vSphere client or continue to set a static IP for management (recommended)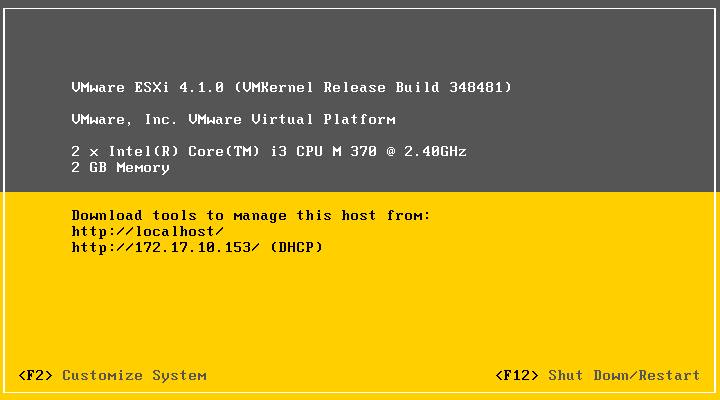
15. Press F2 to configure the ESXi server. Use "root" as the user and blank password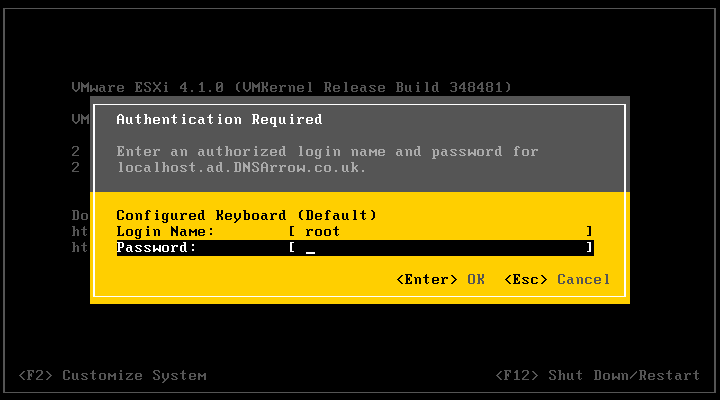
16. Goto "Configure Password" and enter the desired management password for your ESXi server.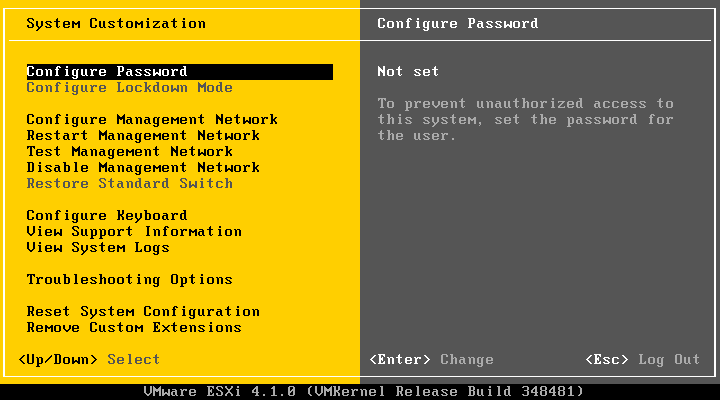
17. Goto "Configure mangement network" and enter your required static IP address/mask/gateway.
18. You can now manage your ESXi server with the vSphere client (downloadable from the VMware website) using the management IP.
Share this blog post on social media:
Tweet


Latest Blog Posts
- vSphere 7 U1 - Part 3 - Creating a Datacenter, HA/DRS Cluster and Adding a Host
- vSphere 7 U1 - Part 2 - Deploying vCenter 7.0 U1 VCSA
- vSphere 7 U1 - Part 1 - Installing ESXi 7.0 U1
- Veeam CBT Data is Invalid - Reset CBT Without Powering Off VM
- View Administrator Blank Error Dialog/Window After Upgrade