This is a step by step guide to updating Virtual Infrastructure and vCenter Server. Specifically version 2.5 U3 to U4 using SQL server 2005 for the database, however the process is very similar between all update versions and databases.
It will update the following components:
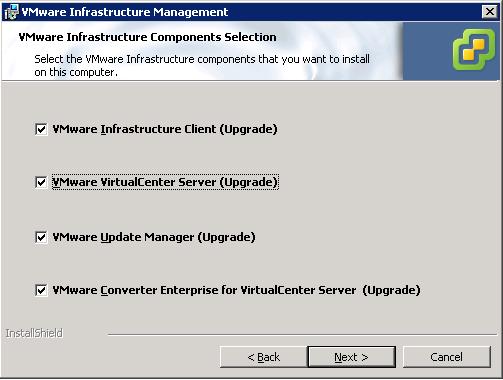
VI Client
vCenter Server
Update Manager
Converter Entreprise
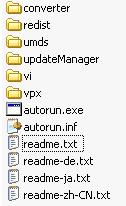
1. Download installation media from VMware website. ZIP or ISO and unzip.
The zip file for vCenter Server is named VMware-VIMSetup-2.5.0-U4-English.zip, but will vary depending on version and language.
2. Read the release notes regarding fixes, added/changed functionality and new issues that may apply to this update.
3. Backup existing VirtualCenter database.
In this case using SQL Server 2005, Start "SQL Server Management Studio" and backup the vCenter database.

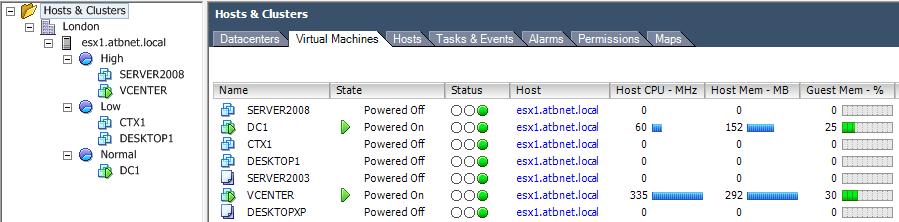
4. Make note or print off a list of which ESX server each VM is on (incase console access or VM modification is required during upgrade).
5. Backup license server files from C:\Program Files\VMware\VMware License Server\Licenses
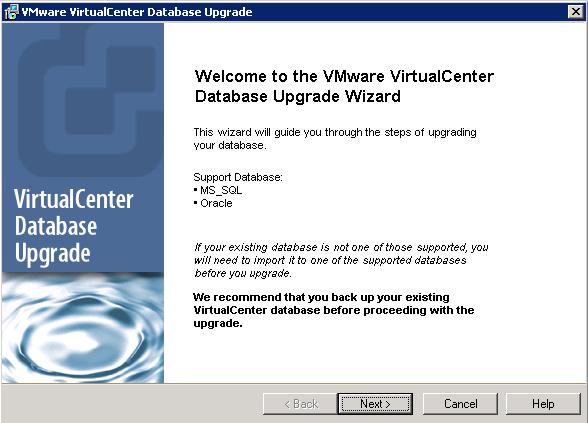
6. Start the VirtualCenter installer which will detect the already installed programs and will upgrade them.
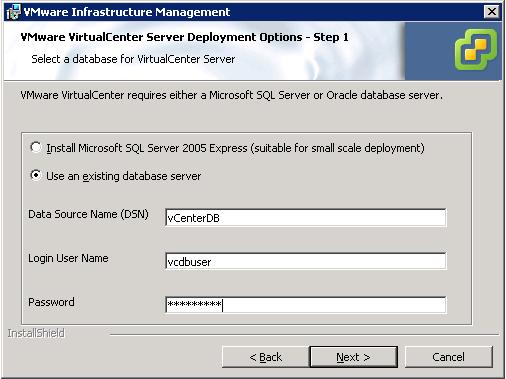
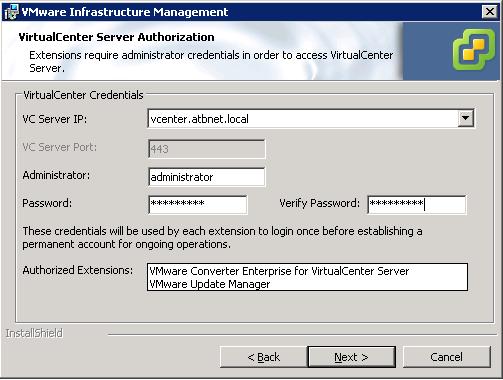
You will need to have the ODBC DSN database details to hand (username and password) to update the vCenter database in addition to a vCenter admin user.
Run "autorun.exe"
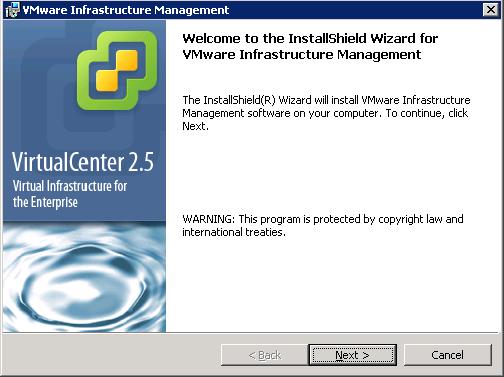
It will detect and install all the component updates.
Enter the database DSN details.
It will notify you that the database needs updating.

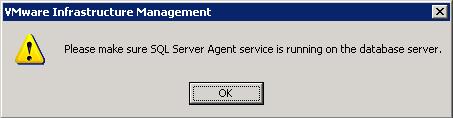
Check the SQL Server Agent service is running/start the service.
Accept the message about the database recovery model.

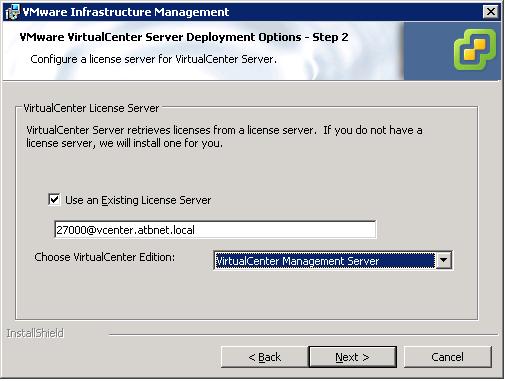
Change to "Use and existing license server".
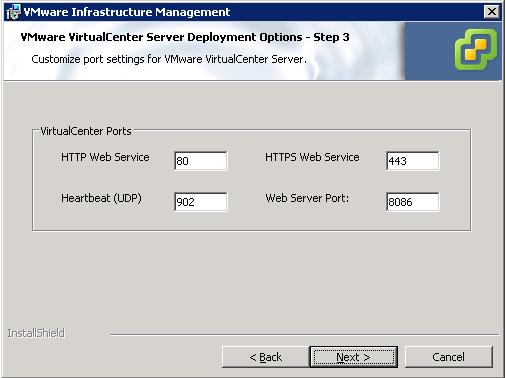
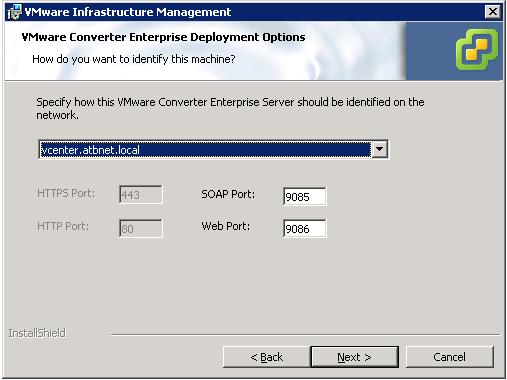
Leave or change the ports.
Provide vCenter login details.
Leave or change ports.
Check destination folder.

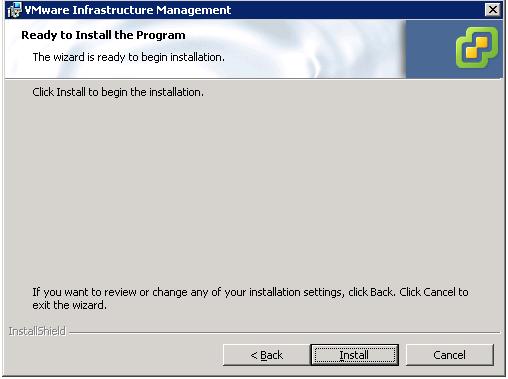
Start the update installation.
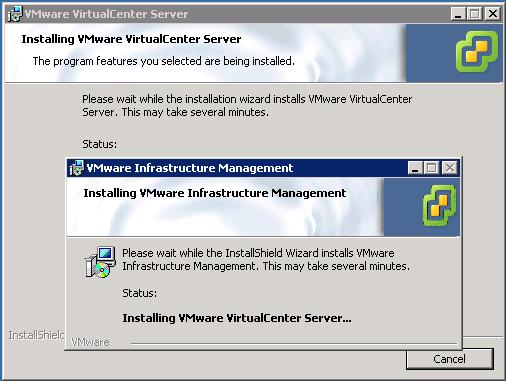
Goes through each component installing updates...
Upgrades the database version.
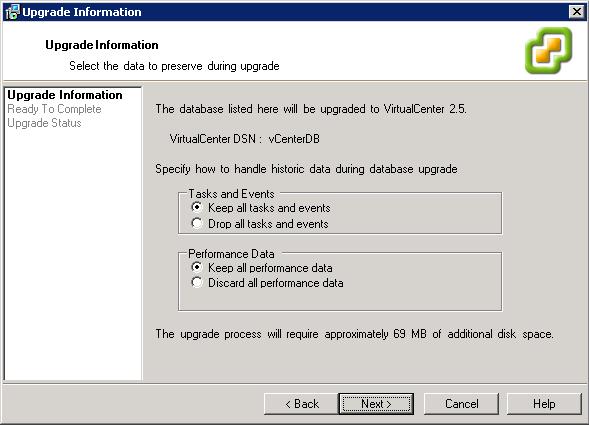
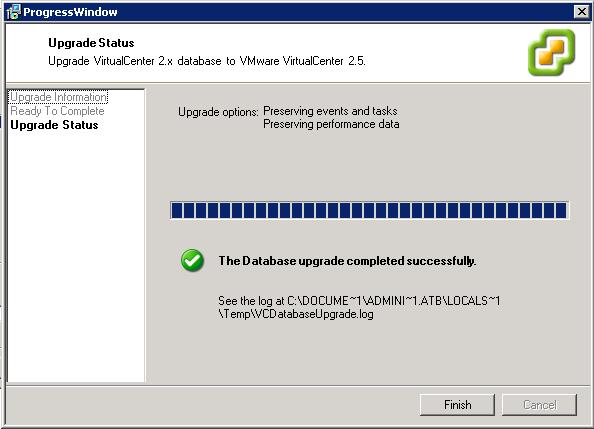
Choose to keep or discard all tasks, events and performance data.
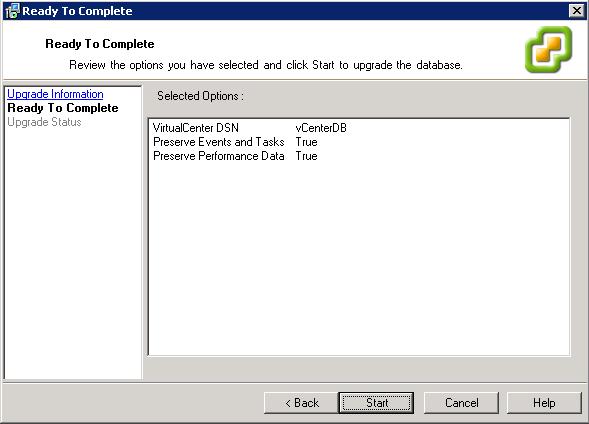
Start the database upgrade...
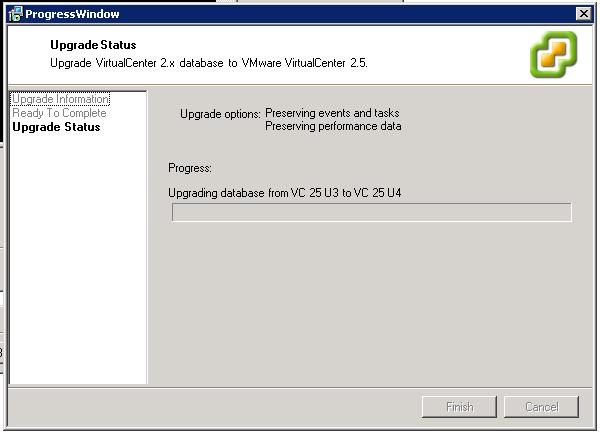
Database upgrade completes successfully.
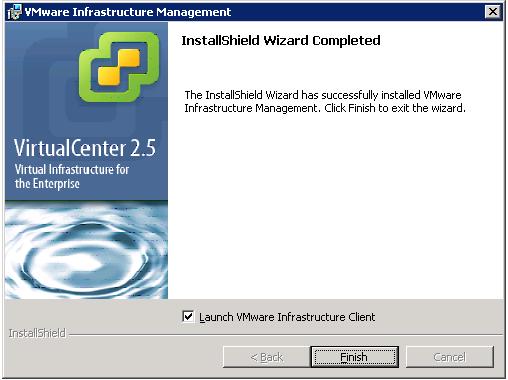
Virtual Infrastructure vCenter Update completed successfully.
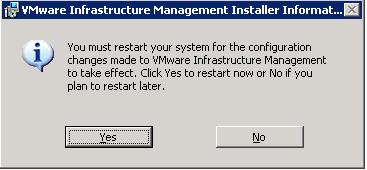
7. Reboot the VirtualCenter server.
8. Login into VirtualCenter and check the version/build number is now updated.
9. Test that all functionality is working correctly.
Share this blog post on social media:
Tweet


Latest Blog Posts
- vSphere 7 U1 - Part 3 - Creating a Datacenter, HA/DRS Cluster and Adding a Host
- vSphere 7 U1 - Part 2 - Deploying vCenter 7.0 U1 VCSA
- vSphere 7 U1 - Part 1 - Installing ESXi 7.0 U1
- Veeam CBT Data is Invalid - Reset CBT Without Powering Off VM
- View Administrator Blank Error Dialog/Window After Upgrade