With vSphere 5 there is also an updated Update Manager. This is pretty much the same Update Manager we are familiar with in VUM4 but there is one suprise, or shock another might say?!
Update Manager 5 no longer provides updates to the guest OS (Windows and Linux) as in previous releases.You will need to use something such as WSUS or System Center for Windows and setup your own update repo for Linux.
It does still provide updates for hosts, including upgrading from ESX/ESXi 4 to ESXi 5.
You cannot upgrade from ESX/ESXi 3.x to ESXi 5 (as one would expect).
1. Insert DVD or unzip "VMware-VIMSetup-all-5-xxxxxx.zip"
If it does not autorun, use "autorun.exe" in the root of the cd or folder. Click "vSphere Update Manager" to start the installation

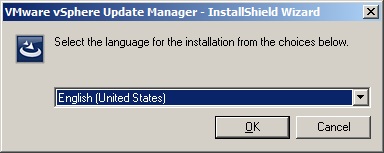
2. Select the desired language, Click Ok.
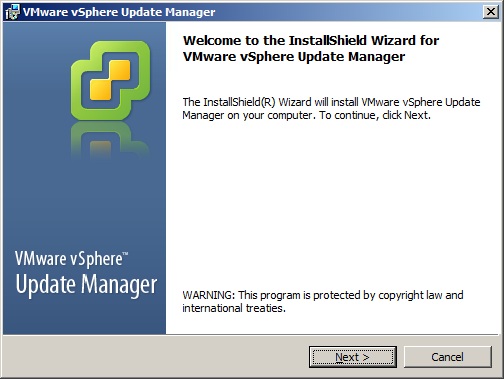
3. The installation wizard will start, Click Next.
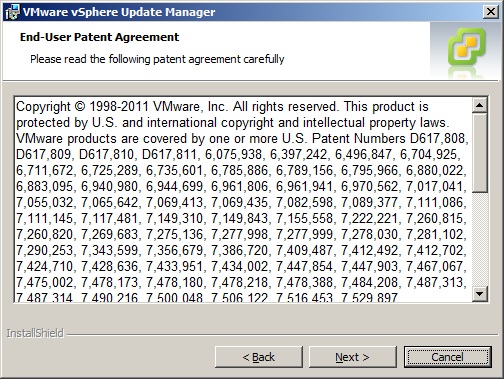
4. Read User Patent Agreement, Click Next.
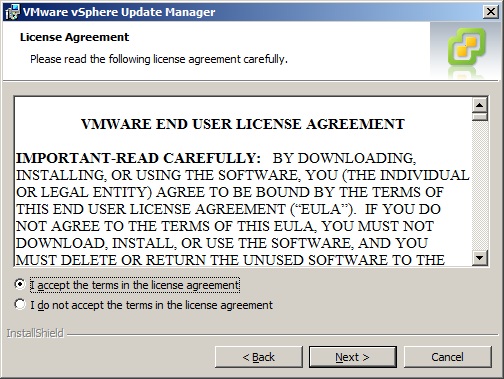
5. Read and accept the license agreement, Click Next.
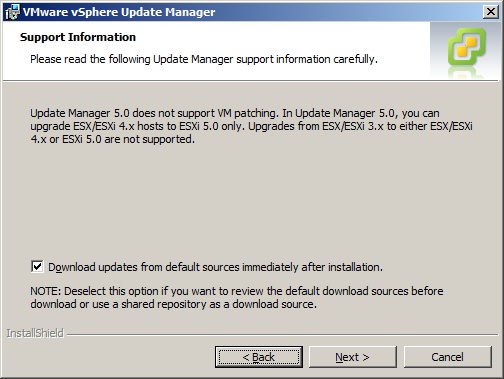
6. Heres the suprise, or shock?!
Update Manager 5 no longer provides updates to the guest OS (Windows and Linux) as in previous releases.You will need to use something such as WSUS or System Center for Windows and setup your own update repo for Linux.
It does still provide updates for hosts, including upgrading from ESX/ESXi 4 to ESXi 5.
You cannot upgrade from ESX/ESXi 3.x to ESXi 5 (as one would expect).
7. Tick the box to download update immediatley. Click Next.
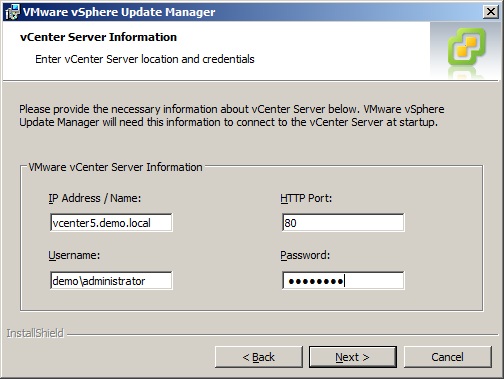
8. Enter the infromation for the vCenter server.
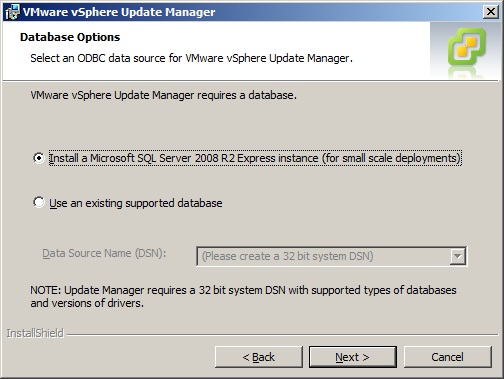
9. If deploying a small scale deployment you can choose to use SQL Server 2008 R2 Express.
If using an full SQL server installation (either local or remote), create a DSN and choose to use an existing database.
Click Next.
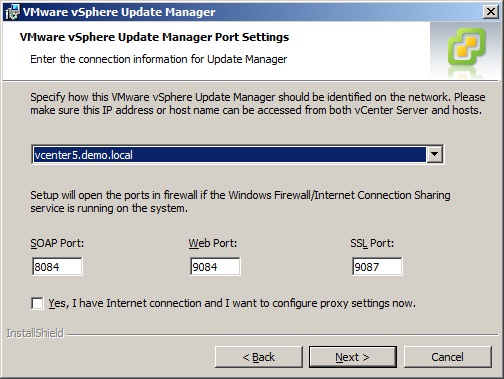
10. Select the FQDN of the vCenter server for the connection settings. Verify or change the ports if required.
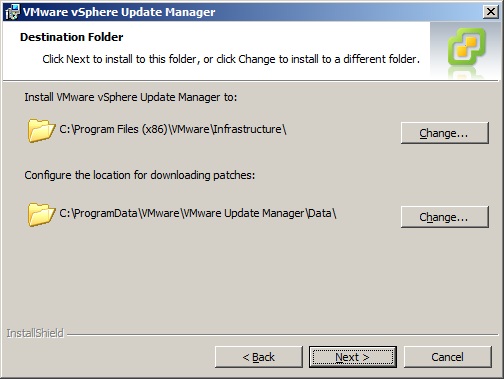
11. Verify the installation destination is correct. Alternativley the updates and patches can be stored in a seperate folder or disk.
12. The installation will complete. Click Finish.
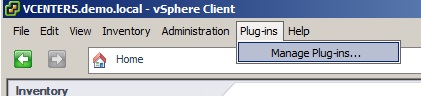
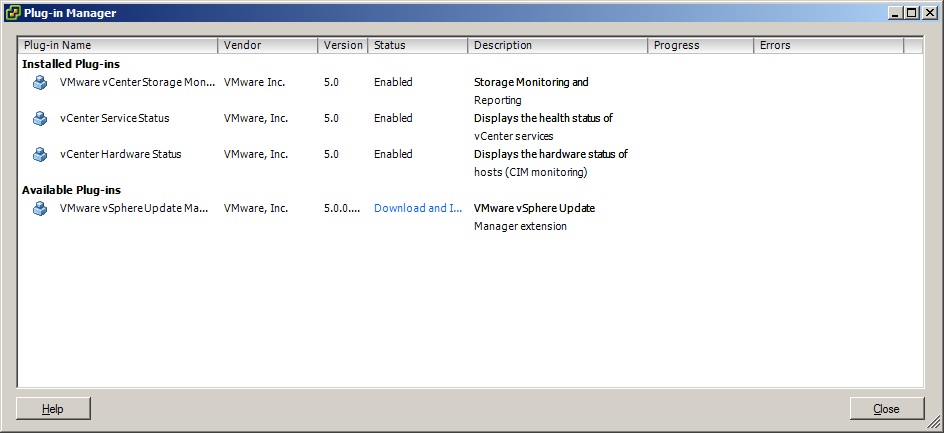
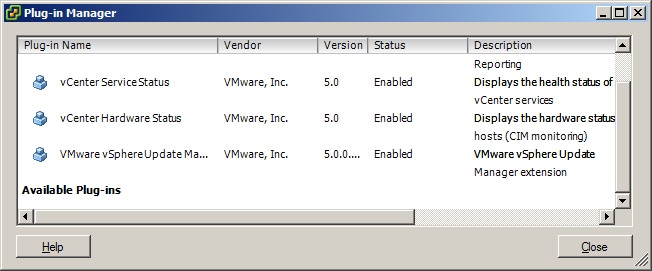
13. Login to the vCenter Server with the vSphere client and click "Plug-ins" and then "Manage Plug-ins.."
14. You will now see a new available plug-in aptly named "VMware vSphere Update Manager"
Click Download and Install.
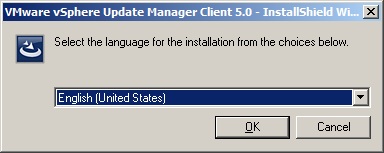
15. Select your lanaguage.
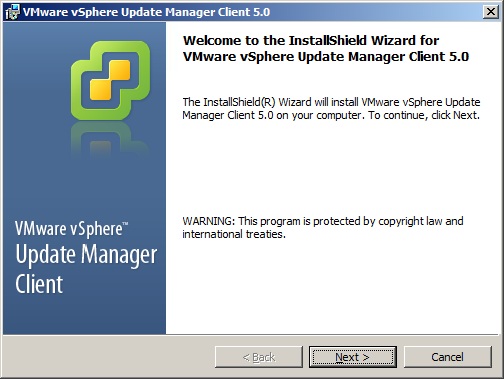
16. The installation of the vSphere plug-in will start. Click Next.
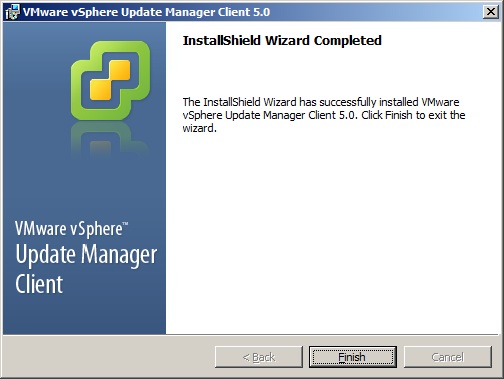
17. When the installation completes Click Finish.
18. The plug-in will now show with a status of enabled.
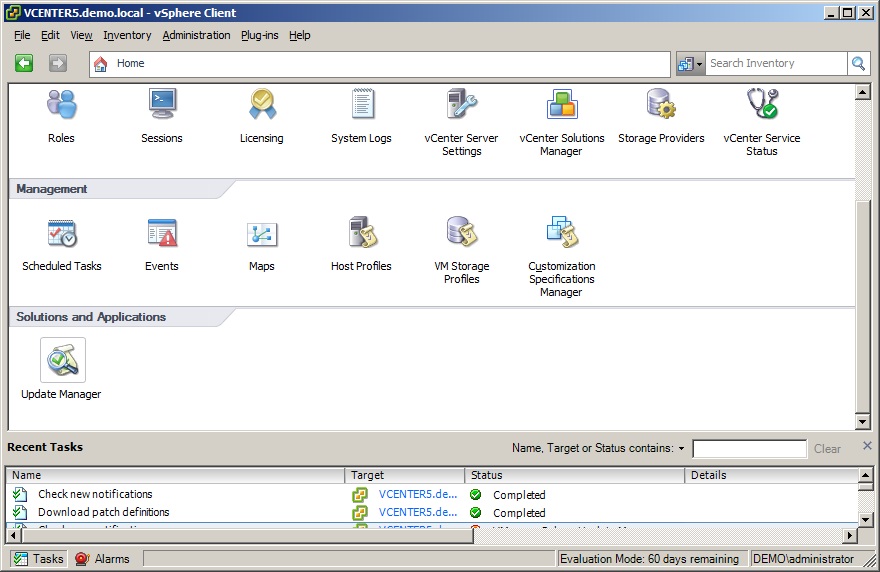
19. Finally an button named "Update Manager" will appear in the Home Screen of the vSphere client when connected to the vCenter Server.
It is from here the admin settings for Update Manager can be found to configure baselines etc. This will be covered in another article.
Share this blog post on social media:
Tweet


Latest Blog Posts
- vSphere 7 U1 - Part 3 - Creating a Datacenter, HA/DRS Cluster and Adding a Host
- vSphere 7 U1 - Part 2 - Deploying vCenter 7.0 U1 VCSA
- vSphere 7 U1 - Part 1 - Installing ESXi 7.0 U1
- Veeam CBT Data is Invalid - Reset CBT Without Powering Off VM
- View Administrator Blank Error Dialog/Window After Upgrade