Dynamic Host Configuration Protocol (DHCP) is a client-server technology that allows DHCP servers to lease IP addresses to a devices (the DHCP clients). This reduces the administration overhead on hundreds or thousands of networked client devices, by configuring them automatically.
Open "Server Manager".
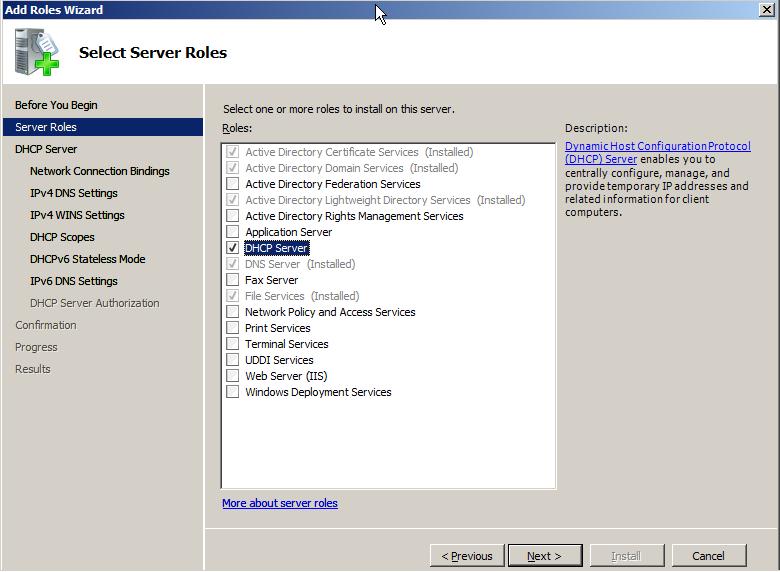
Click "Add Role".
Select "DHCP Server" and click Next.
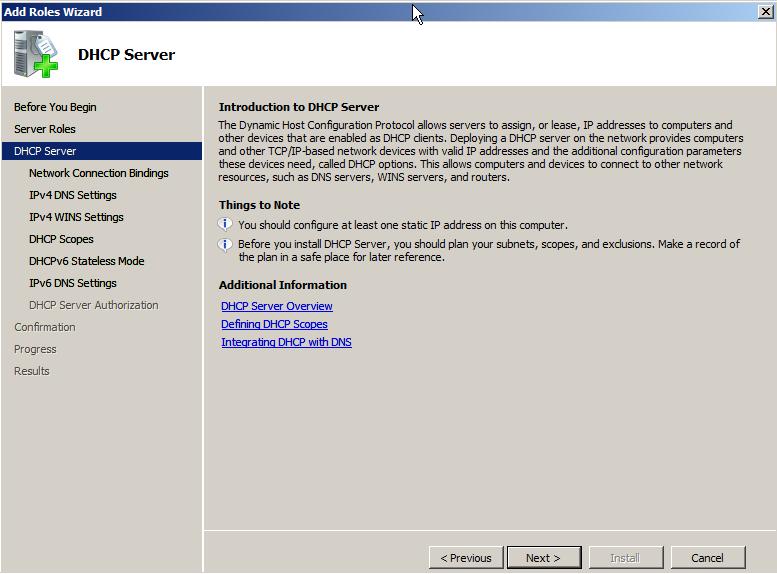
Click Next.
Select the network interface(s) that you want to send/receive DHCP requests on.
Click Next.

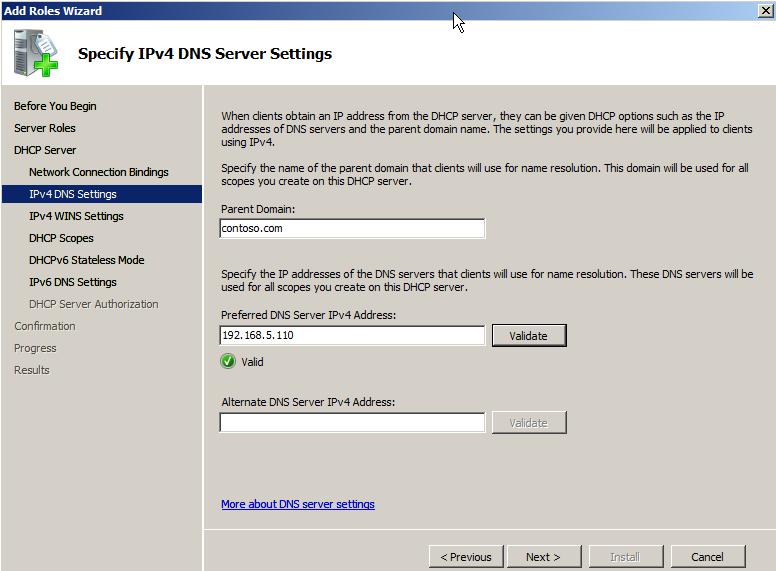
Enter a parent domain (your active directory domain) to apply to DHCP clients.
Enter a preferred DNS server IP.
Enter a secondard DNS server IP (optional).
Click Next.
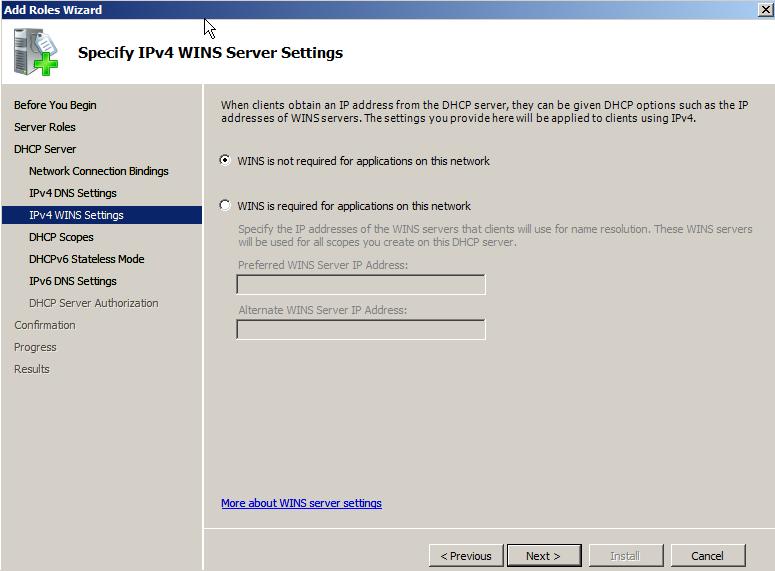
WINS is being replaced by Global Name Zones (GNZ), however you may still use WINS.
Choose your required option and Click Next.
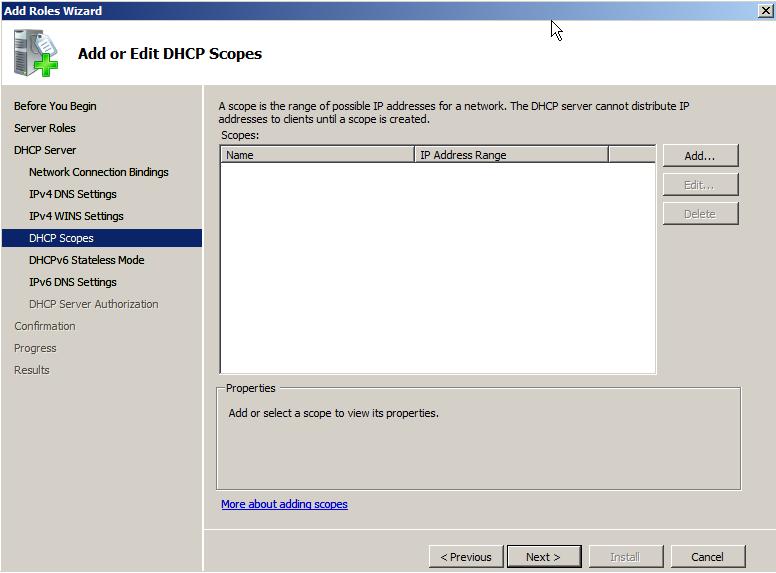
Scopes will be configured after the DHCP server role is installed. Click Next.
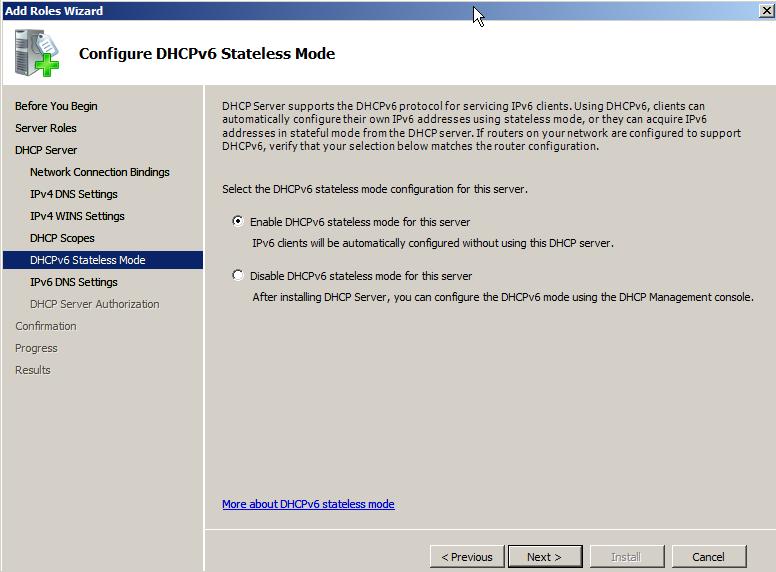
Choose to enable or disable DHCPv6 stateless mode.
Note:
Enable stateless mode = Disable DHCP for IPv6 clients
Disable stateless mode = Enable DHCP for IPv6 clients
Click Next.
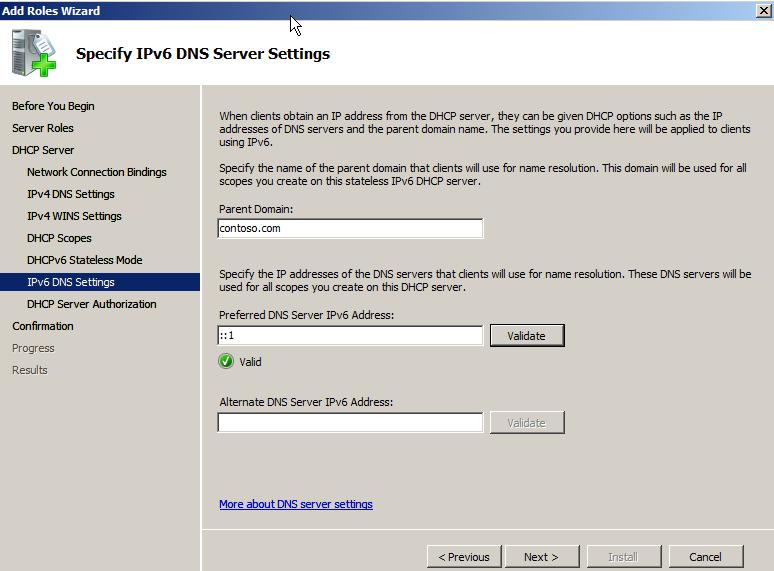
Enter a parent domain (your active directory domain) to apply to DHCP IPv6 clients.
Enter a preferred DNS server IPv6 (::1 default).
Enter a secondard DNS server IPv6 (optional).
Click Next.
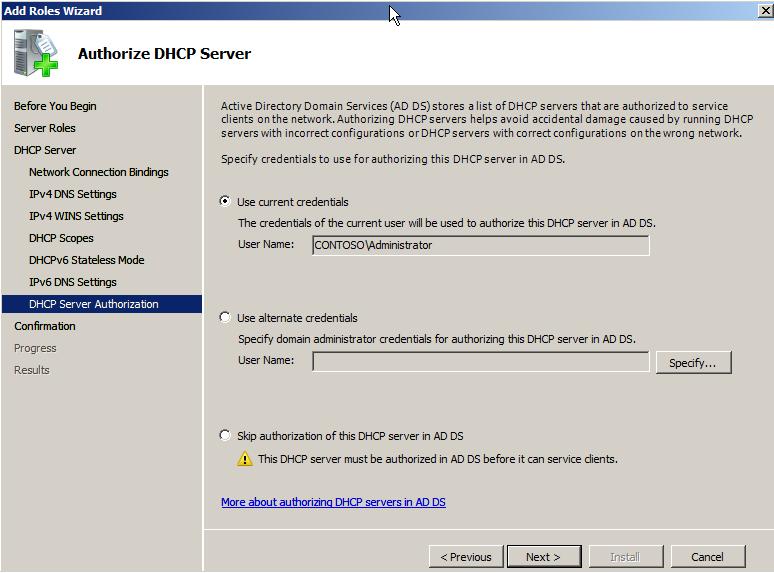
To control the setup of DHCP servers in an enterprise environment, DHCP servers have to be authorized by an account with permissions. This is a member of "Domain Admins".
Enter the appropriate credentials (domain\username and password).
Once authorized the DHCP server role is allowed to be installed.
Click Next.
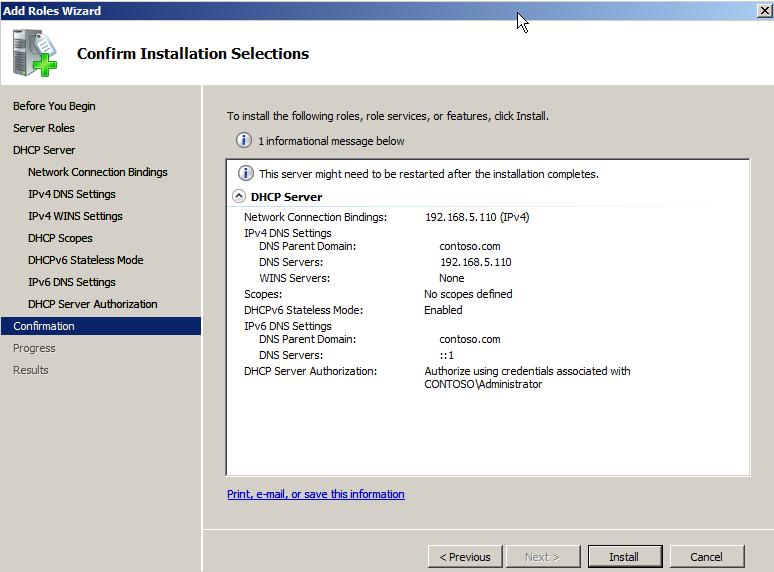
Review the installation settings.
Click Next.
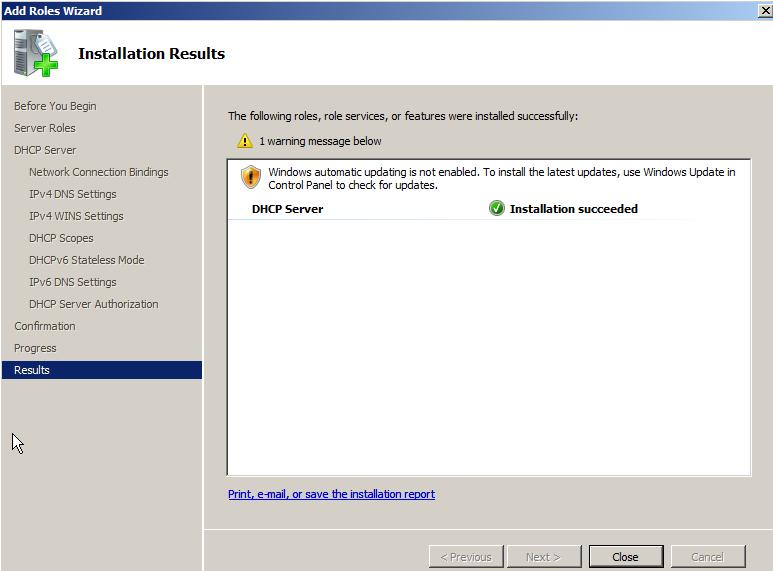
The DHCP Server role installation completes. Click Close.
Open the DHCP Server MMC console.
"Start --> Control Panel --> Administrative Tools --> DHCP"
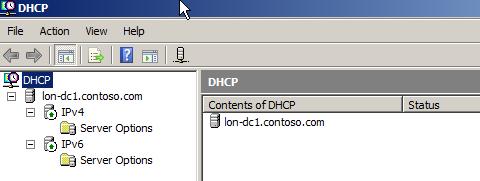
The next step is to configure the DHCP server scopes and options.