I recently added a Juniper SSG5 from eBay to my home lab. When it arrived the config had not been erased as stated, but I've done this before on a Netscreen and the process is exactly the same for both Juniper Netscreen and SSG firewalls.
This process is quite simple once you get the timing right. It may take 2-3 attempts but the end result is a firewall device without any configuration at all and completley as factory defaults, including default username/password (netscreen/netscreen) and default management IP address (192.168.1.1).
Note: While this does reset the password, it also resets all the configuration. If you have forgot your password I'm not aware of any other method other than to reset the device and reconfigure it.
1. Connect to the Juniper SSG firewall console port with a console cable so you can see the output as you reset the device.
You do not need to do this but without seeing the reset confirmation prompts, it might take you many failed attempts in the dark!
Baud Rate: 9600
Parity: No
Data Bits: 8
Stop Bit: 1
Flow Control: None
2. Once your connected to the device you will get a login prompt, this confirms the device has completed booting.
login:
3. On the back of the SSG you will see a reset pin hole. You need to use a paperclip or similar. I use a trusty iPhone sim tool.
Push in the reset button for 4 to 6 seconds and then release.
You will see a console message as below and waiting for a 2nd reset button push.
Configuration Erasure Process has been initiated.
Waiting for 2nd confirmation.
4. Again push in the reset button for 4 to 6 seconds and then release.
The console will confirm the config erase sequence is complete and the firewall device will begin a full reset.
2nd push has been confirmed.
Configuration Erase sequence accepted, unit reset.
Juniper Networks SSG5 Boot Loader Version 1.3.2 (Checksum: A1EAB858)
Copyright (c) 1997-2006 Juniper Networks, Inc.
Total physical memory: 256MB
Test - Pass
Initialization - Done
Hit any key to run loader
Hit any key to run loader
Hit any key to run loader
Hit any key to run loader
Loading default system image from on-board flash disk...
Done! (size = 12,288,000 bytes)
Image authenticated!
Start loading...
.................................................................
.................................................................
.................................................................
.................................................................
.................................................................
.................................................................
.................................................................
.................................................................
.................................................................
.................................................................
.................................................................
.................................................................
.................................................................
.................................................................
.....................
Done.
Juniper Networks, Inc
SSG5/SSG20 System Software
Copyright, 1997-2006
Version 6.1.0r2.0
Load Manufacture Information ... Done
Initialize FBTL 0........ Done
Load NVRAM Information ... (6.1.0)Done
Install module init vectors
Install modules (01038800,01d73848) ...
load dns table : dns table file does not exist.
PPP IP-POOL initiated, 256 pools
Initializing DI 1.1.0-ns
*********************************************************
System time: 21Apr2005:06:43:03
If this is the initial device startup,
use the "set clock" command to set the system clock.
*********************************************************
system init done..
login: ethernet0/2 interface change physical state to Up
bgroup0 interface change physical state to Up
DHCP server set to OFF on bgroup0 (another server found on 192.168.1.254)
System change state to Active(1)
5. Now the device has erased the configuration and rebooted, a login prompt will be displayed.
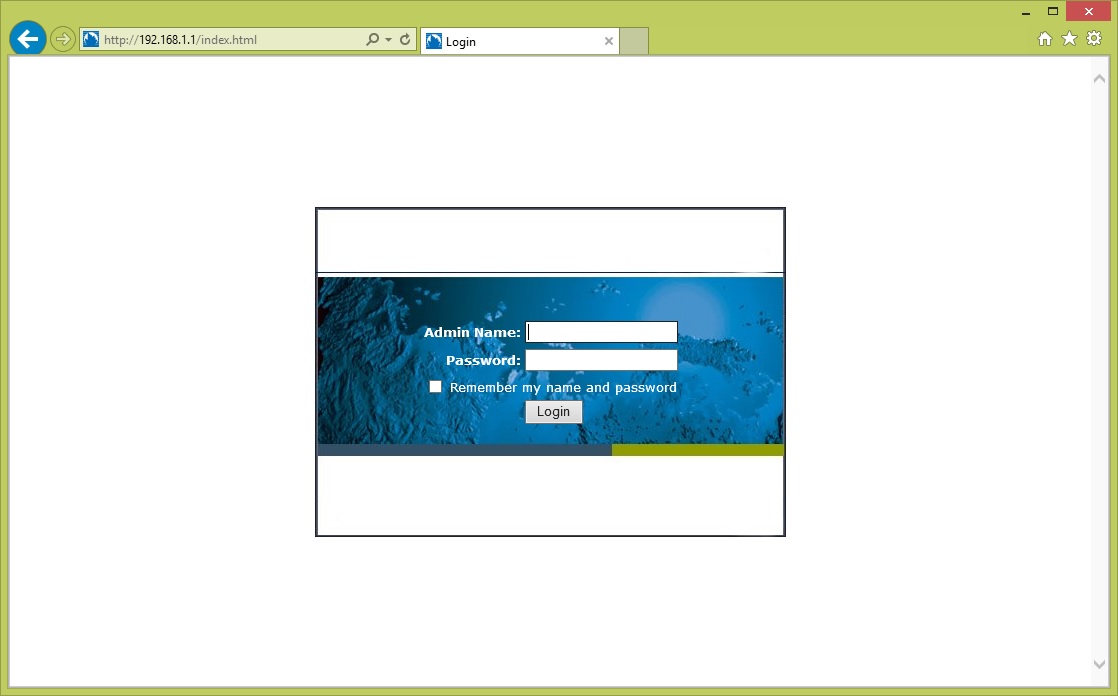
The device management IP address will have been set to 192.168.1.1
Login with the following Juniper Netscreen/SSG defaults:
Username: netscreen
Password: netscreen
login: netscreen
password:
ssg5-serial->
ssg5-serial->
6. Now your able to continue configuring your Netscreen/SSG via the web management interface (192.168.1.1) or CLI
Share this blog post on social media:
Tweet


Latest Blog Posts
- vSphere 7 U1 - Part 3 - Creating a Datacenter, HA/DRS Cluster and Adding a Host
- vSphere 7 U1 - Part 2 - Deploying vCenter 7.0 U1 VCSA
- vSphere 7 U1 - Part 1 - Installing ESXi 7.0 U1
- Veeam CBT Data is Invalid - Reset CBT Without Powering Off VM
- View Administrator Blank Error Dialog/Window After Upgrade