Users can be given access to the local drive(s) on their client device. If the local drive(s) on the server are using letters such as C: and D:, the clients local drive(s) will be automatically mapped to other drive letters.
You may want the local drive(s) on the client to be accessed as C: and D: If so the drive letters on the server must me remapped using the "Citrix Drive Remapping Utility".
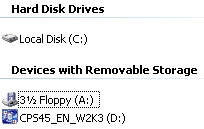
1. By default the servers local drives will appear as C:(System disk) and D:(CDRom or additional disk).
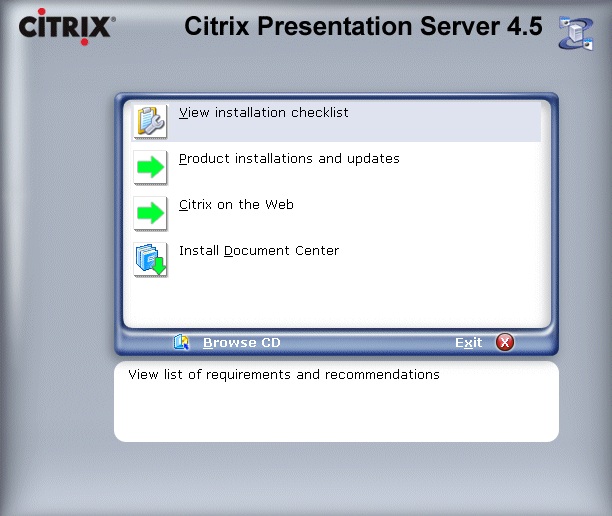
2. To change this, run the "Citrix Drive Remapping Utility" from the Installation CDRom.
Choose "Product Installations and Updates".
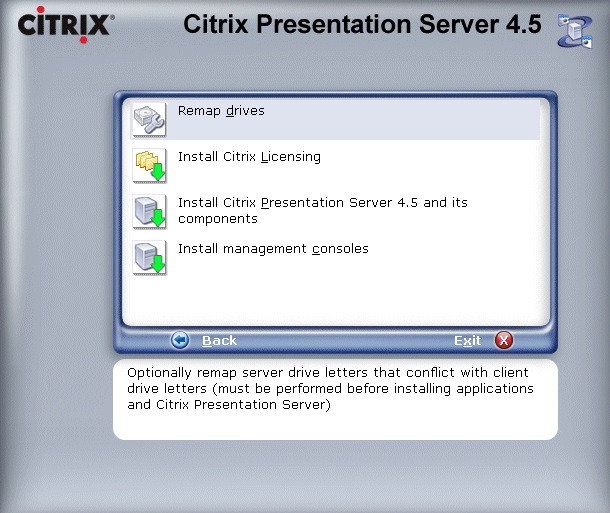
3. Click "Remap drives"
4. The "Citrix Drive Remapping Utility" is displayed.
5. Select the required drive letters for the servers local drive(s).
6. Click OK to remap.
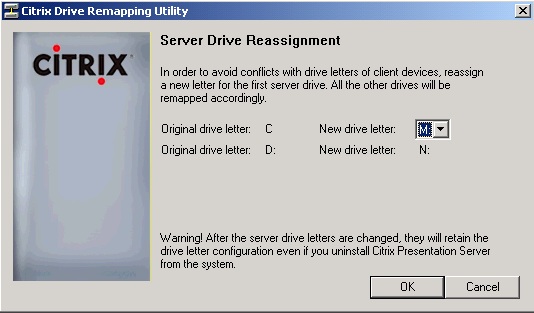
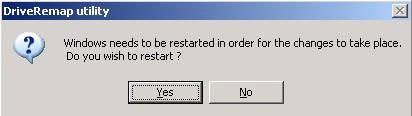
7. Click "Yes" to restart and apply the changes.
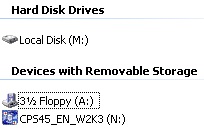
8. Once the server has restarted, check the drives have been remapped as required.
Share this blog post on social media:
Tweet


Latest Blog Posts
- vSphere 7 U1 - Part 3 - Creating a Datacenter, HA/DRS Cluster and Adding a Host
- vSphere 7 U1 - Part 2 - Deploying vCenter 7.0 U1 VCSA
- vSphere 7 U1 - Part 1 - Installing ESXi 7.0 U1
- Veeam CBT Data is Invalid - Reset CBT Without Powering Off VM
- View Administrator Blank Error Dialog/Window After Upgrade