Here we are right at the beginning of a multi part how to series I'm putting together on vSphere 7.0 U1.
If you missed any of the previous parts of the series or want go back/forward here is the jump list:
vSphere 7 U1 - Part 1 - Installing ESXi 7.0 U1
vSphere 7 U1 - Part 2 - Deploying vCenter 7.0 U1 VCSA
vSphere 7 U1 - Part 3 - Creating a Datacenter, HA/DRS Cluster and Adding a Host
The first thing first we are going to install ESXi Server 7.0 U1. This is the baremetal hypervisor that will run our VMs and may be one of several servers you wish to build into a cluster managed by vCenter server to provide HA, DRS and vMotion features for VMs.
The ESXi server installation is straightforward, at this initial stage all we need to do is get the hypervisor installed, then configure the password and basic networking such as IP/subnet/gateway for the management network.
1. Check the server hardware you are installing ESXi 7.0 U1 onto is supported and on the VMware HCL.
2. Login to the VMware license portal to check/upgrade/buy your vSphere licenses.
3. Read the ESXi 7.0 Installation and Setup Guide to ensure you understand the pre-requisites.
4. Download the VMware ESXi 7.0 U1 ISO file from the VMware download area, "VMware-VCSA-all-7.0.1-16860138.iso".
5. Burn the ESXi 7.0 U1 ISO to a CD.
6. Disconnect all Fibre Channel connections (if any) and boot the server from the CD.
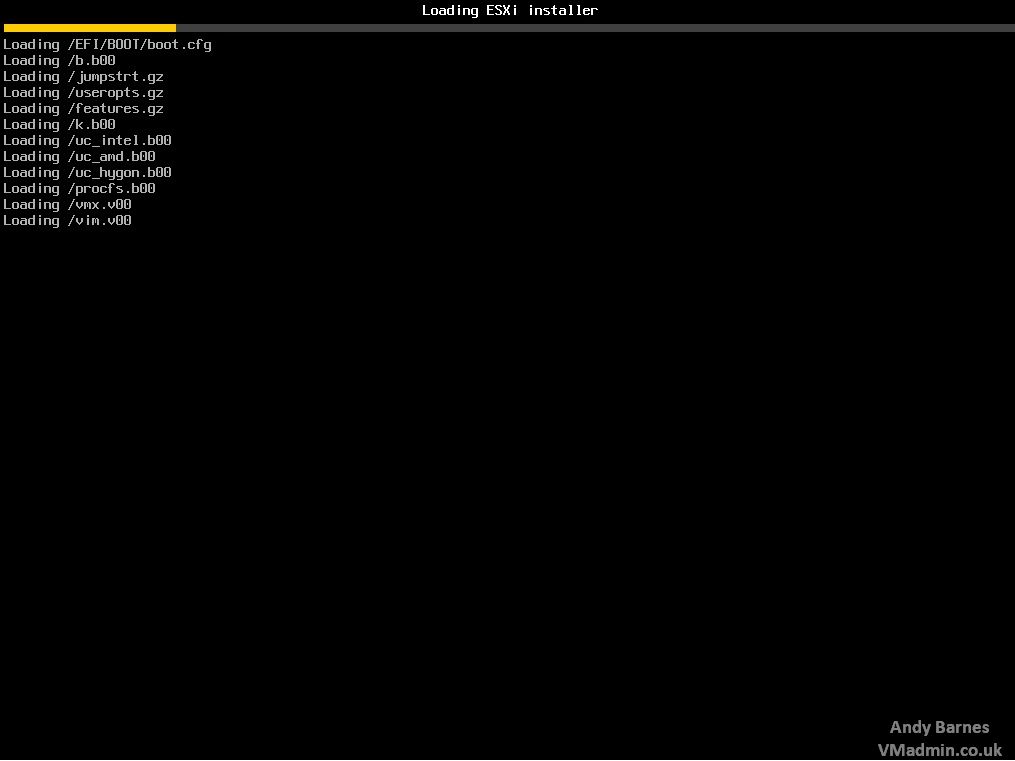
7. Boot the server from the CD, the ESXi installer will load as shown below.
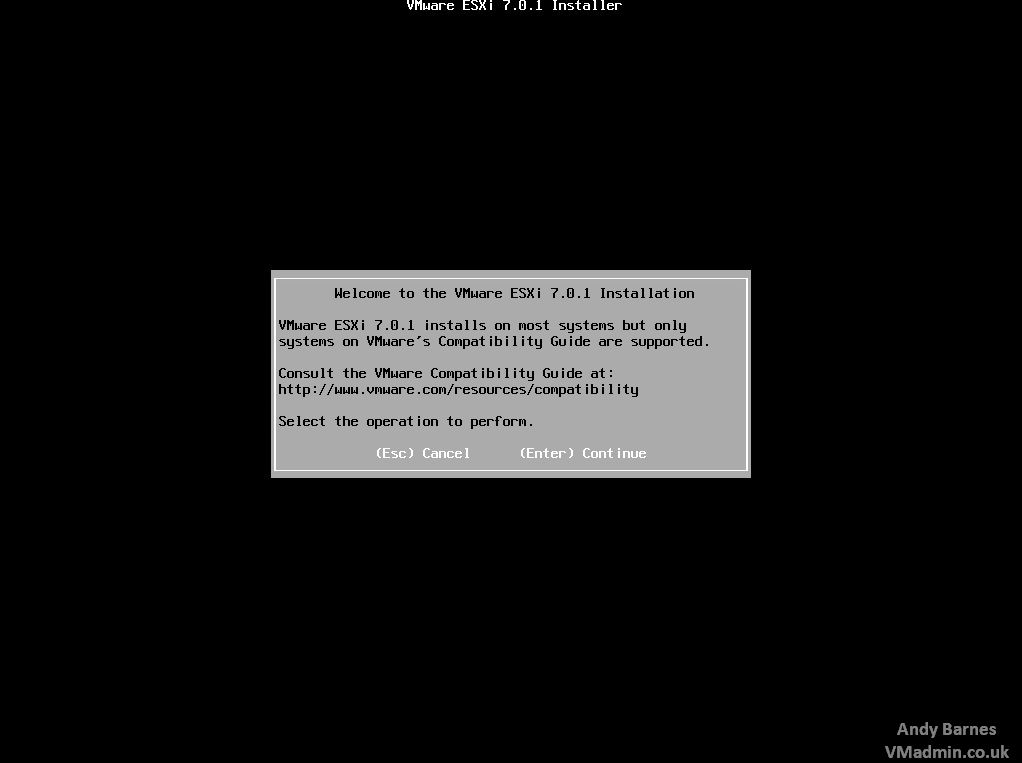
8. Once the ESXi installer has completed loading, press F11 to continue.
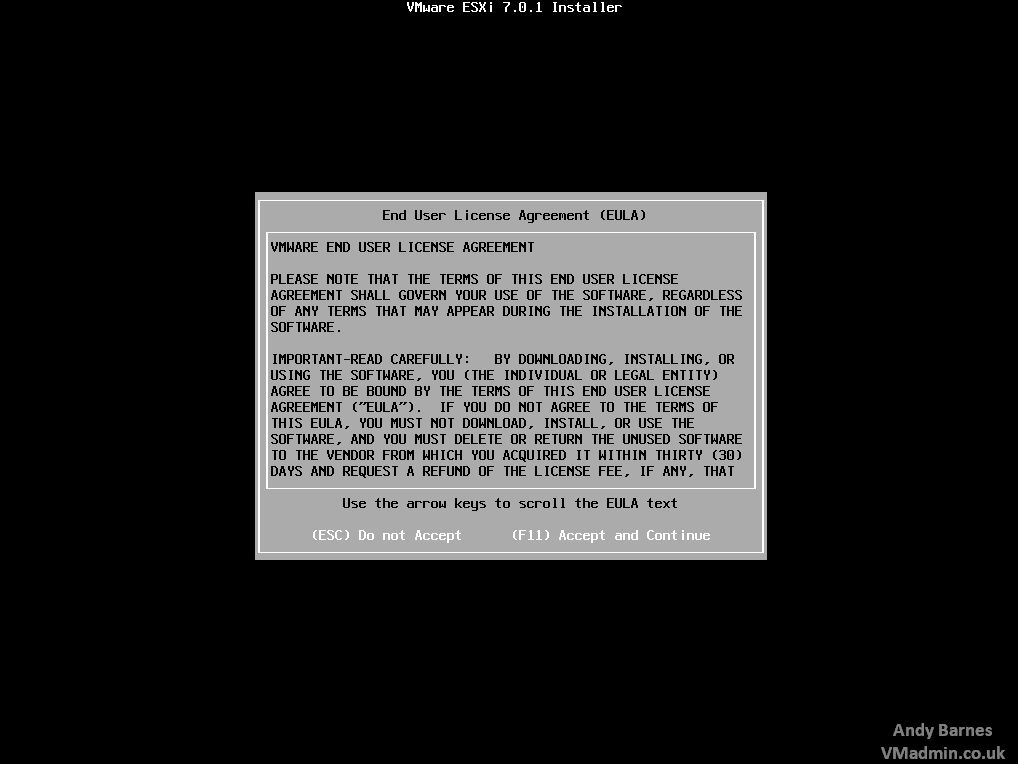
9. Accept the EULA by pressing F11.
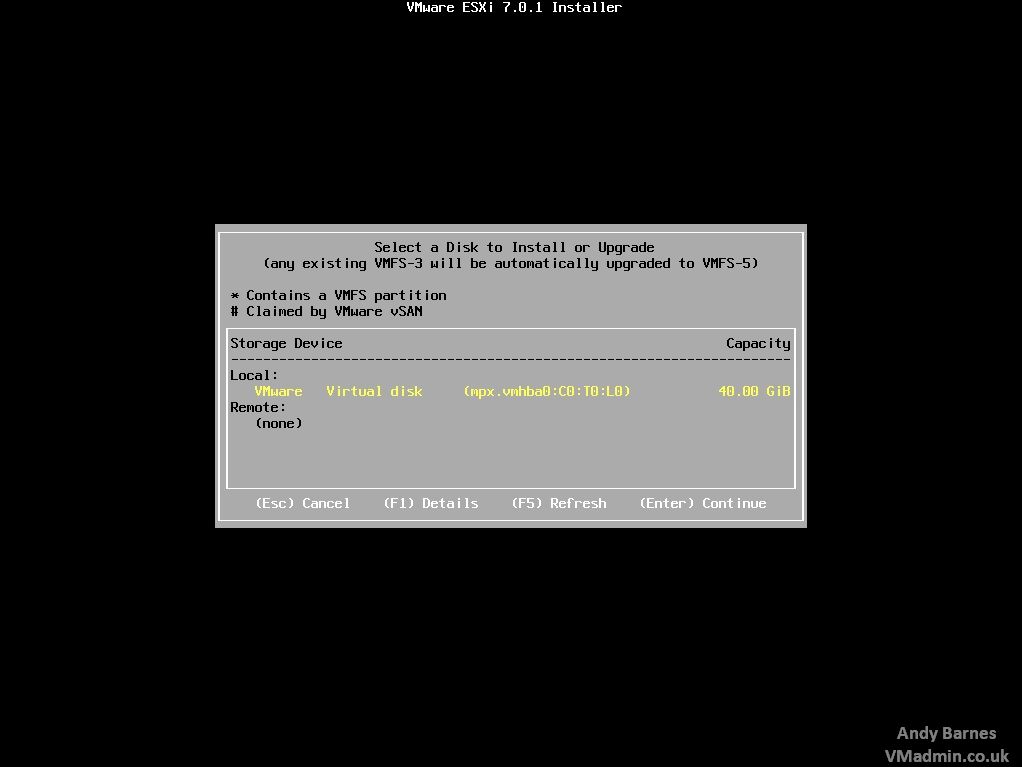
10. Select the disk to install ESXi to. and hit Enter If you have multiple disks available ensure you select the correct one.
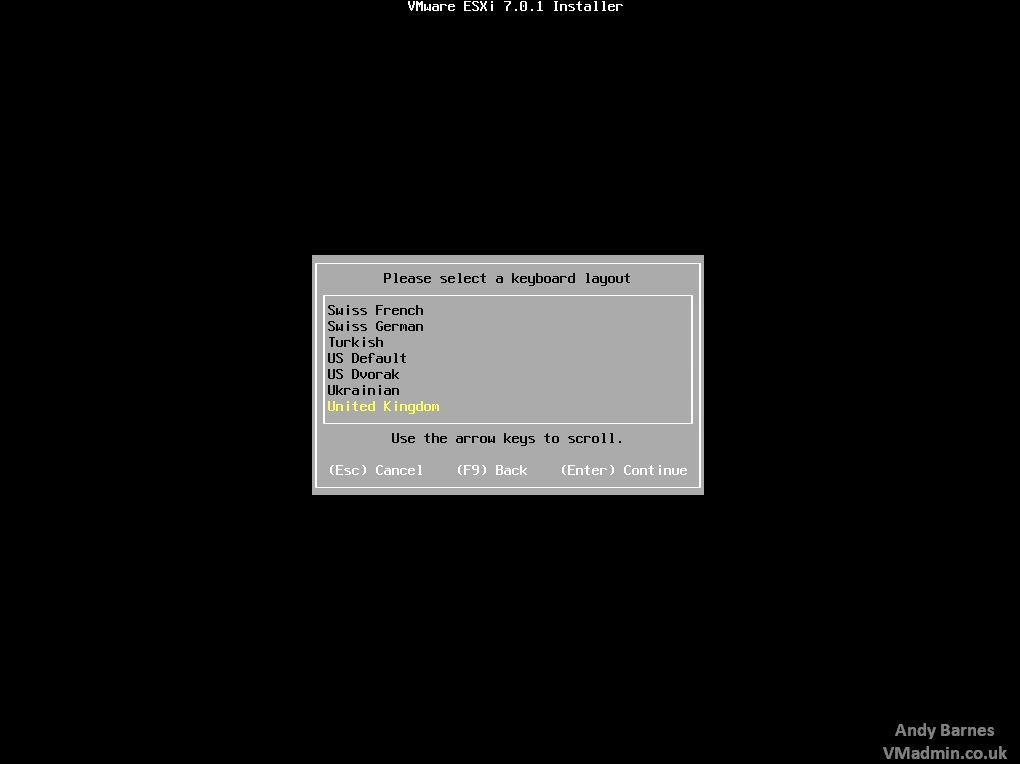
11. Select your keyboard layout and press Enter.
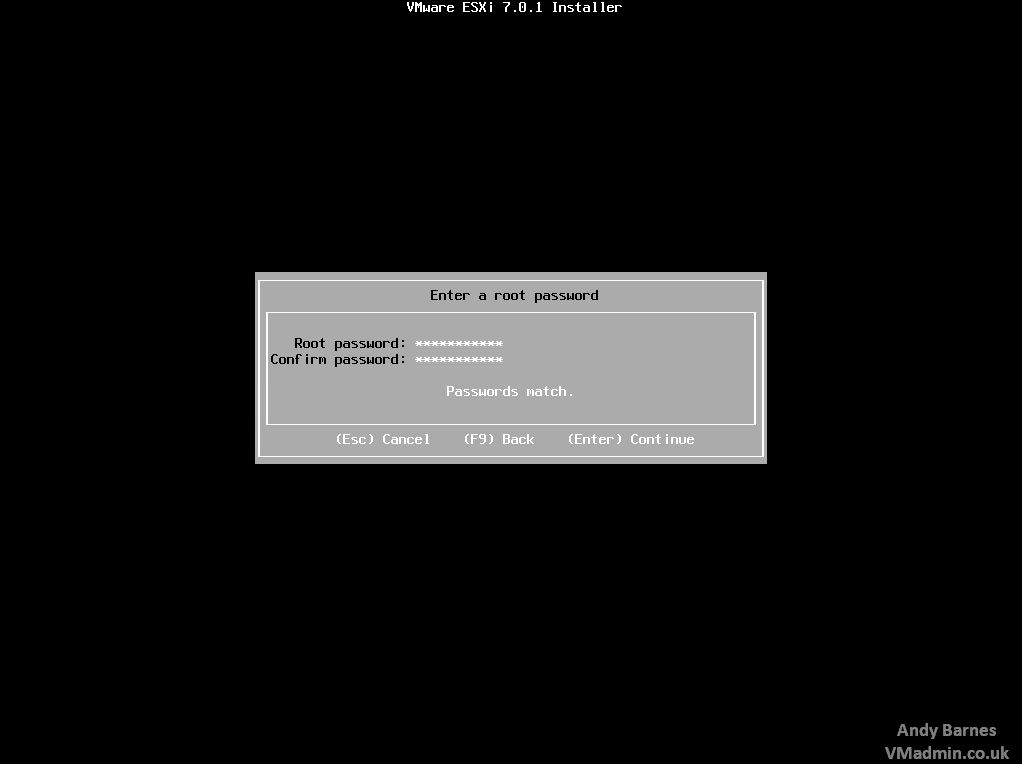
12. Enter a secure password and confirm by entering twice, then press Enter.
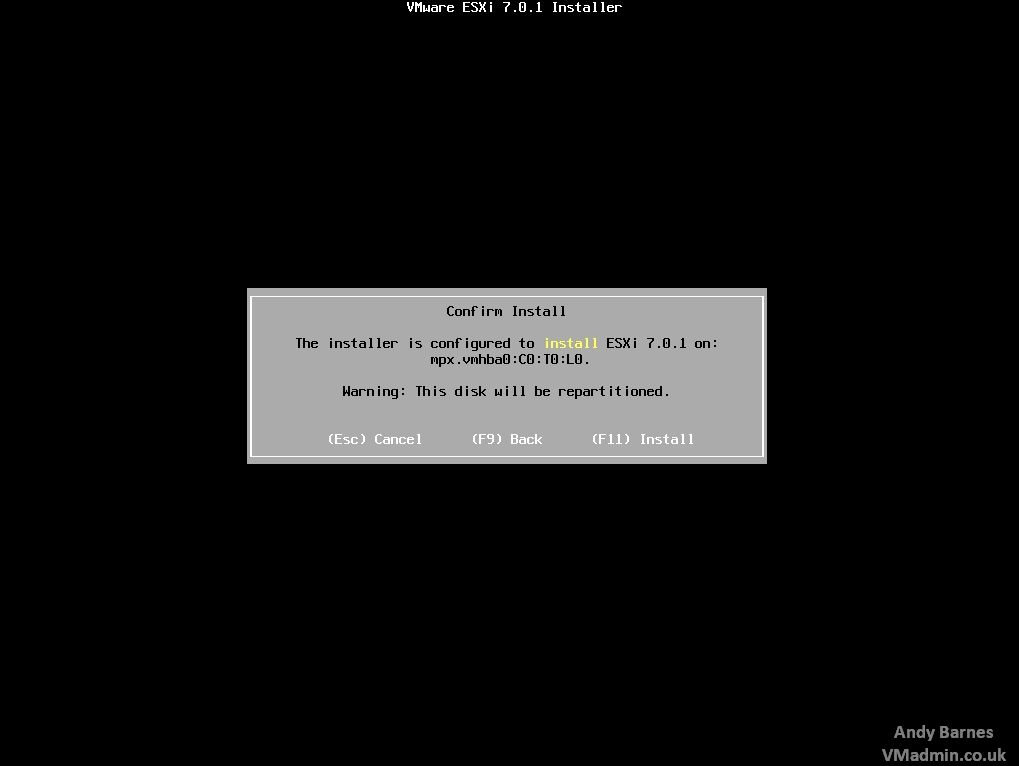
13. Confirm to start the installation by pressing F11.
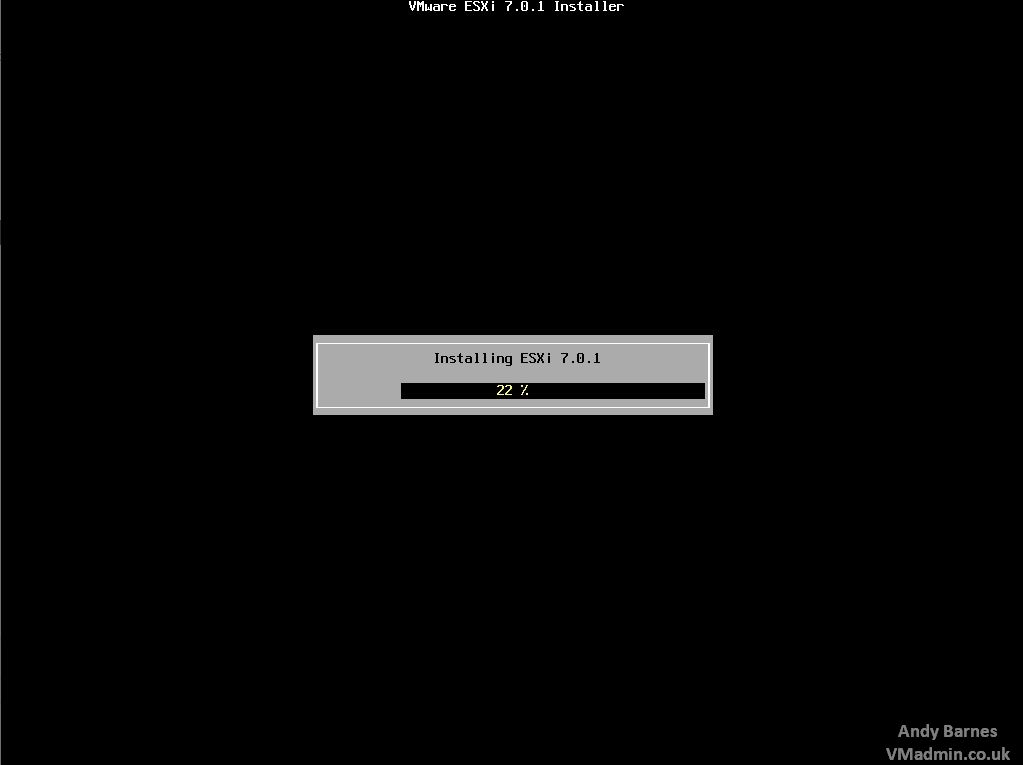
14. The ESXi installation will start. This will only take a few minutes.
15. Once the installation completes, remove the CD and press Enter to reboot the server.

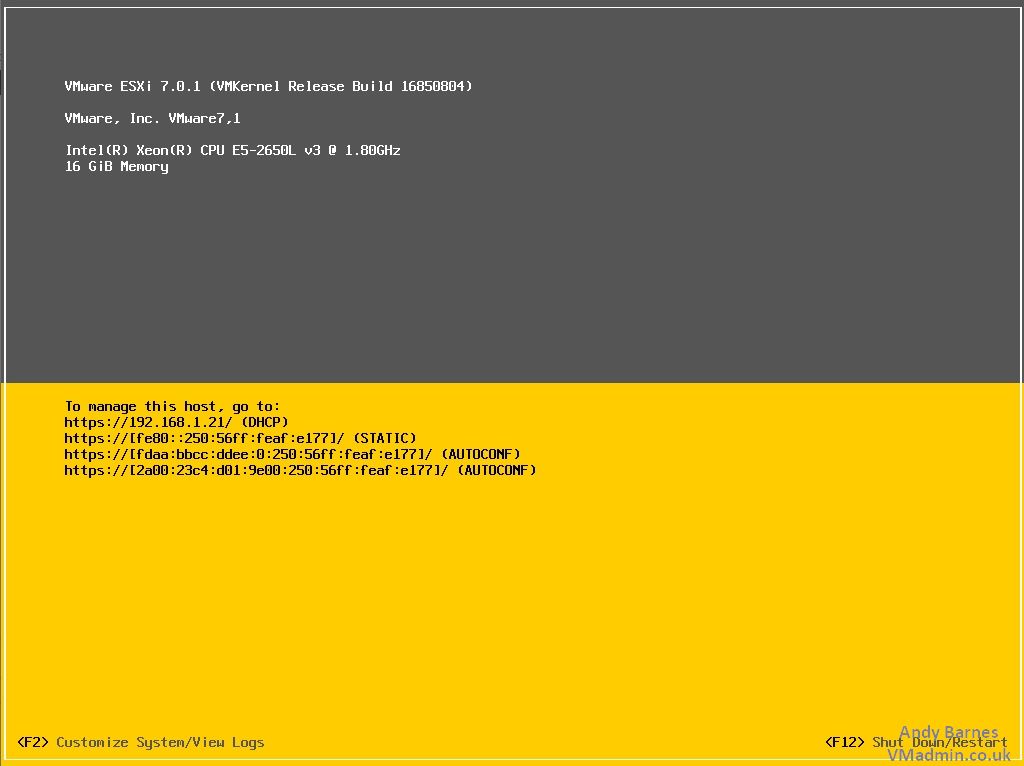
16. When the server first boots it does not have any configuration. It will request a DHCP lease by default. Press F2 to configure the server.
17. Enter the root password specified at installation time.
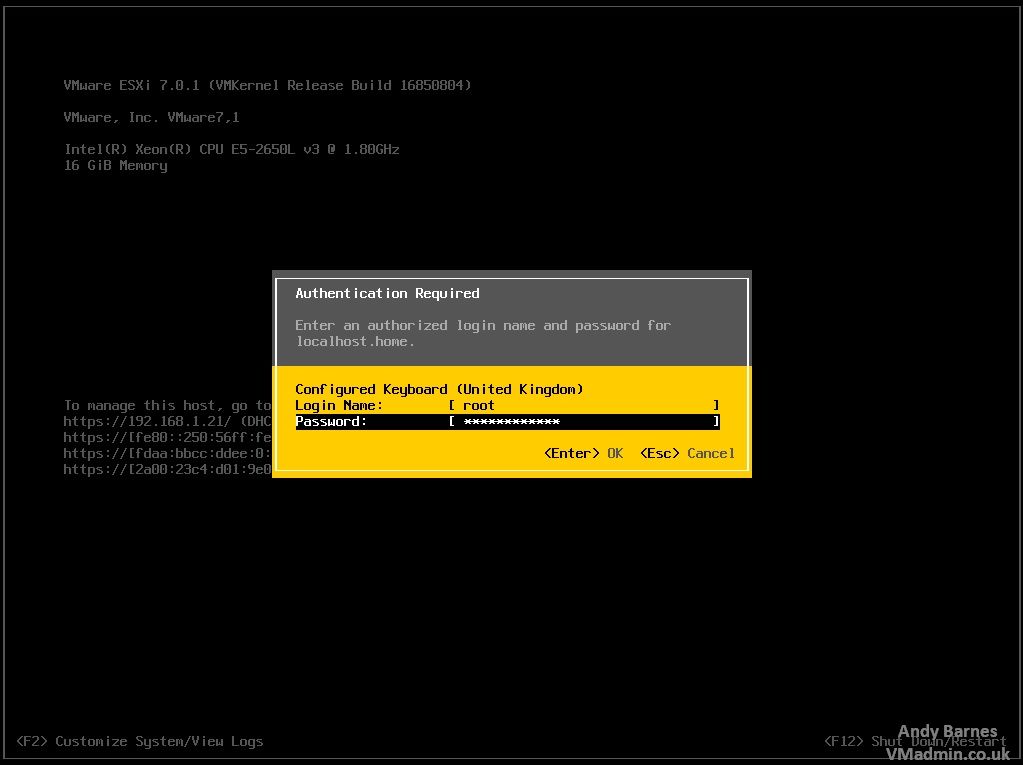
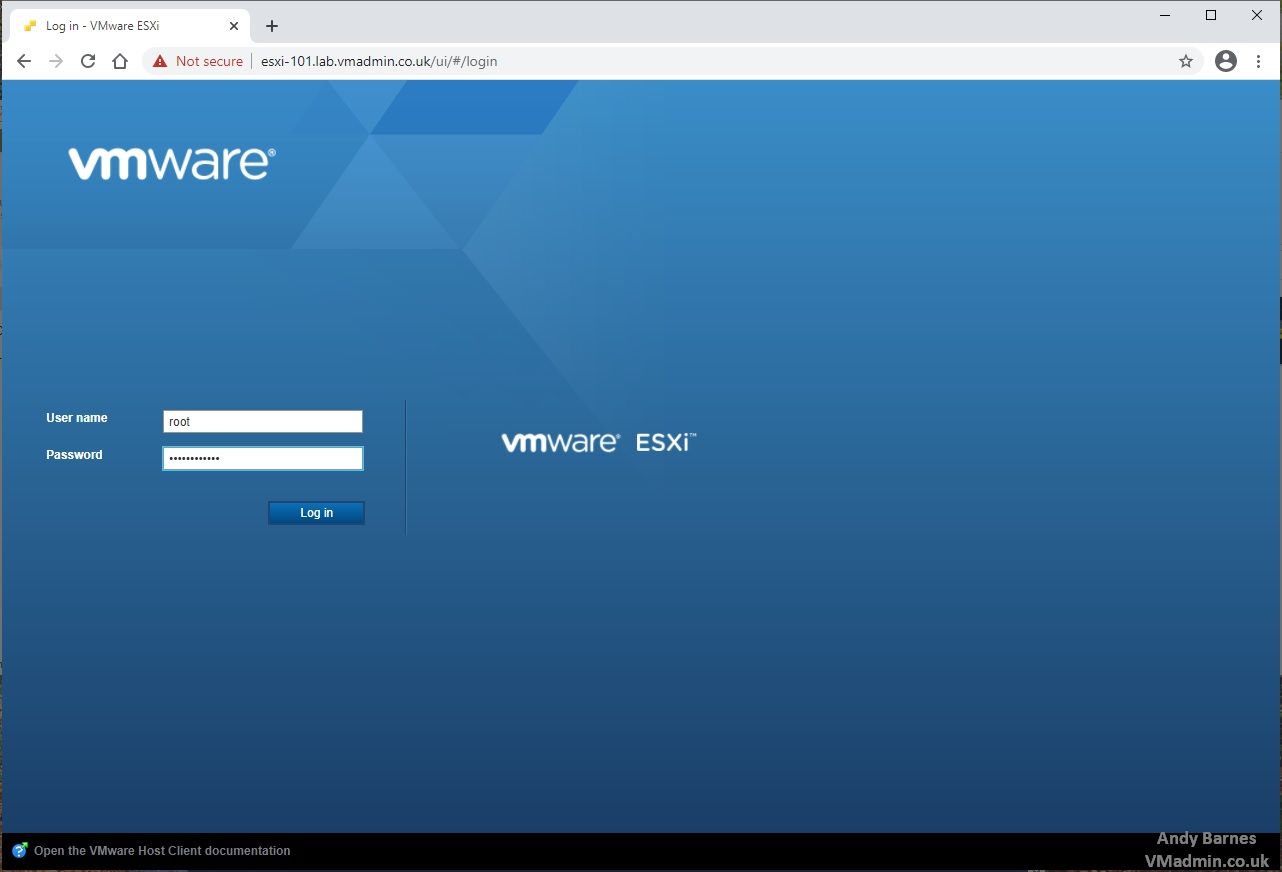
18. You can change the password here if required.
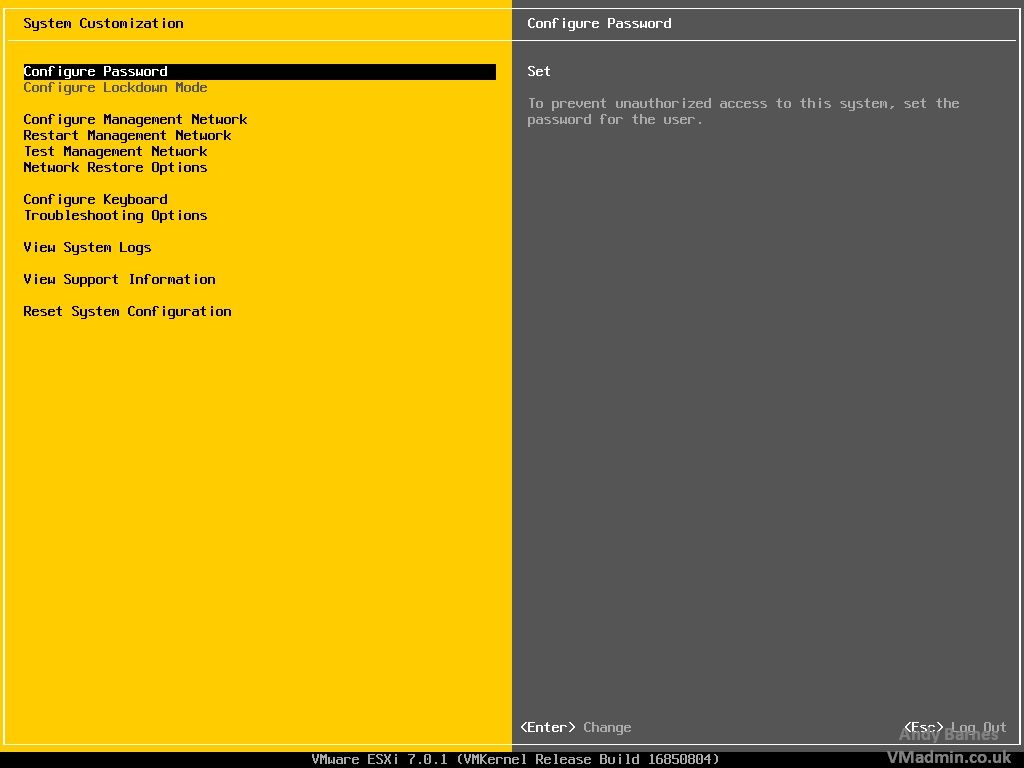
19. Go down to "Configure Management Network" and press Enter.
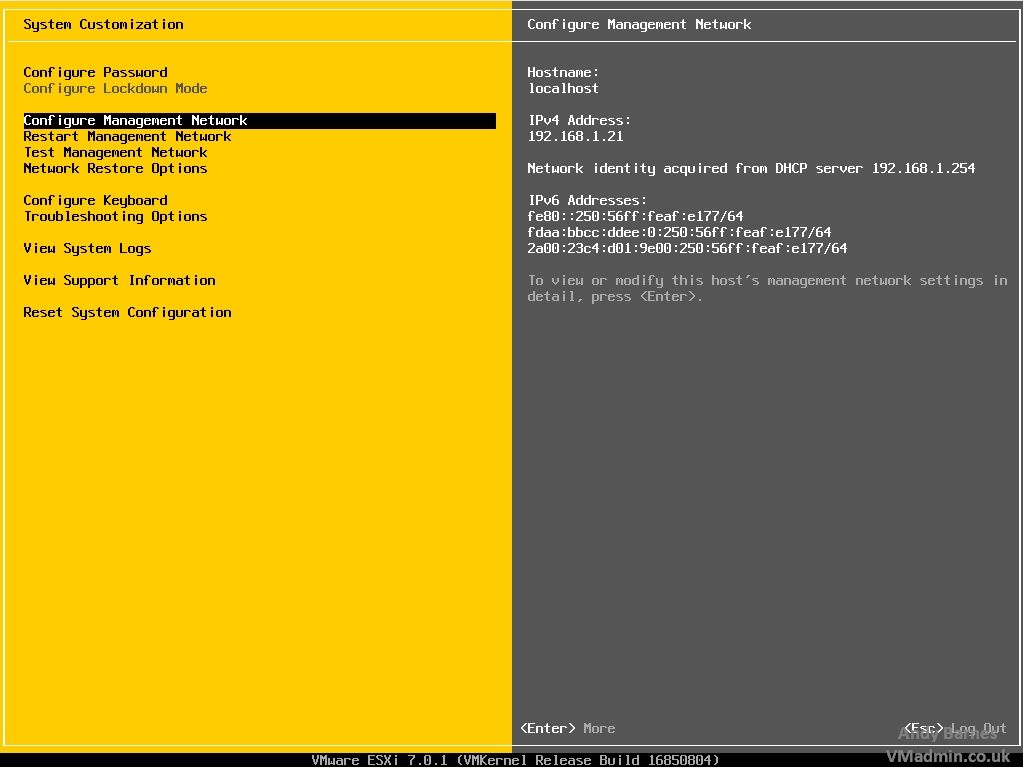
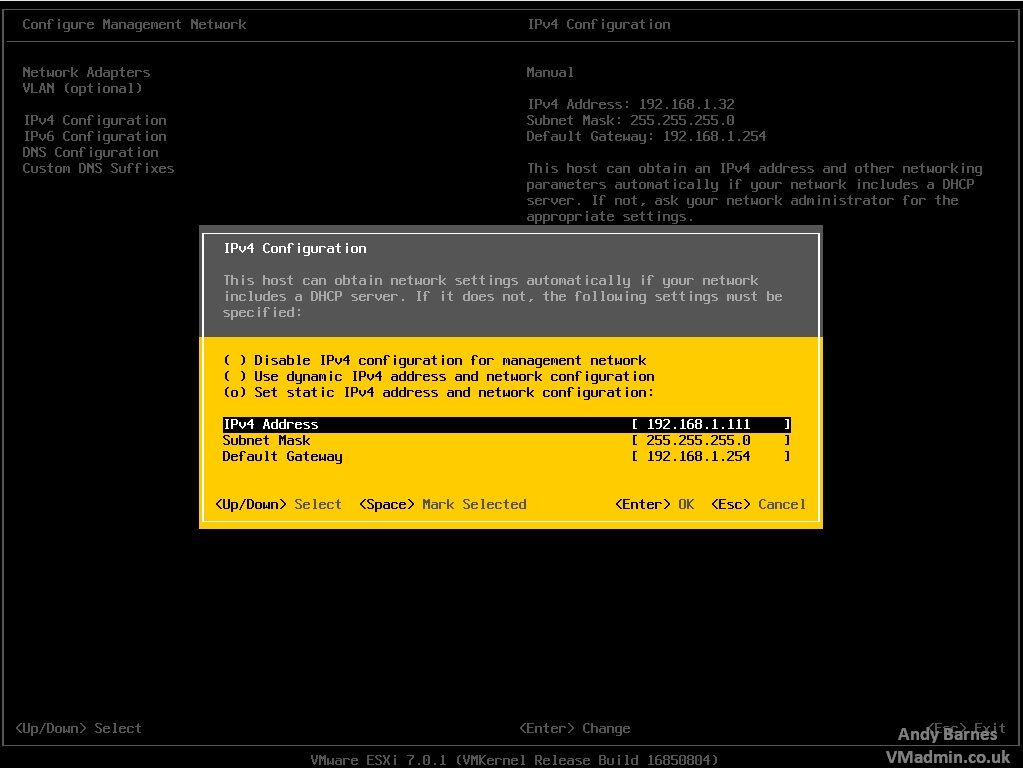
20. Change from dynamic IPv4 address to Static IPv4 address. Enter the management IP you want to assign to the ESXi host, network mask and gateway for the network. Press Enter.
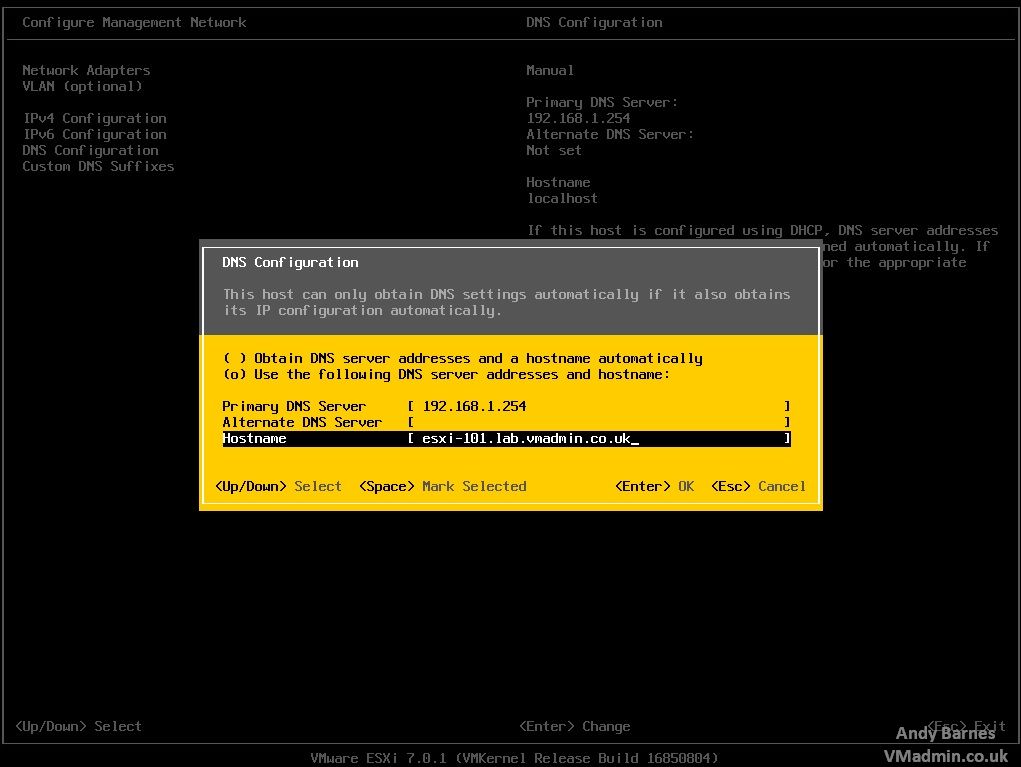
21. Go down to "DNS Configuration" and enter your DNS server IP(s) and a hostname for the server. Press Enter.
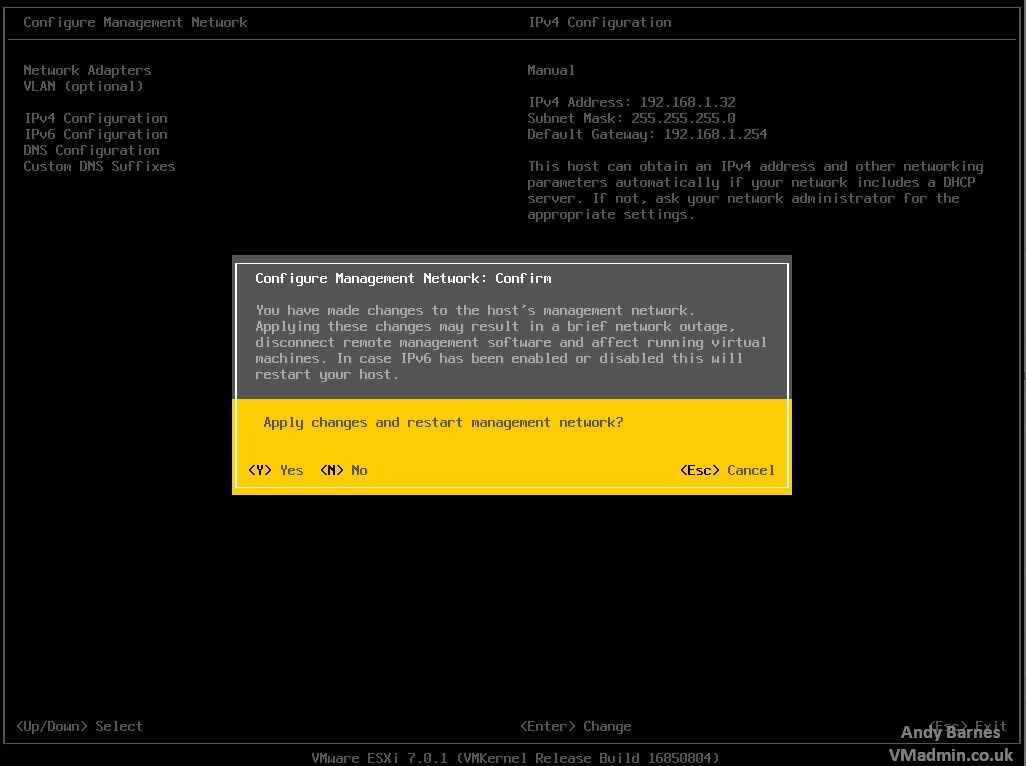
22. Press ESC to leave the management network configuration. Press "Y" to confirm the change and restart the management network.
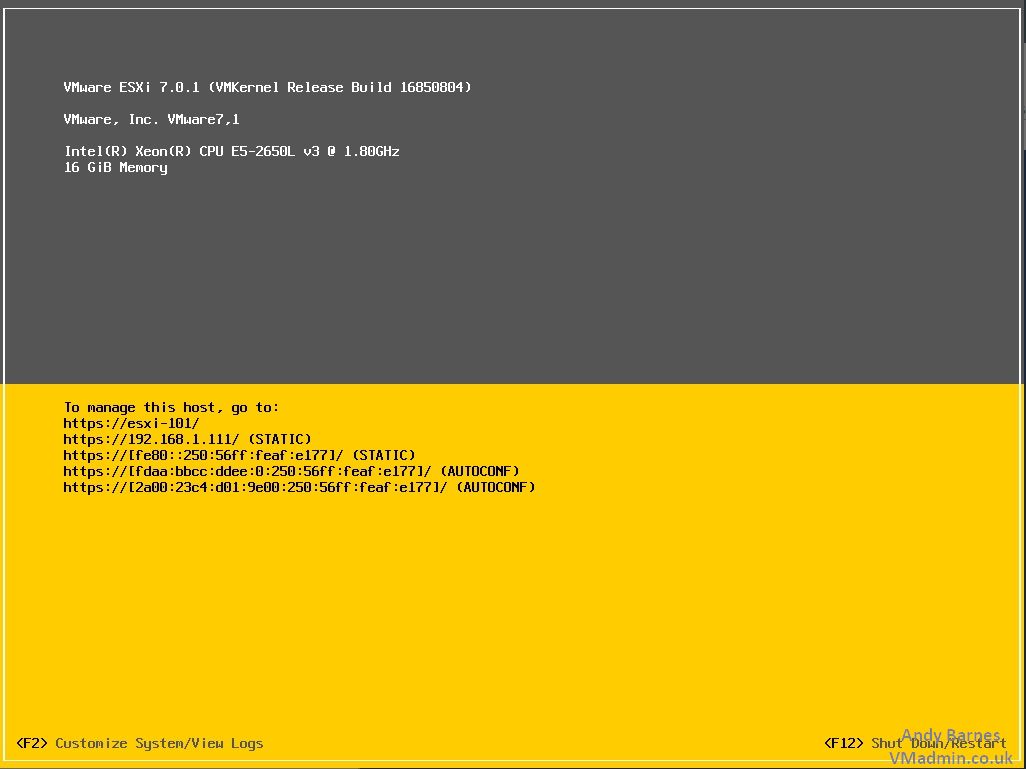
23. You will now see the static IP and hostname assigned to the server on the main post boot screen.
24. Browse to the IP or hostname and login as root.
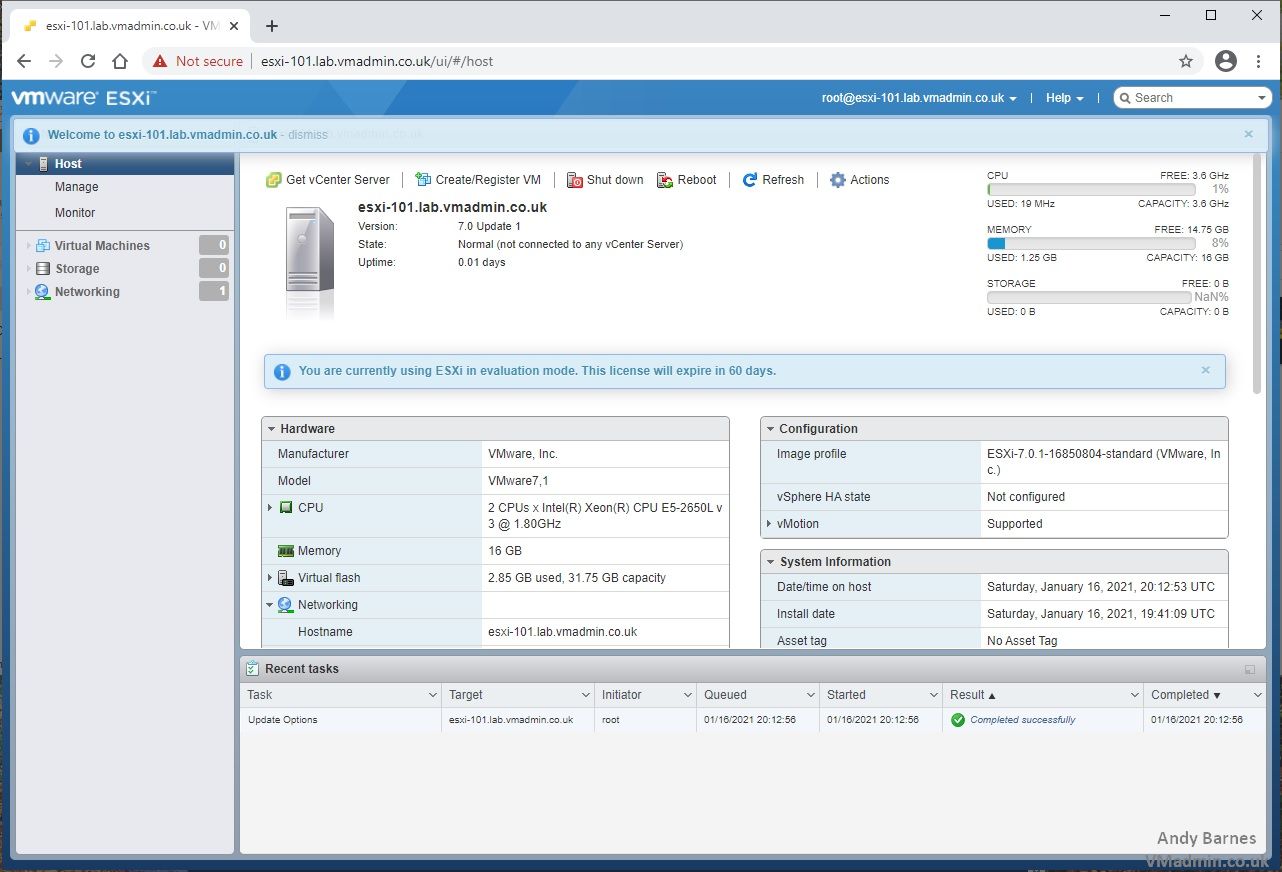
25. Once logged in as root you will see the ESXi is now fully installed and ready to provision VMs. The first VM we will deployed is the VMware vCenter Server (VCSA) in the next part of this series.
Continued in the next part..
vSphere 7 U1 - Part 2 - Deploying vCenter 7.0 U1 VCSA
Share this blog post on social media:
Tweet


Latest Blog Posts
- vSphere 7 U1 - Part 3 - Creating a Datacenter, HA/DRS Cluster and Adding a Host
- vSphere 7 U1 - Part 2 - Deploying vCenter 7.0 U1 VCSA
- vSphere 7 U1 - Part 1 - Installing ESXi 7.0 U1
- Veeam CBT Data is Invalid - Reset CBT Without Powering Off VM
- View Administrator Blank Error Dialog/Window After Upgrade