In this blog post I am going to walkthrough a simple installation of SQL Server 2012 and the following 2 standard features on a domain joined Windows Server 2012:
- Database Engine
- Management Tools
1. Download SQL Server 2012 from Microsoft.
2. Obtain the license key for the edition of SQL that you wish to run (here I am using evaluation).
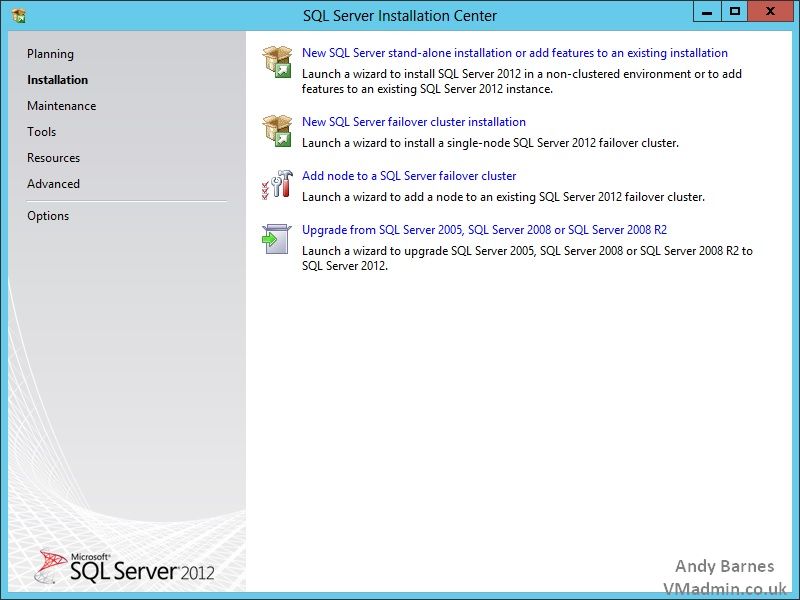
3. Launch the SQL Server Installation Center
4. Click "New SQL Server standalone installation or add new features to an existing installation"
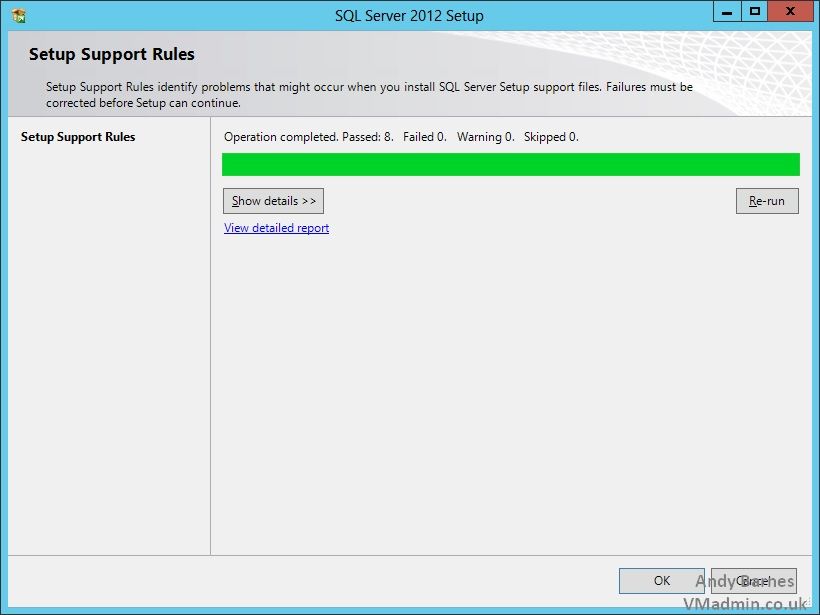
5. SQL Server 2012 Setup will run some checks to ensure your system is compatible and there are no issues with the installer on your system.
Click Ok.
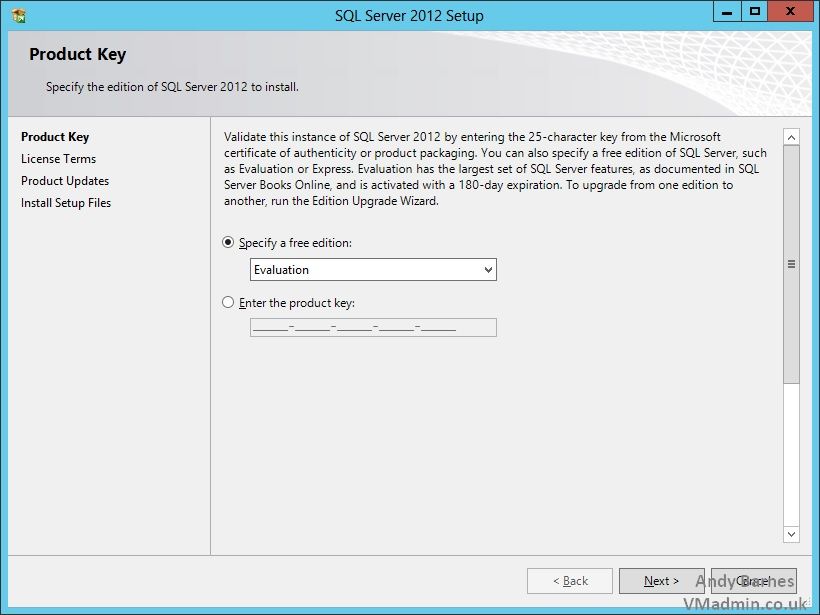
6. Enter your product key for the edition you wish to use or select a free edition such as evalutaiton or express.
Click Next.
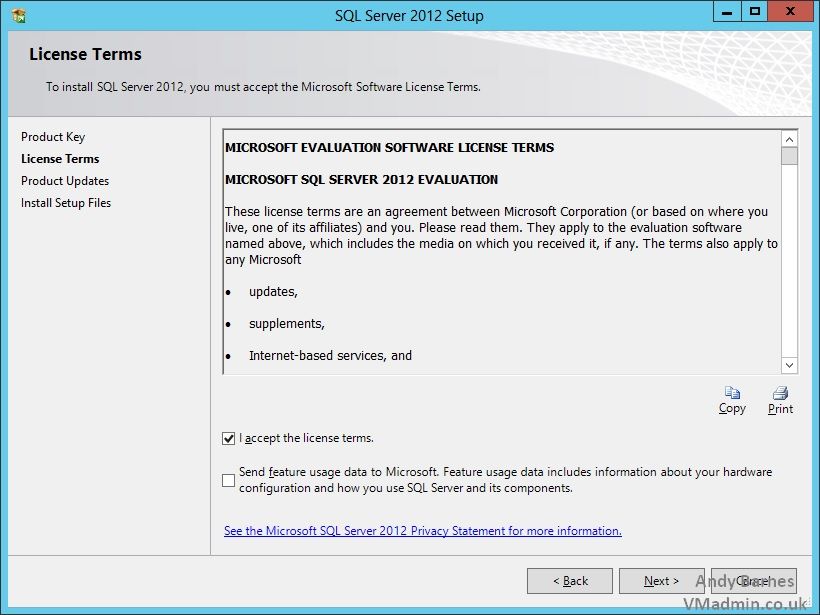
7. Read and accept the license agreement.
Click Next.
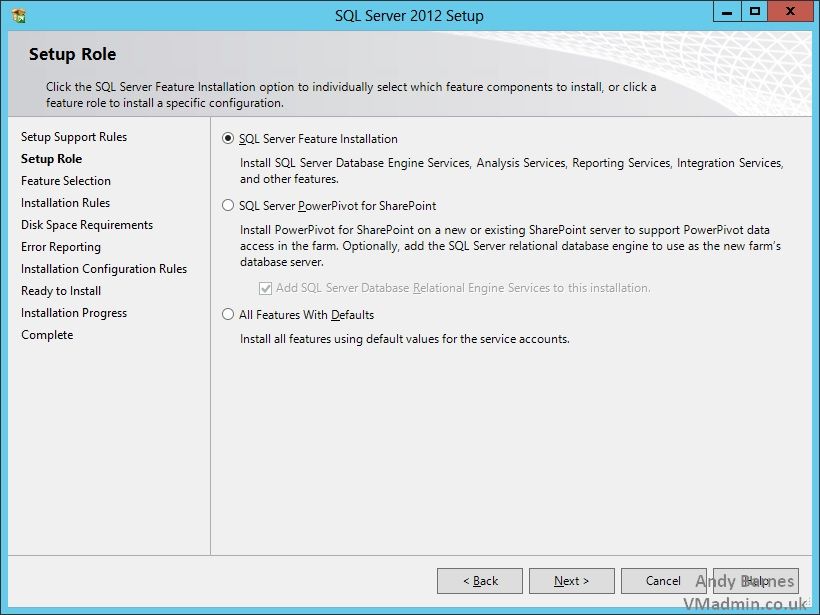
8. Select "SQL Server Feature Installation" and click Next.
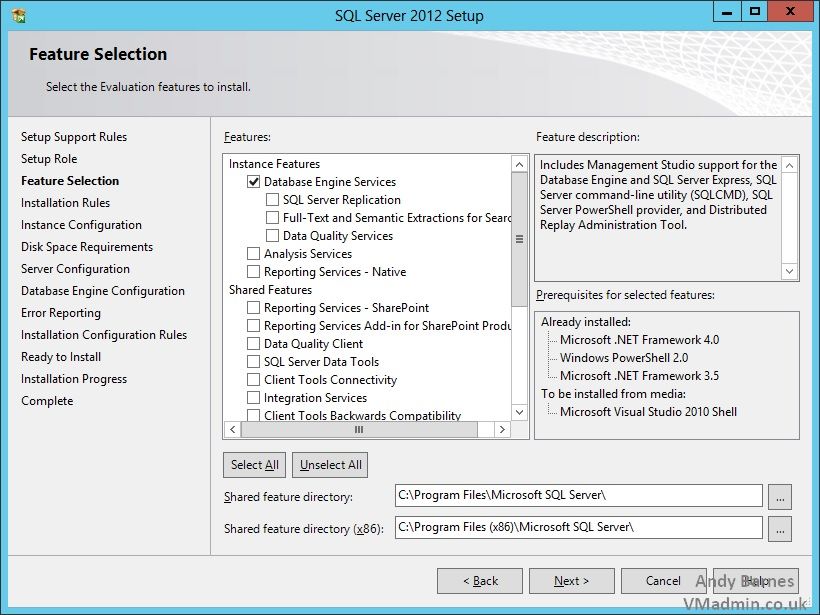
9. Select the following 2 features leaving the rest unticked:
- Database Engine
- Management Tools
Change the installation directory as required.
Click Next.
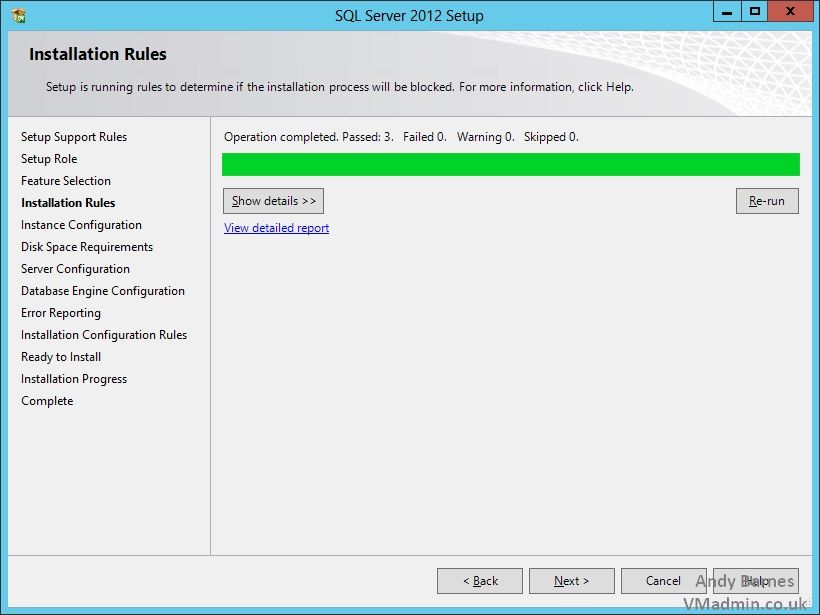
10. SQL setup will run some installation rules again to check compatability fo rthe features you selected. Click Next.
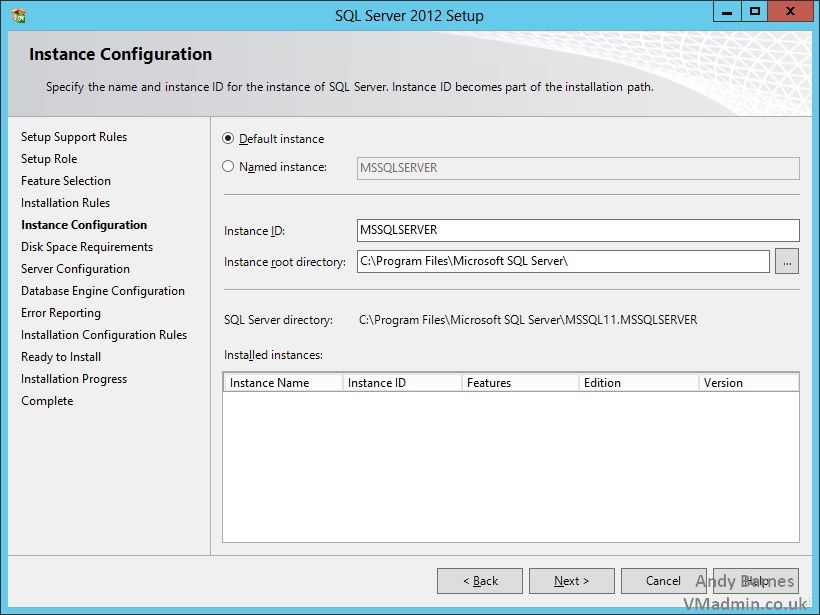
11. Select "default instance" (MSSQLSERVER) or create a named instance of your required name.
Click Next.
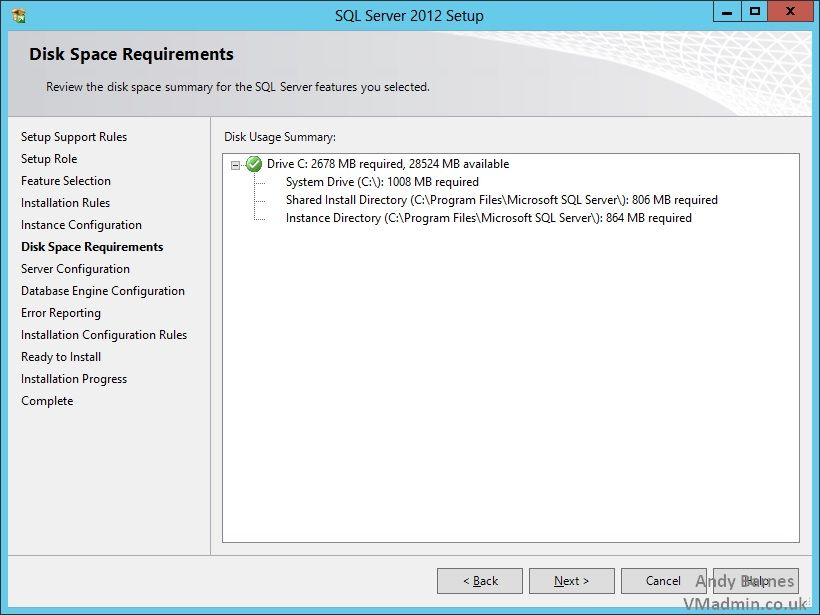
12. Review the disk space requirements and the directories you have chosen to install SQL to.
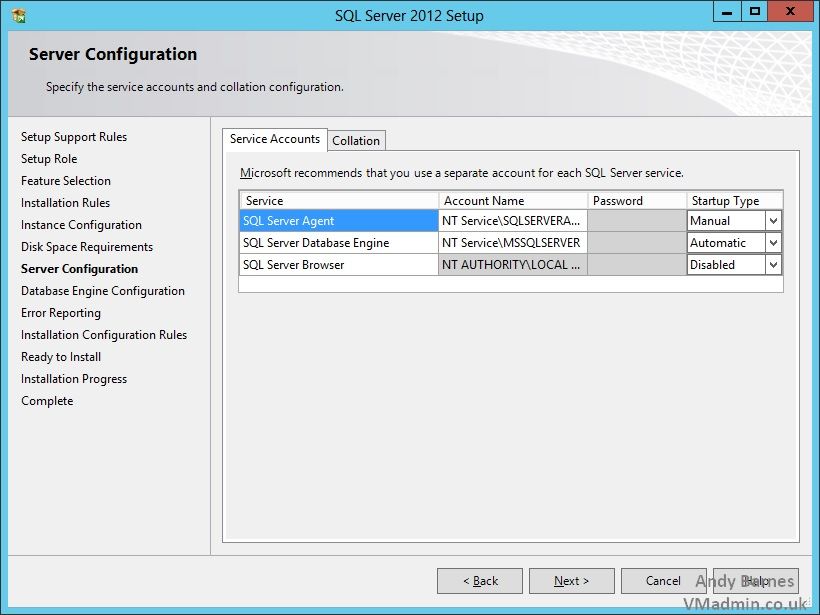
13. At this stage you can choose to either run your SQL Server services under the NTSERVICE and LOCALSYSTEM or your own domain based user service accounts.
Note: If you decide to use domain based user account for the service account, you should register an SPN (Service Principal Name) in Active Directory for that domain user account.
On a domain controller run the following:
setspn –A MSSQLSvc/<SQL Server NETBIOS Name>:1433 <domain\account>
setspn –A MSSQLSvc/<SQL Server FQDN>:1433 <domain\account>
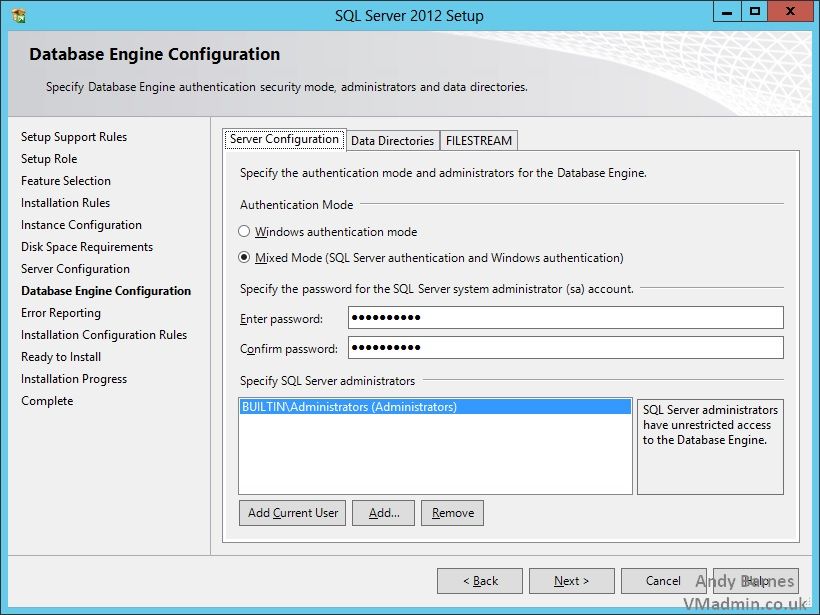
14. Specify if you want to run SQL in mixed mode authentication or Windows auth only.
My preference is to run in Mixed mode, Microsofts recommentation is to run in Windows auth mode only.
You can change this at any time, however it requires a restart of the MSSQL service.
You need to know what authentication your applications/servers will be using to set this correctly, however mixed mode will allow both Windows and SQL auth if you are unsure.
15. You can also set the data directories for the SQL database files (.MDF, .LDF) to seperate drives if you require in the "data directories" tab.
16. Specify the full adminisrators of this SQL Server. By default this is the local administrators group.
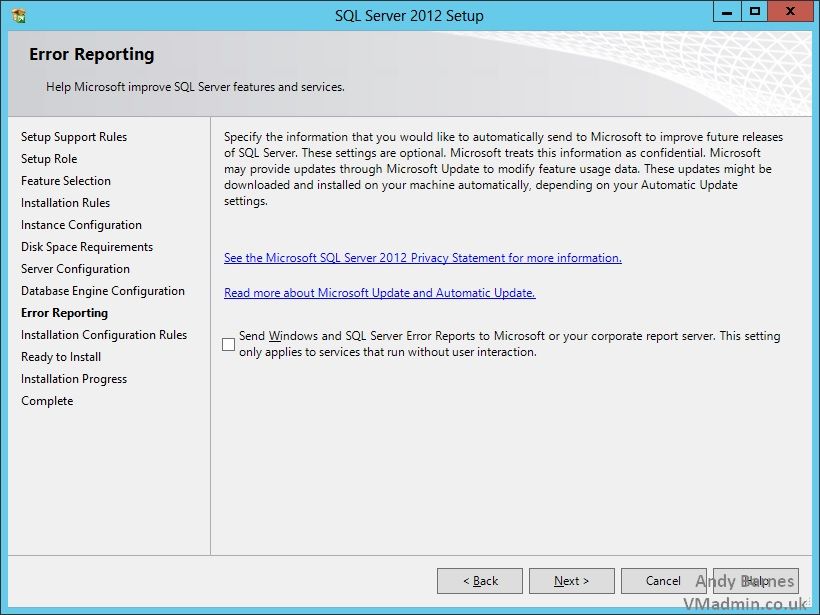
17. Op to send Windows and SQL error reports to Microsoft. Click Next.
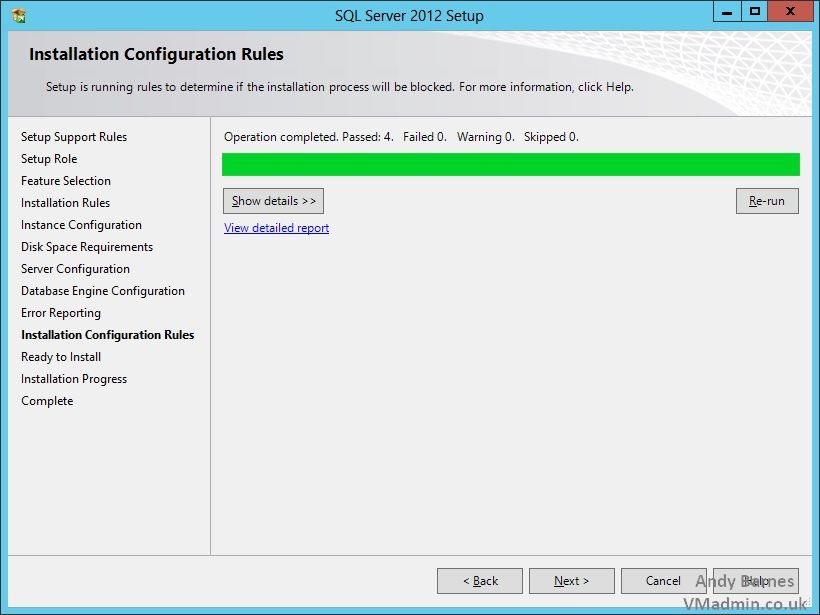
18. SQL server setup will run another installation check before installing..
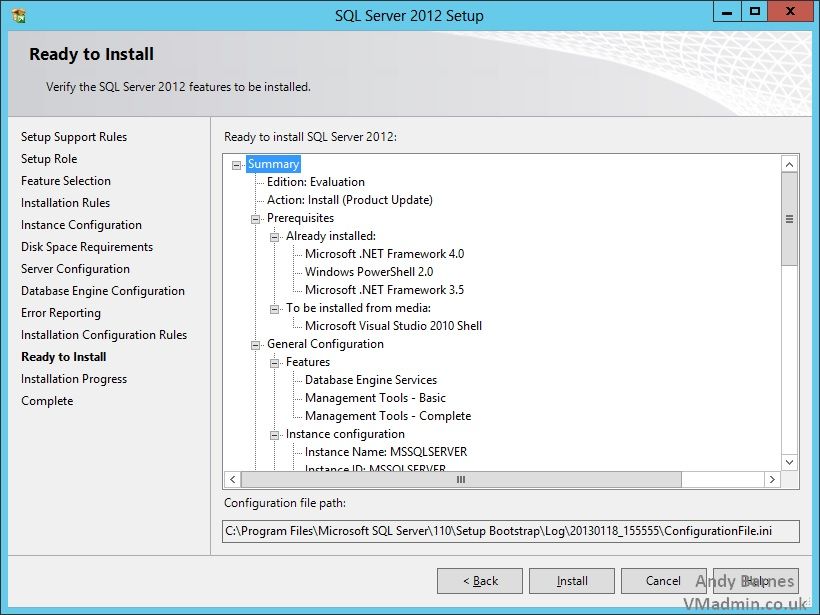
19. Review your installation settings and Click Install to begin the SQL Server 2012 installation.
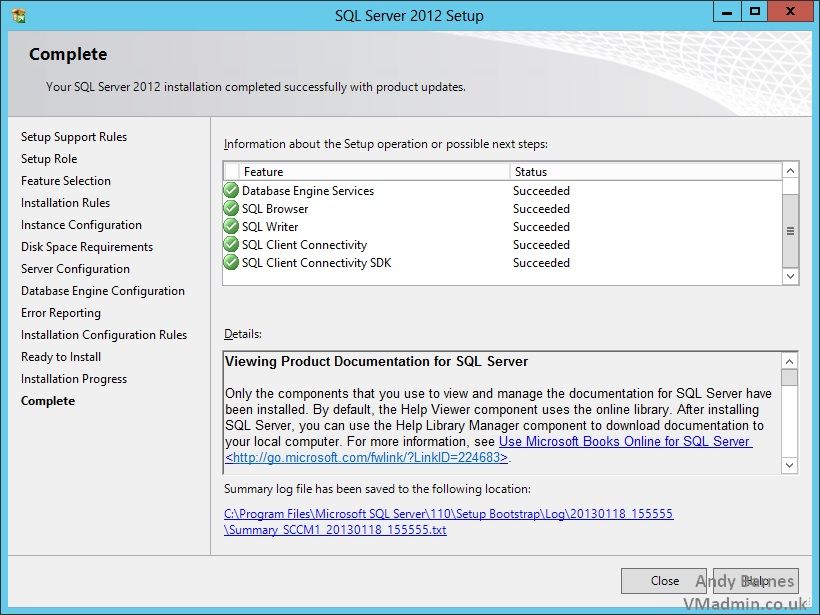
20. The SQL Server 2012 features you selected will be installed. Once completed the status will show as Succeeded.
Click Close.
21. From the tiled start menu in server 2012 click "SQL Server Management Studio"
22. Logged on as a user part of the local administrators group, use windows authentication to connect to "localhost" or your servers hostname.
Click Connect.

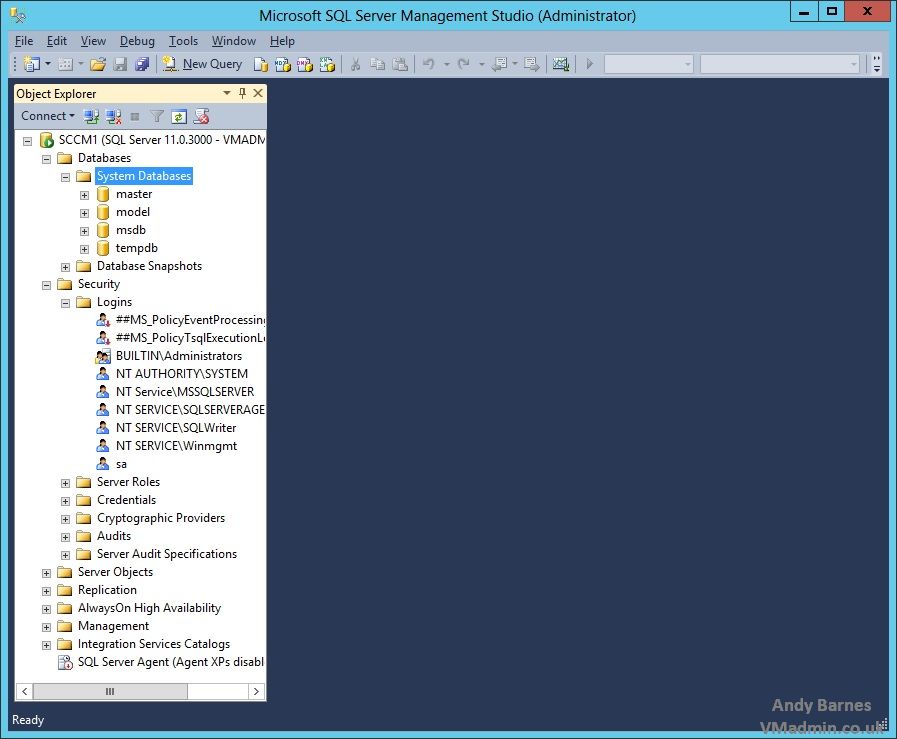
23. SQL Server Management Studio will conect to your SQL server, from here you can now manage the SQL Server.
Create users, databases as you require.
Share this blog post on social media:
Tweet


Latest Blog Posts
- vSphere 7 U1 - Part 3 - Creating a Datacenter, HA/DRS Cluster and Adding a Host
- vSphere 7 U1 - Part 2 - Deploying vCenter 7.0 U1 VCSA
- vSphere 7 U1 - Part 1 - Installing ESXi 7.0 U1
- Veeam CBT Data is Invalid - Reset CBT Without Powering Off VM
- View Administrator Blank Error Dialog/Window After Upgrade