Note the operating system for vCenter 2.5 U3 must be 32bit, this has changed in later releases such as vCenter 4.0.
The following is used in this example for the vCenter Server:
Windows Server 2003 Standard R2 SP2 32-Bit
SQL Server 2005 Standard SP2
VMware vCenter 2.5 U3
Here are the other OS and DB versions that can be used for vCenter
The following is used in this example for the vCenter Server:
Windows Server 2003 Standard R2 SP2 32-Bit
SQL Server 2005 Standard SP2
VMware vCenter 2.5 U3
Here are the other OS and DB versions that can be used for vCenter
Setting up the Database
Install SQL server on the vCenter server if you have not done so already. If you are using an existing seperate SQL server you can continue.
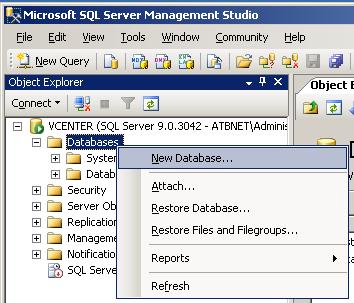
Create a SQL Server database named "vCenter" via SQL Server Enterprise Manager for the vCenter database.
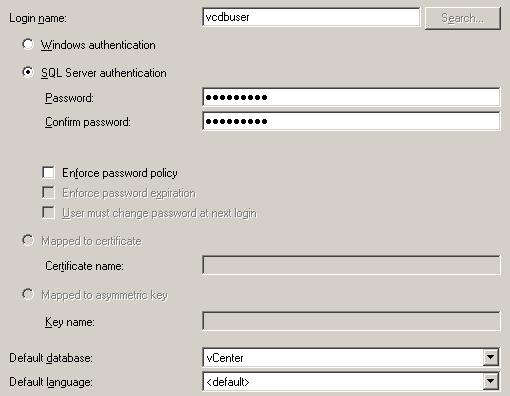
Create a SQL Server database user named "vcdbuser".

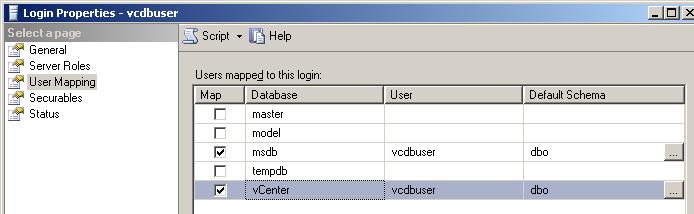
Make sure that the database user has the following permissions:
Microsoft SQL Server 2000 – Make sure that the database user has the db_owner fixed database role on the VirtualCenter database and the MSDB database. The db_owner role on the MSDB database is required for installation and upgrade only. You can revoke this role after the installation or upgrade process is completed. Do not grant the System Administrators server role to the database user. However, if the System Administrators role was previously granted while the database was used with VirtualCenter Server 2.0.x, do not revoke the System Administrators role. Leave it as is.
Microsoft SQL Server 2005 – Make sure that the database login has either the sysadmin server role or the db_owner fixed database role on the VirtualCenter database and on the MSDB database. The db_owner role on the MSDB database is required for installation and upgrade only. You can revoke this role after the installation or upgrade process is complete.
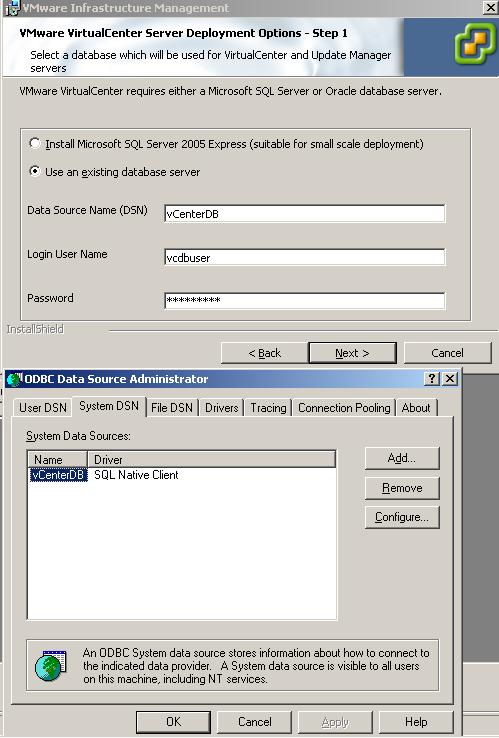
Create a Data Source.
Go to Start -> Control Panel -> Administrative Tools -> Data Sources (ODBC).
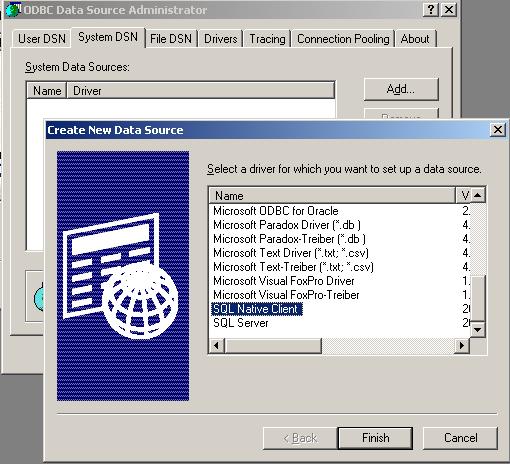
Go to the System DSN tab.
Click Add.
For SQL Server 2000, select SQL Server and click Finish.
For SQL Server 2005, select SQL Native Client and click Finish.
Give the ODBC DSN a name "vCenterDB" and description.
Select/type in the server name from the drop-down menu.
Configure SQL Server authentication and click Next.
Type your SQL Server login name and password.
Configure the default database the vCenter database you created "vCenter" and click Next.
Click Finish.
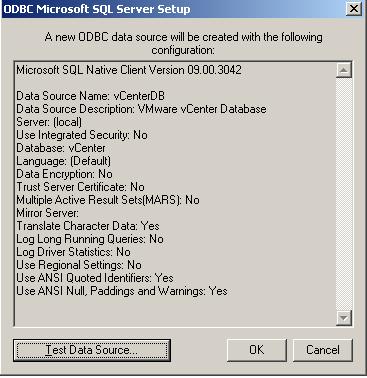
Test Data the Source.
Go to the System DSN tab.
Click Add.
For SQL Server 2000, select SQL Server and click Finish.
For SQL Server 2005, select SQL Native Client and click Finish.
Give the ODBC DSN a name "vCenterDB" and description.
Select/type in the server name from the drop-down menu.
Configure SQL Server authentication and click Next.
Type your SQL Server login name and password.
Configure the default database the vCenter database you created "vCenter" and click Next.
Click Finish.
Test Data the Source.
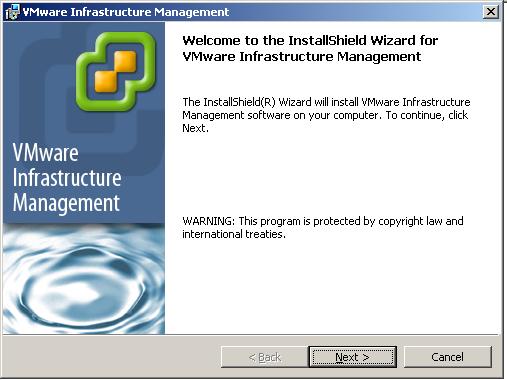
Installing Virtual Infrastucture vCenter Server
Insert CD or unzip "VMware-VIMSetup-2.5.0-U3-English.zip"
If it does not autorun, use "autorun.exe" in the root of the cd or folder.
The Virtual Infrastructure installer will start, click Next.
The Virtual Infrastructure installer will start, click Next.
Read the Introduction page and click Next.
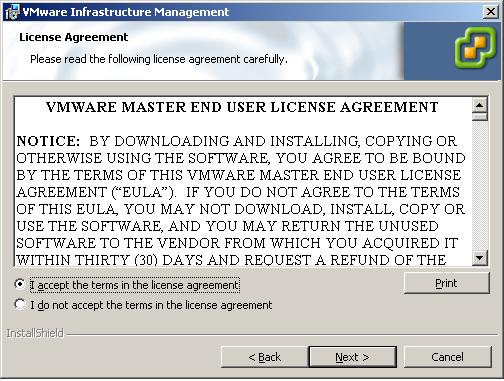
Accept the license agreement and click Next.
Enter name and company name. Click Next.
For the Installation type choose "Install the VirtualCenter Server".
For the Installation type choose "Install the VirtualCenter Server".
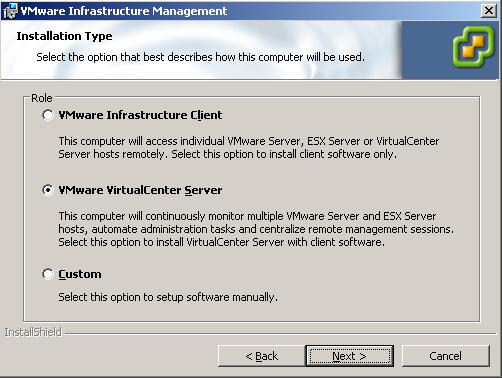
Select "Use an existing database" and enter the System DSN name, username and password for the vCenter database.
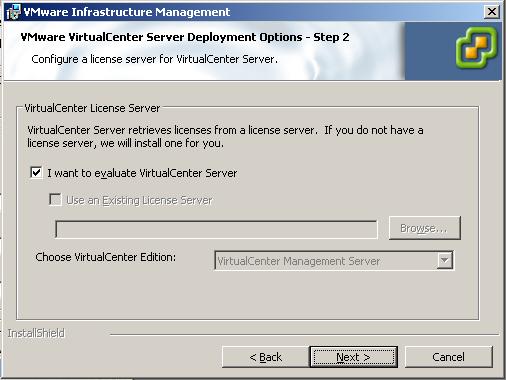
For the license server select "I want to evaluate VirtualCenter Server" and click Next. (You can add the licenses at a later stage after installing)
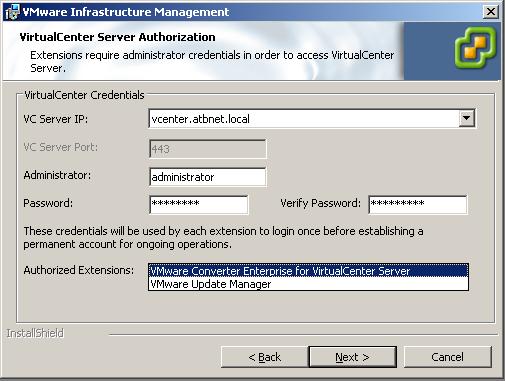
Enter the IP or DNS name server vCenter is being installed on.
Enter an administrator username and password.
Click Next.
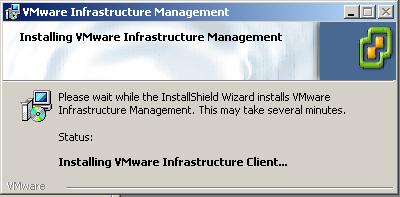
Click Install. The install process will start an will take a while to complete.
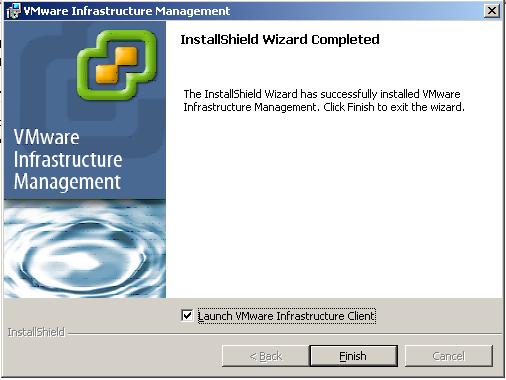
Click Finish to complete the VMware Infrastructure installation.
Click Finish to complete the VMware Infrastructure installation.
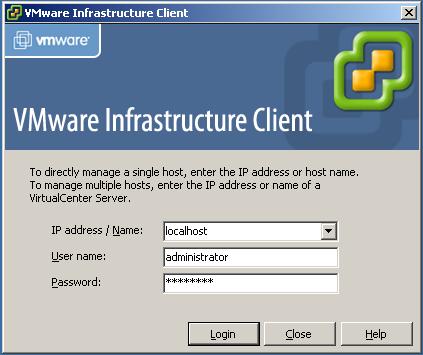
To login to the vCenter use VI client that was installed as part of the VI install.
Enter the IP or DNS name of the server, the admin username and password. Click Login.
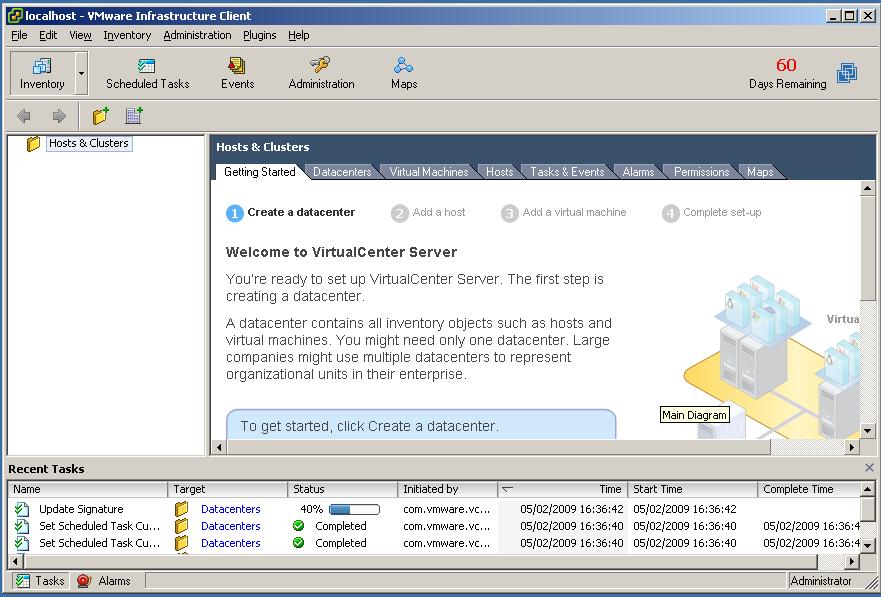
After a brief delay you will be connected to the vCenter Server. Your now ready to go and add ESX hosts and then virtual machines etc.
Share this blog post on social media:
Tweet


Latest Blog Posts
- vSphere 7 U1 - Part 3 - Creating a Datacenter, HA/DRS Cluster and Adding a Host
- vSphere 7 U1 - Part 2 - Deploying vCenter 7.0 U1 VCSA
- vSphere 7 U1 - Part 1 - Installing ESXi 7.0 U1
- Veeam CBT Data is Invalid - Reset CBT Without Powering Off VM
- View Administrator Blank Error Dialog/Window After Upgrade