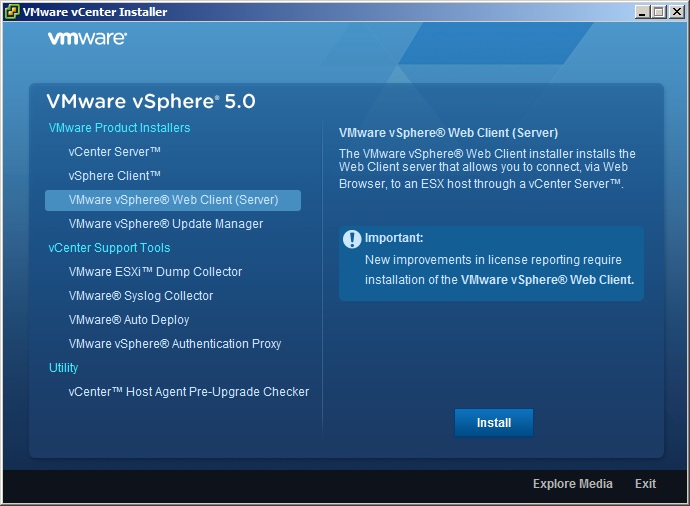
The vSphere Web Client (Server) is provided in the download media along with vCenter.
It provides most functionality used day-to-day such as creating a VM, powering on, configuring VMs, consoles to more advanced fucntionality like memory reservations.
It does however lack support for plugins such as Update Manager, CapacityIQ, SRM etc. It uses Adobe Flex like the View and vCloud web interfaces, so Adobe Flash is required for the web browser.
1. Insert DVD or unzip "VMware-VIMSetup-all-5-xxxxxx.zip"
If it does not autorun, use "autorun.exe" in the root of the cd or folder. Click "vSphere Web Client (Server)" to start the installation
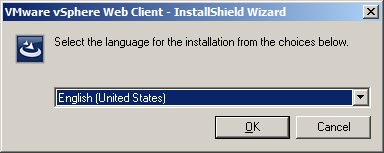
2. Select the desired language, Click Ok.
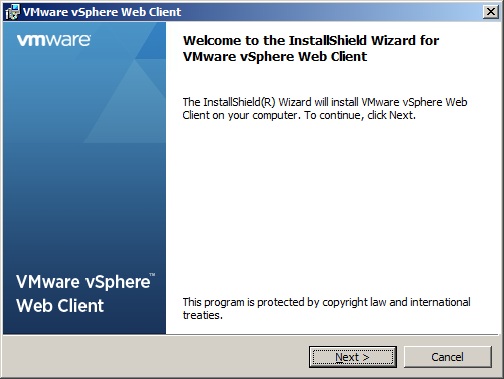
3. The installer will start, Click Next
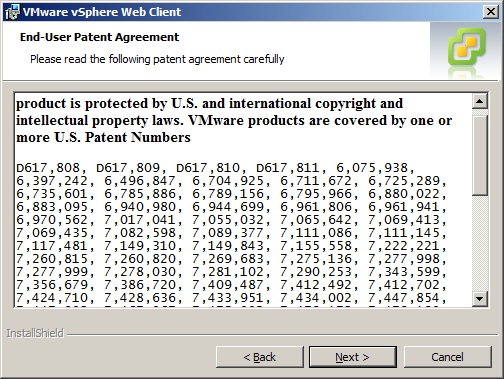
4. Read the user patent agreement, Click Next.
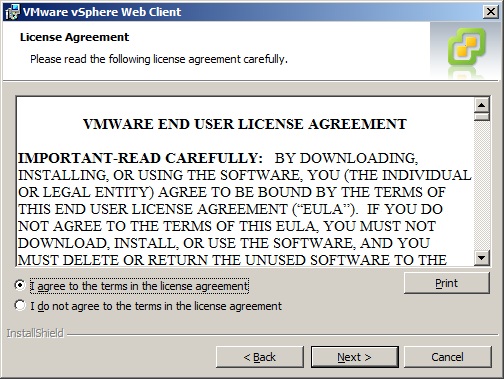
5. Read the license agreement, Accept it and Click Next.
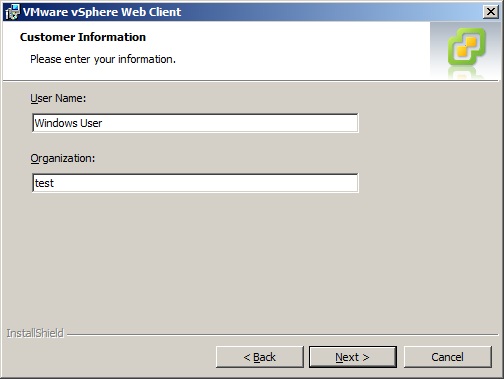
7. Enter user and organisation info and Click Next.
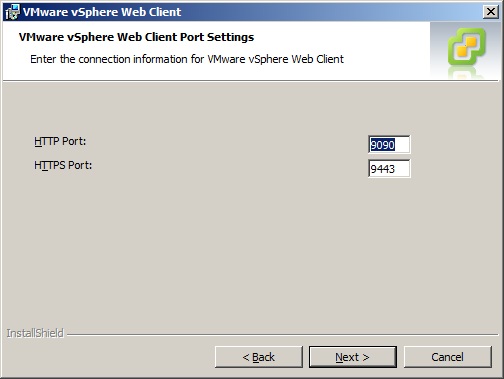
8. Verify the ports to use and change if required. Click Next.
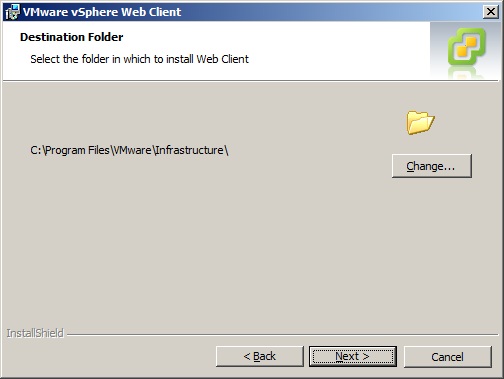
9. Ensure the correct installation folder is selected, Click Next.
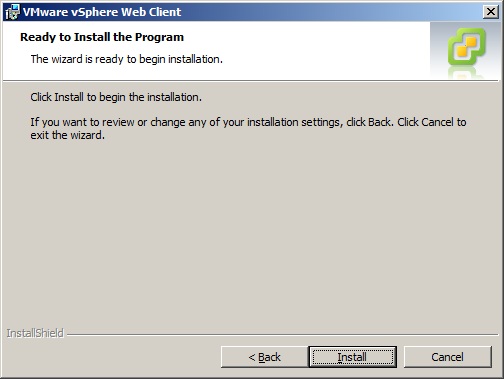
10. Click Install to start the installation.
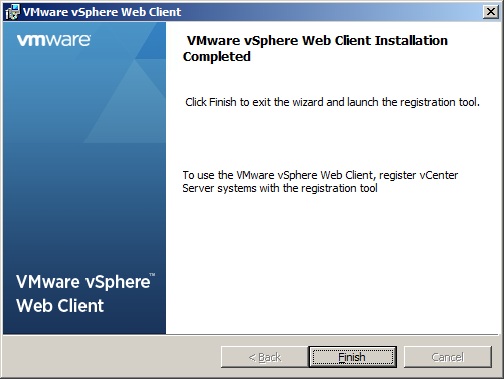
11. The installation will complete, Click Finish.
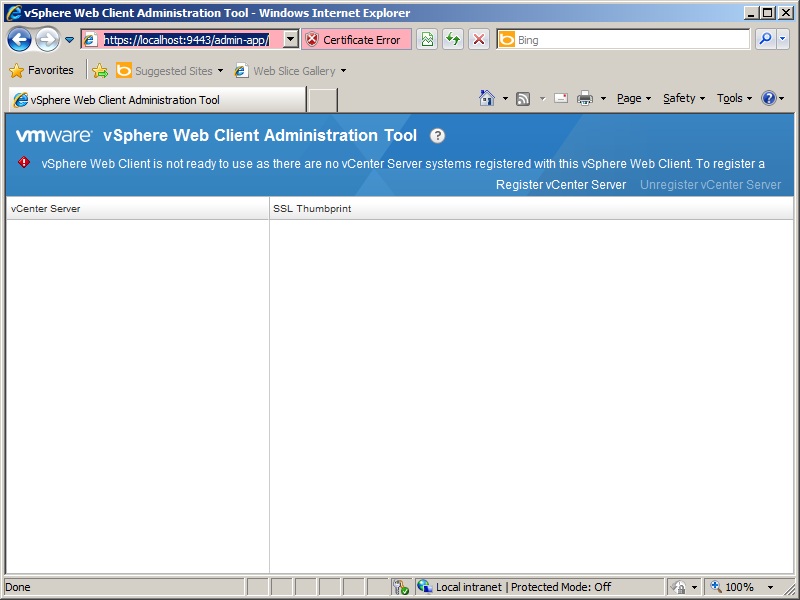
12. Browse to the vSphere Web Client Administration Tool website to configure the vCenter server it will manage.
The URL is the server you just installer the web client on and the standard port 9443 (e.g. https://localhost:9443/admin-app/)
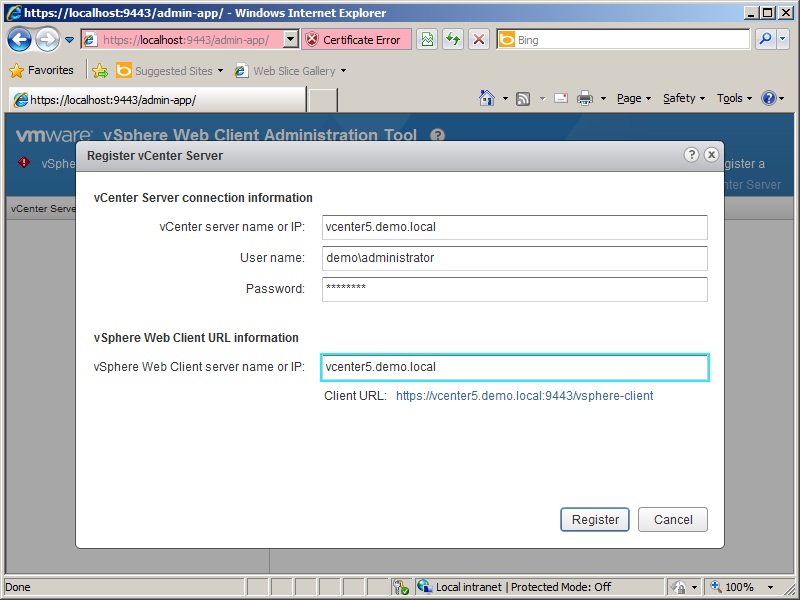
13. Click "Register vCenter Server"
14. Enter the connection information for the vCenter server that will be managed from the web client server.
vCenter Server IP/FQDN
Username/Password
15. Click Register
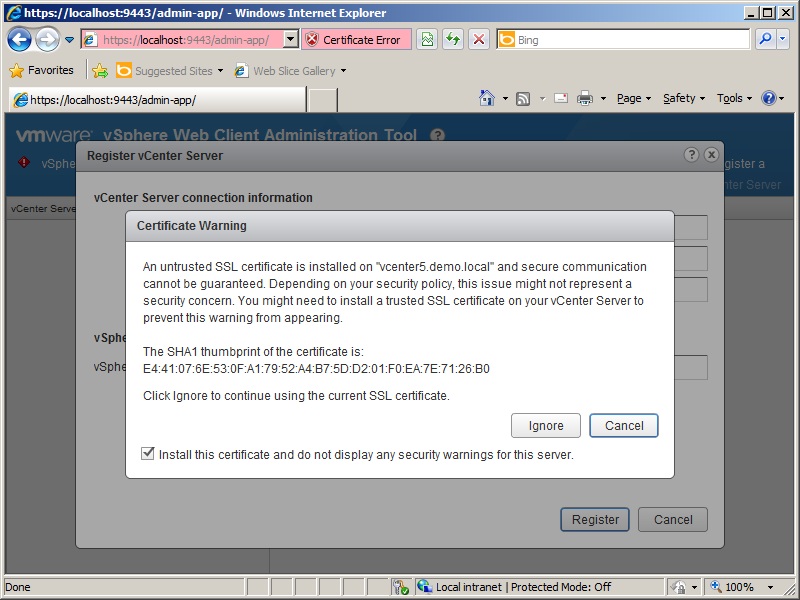
16. Accept the certificate warning by ticking "install the certificate.." and Ignore.
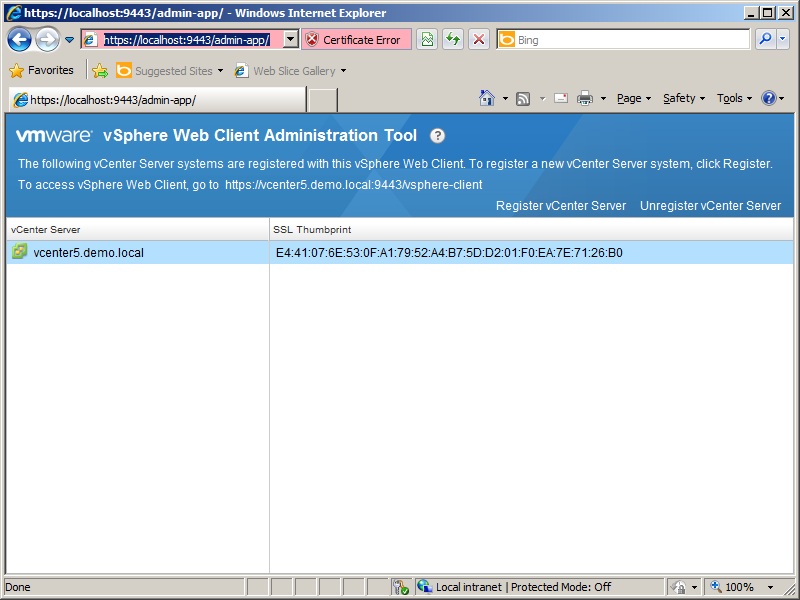
17. The vCenter Server will now show in the list of vCenter servers, confirming it was added successfully.
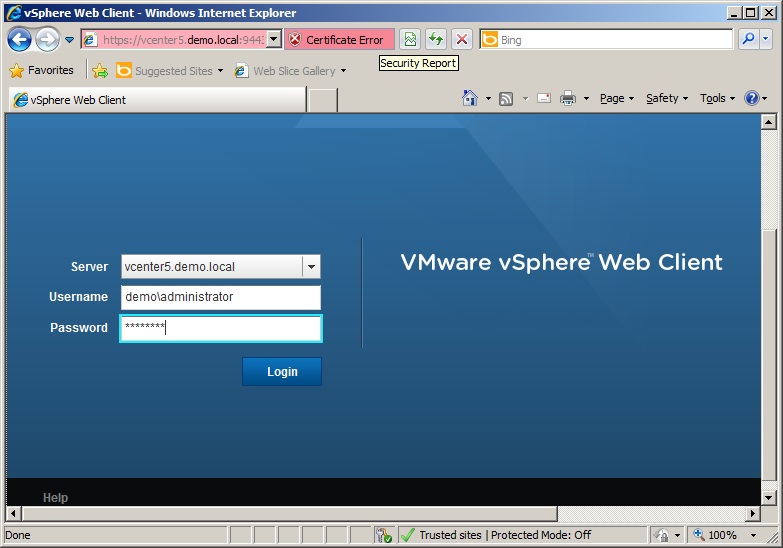
18. Now browse to the the web client URL (e.g. https://f.q.d.n:9443/)
Login with credentials that have permissions to access the vCenter server.
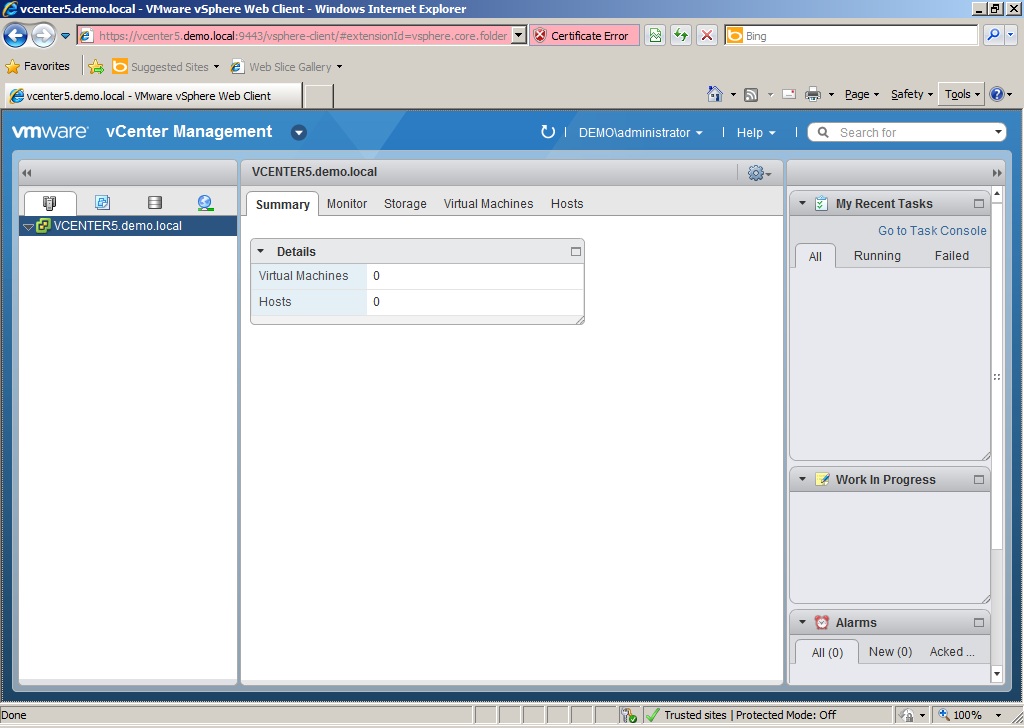
19. The vSphere Web Client will authenticate and the inventory of the vCenter server will be displayed.
From here you can manage "your cloud" via the web browser securley over https.
Share this blog post on social media:
Tweet


Latest Blog Posts
- vSphere 7 U1 - Part 3 - Creating a Datacenter, HA/DRS Cluster and Adding a Host
- vSphere 7 U1 - Part 2 - Deploying vCenter 7.0 U1 VCSA
- vSphere 7 U1 - Part 1 - Installing ESXi 7.0 U1
- Veeam CBT Data is Invalid - Reset CBT Without Powering Off VM
- View Administrator Blank Error Dialog/Window After Upgrade