This is the process for changing the IP addresses on the Clariion CX series.
-
It applies if the storage system is in a domain by itself.
-
If the storage system is the master of a domain, with other members, the master must be changed to another member.
-
If the storage system is a member of a domain but not the master, its needs to be removed from the domain.
Complete steps 1 to 8 on SP A first then repeat on SP B.
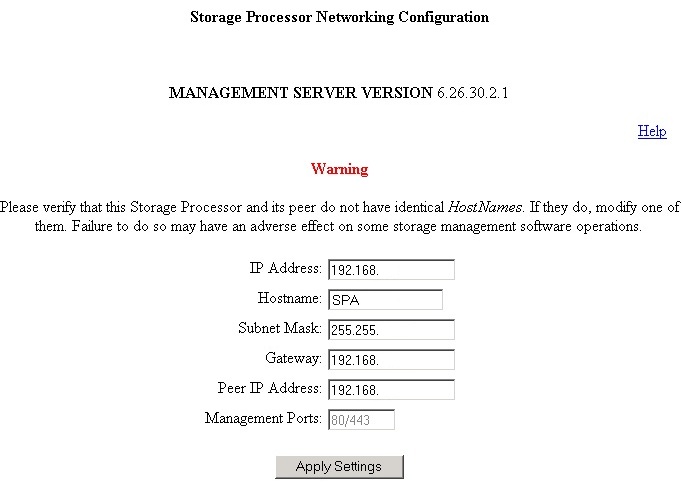
1. Open a web browser to the setup page for the SP:
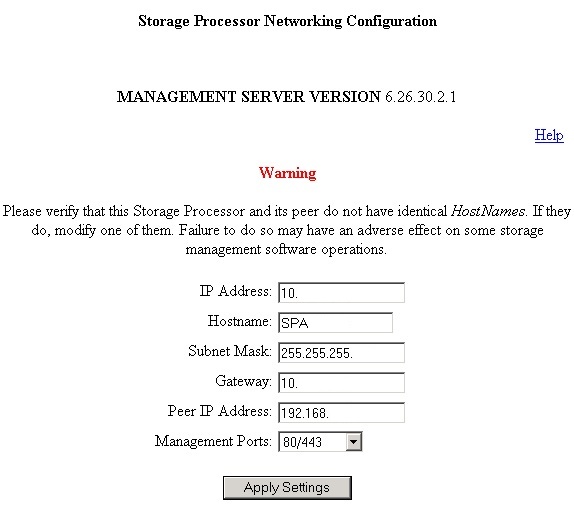
2. Review the current IP configuration.
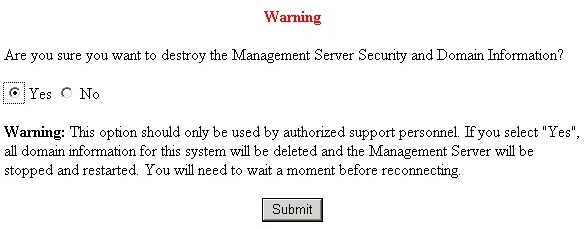
3. Reset the security and domain information for the SP.
Click "Destroy Security and Domain Information".

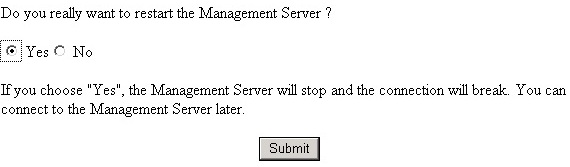
4. Read the warning. Select "Yes", Click "Submit".
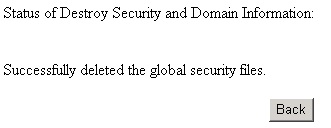
5. The management server will restart.
Wait for the management server to restart (5 minutes).
Click "Back" to go back to the setup page.
6. Scroll down and Click "Restart Management Server".

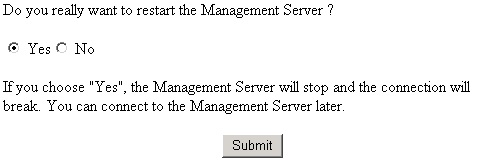
7. Confirm you want to restart the management server on the SP. Click "Yes" and then "Submit".
8. Wait for the management server to restart (5 minutes).
Confirm the management server has restarted by ensuring you can access the setup page.

Repeat steps 1 to 8 on SP B before continuing.
NOTE: Changing the IP address on an SP causes the SP to reboot. Ensure you have working failover for hosts.
Complete steps 9 to 13 on SP A then repeat on SP B.
9. Open a web browser to the setup page for the SP:
10. Change the IP address (netmask and gateway if required).
Click "Apply Settings".
Wait for the SP to reboot (5 minutes).
Confirm the SP has rebooted by ensuring you can access the setup page.
11. Scroll down and Click "Restart Management Server".

12. Confirm you want to restart the management server on the SP. Click "Yes" and then "Submit".
Wait for the management server to restart (5 minutes).
13. Check the peer IP address has been updated correctly.
Repeat steps 9 to 13 on SP B before continuing.
Complete steps 14 to 20 on SP A.
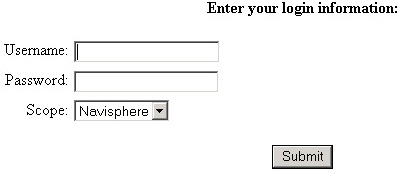
14. Open a web browser to Navisphere Manager on SP A:
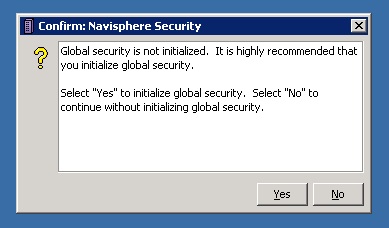
15. Reinitialize the security settings for the storage system.
When logging into Navisphere Manager Click "Yes".
16. Enter a global username and password. Click "Ok".
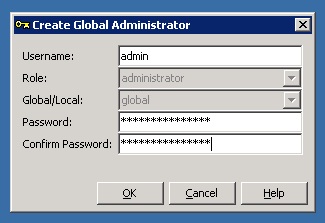
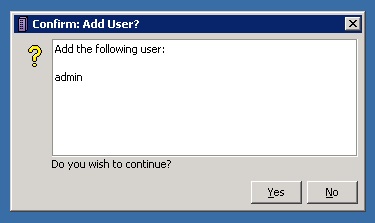
17. Confirm to add the user. Click "Yes".
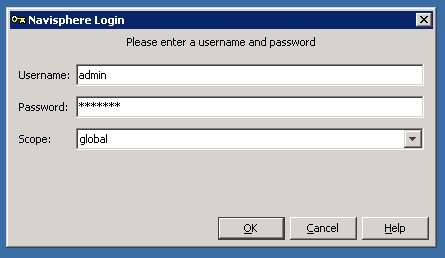
18. Login to Navisphere as the "admin" user.
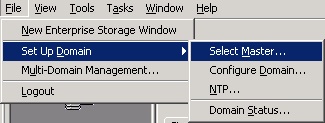
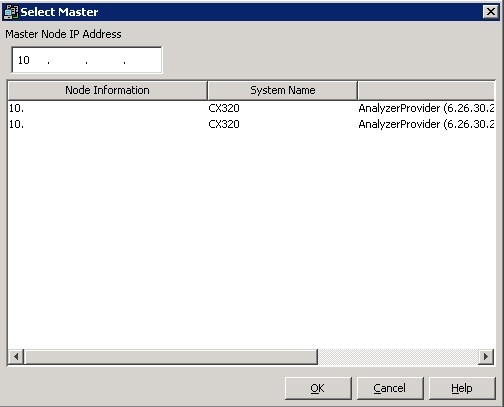
19. Ensure the SP A is the master for the local domain of the storage system.
Click File --> Set Up Domain --> Select Master
20. Enter the IP address of SP A and Click "Ok".
Share this blog post on social media:
Tweet


Latest Blog Posts
- vSphere 7 U1 - Part 3 - Creating a Datacenter, HA/DRS Cluster and Adding a Host
- vSphere 7 U1 - Part 2 - Deploying vCenter 7.0 U1 VCSA
- vSphere 7 U1 - Part 1 - Installing ESXi 7.0 U1
- Veeam CBT Data is Invalid - Reset CBT Without Powering Off VM
- View Administrator Blank Error Dialog/Window After Upgrade