To install a read only domain controller (RODC) on a full installation of Windows Server 2008 follow these steps:
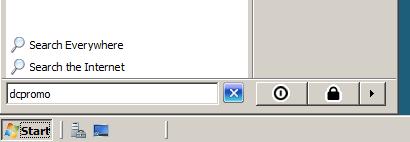
1. Run DCPROMO.
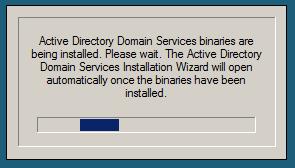
2. If the Active Directory Domain Services binaries are not installed, they will be installed automatically.
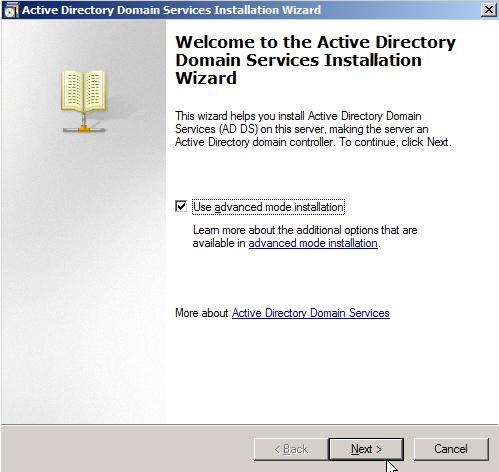
3. The Active Directory Domain Services wizard will start.
Tick "advanced mode installation" and click Next.
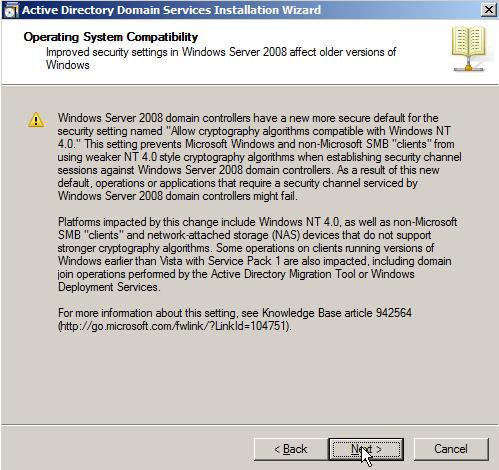
4. Review the warning that older versions of Windows may be affected by the more secure security settings of 2008 domain controllers. Click Next.
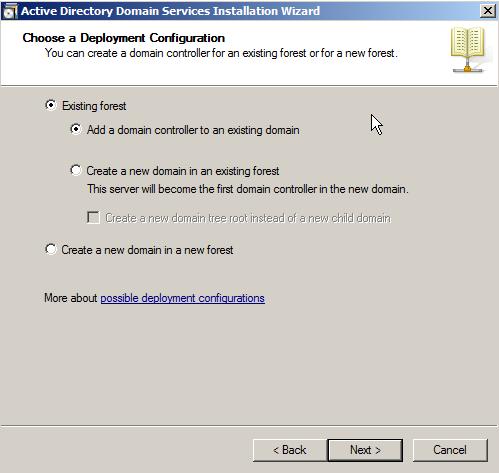
5. Select Existing forest, and Add a domain controller to an existing domain. Click Next.
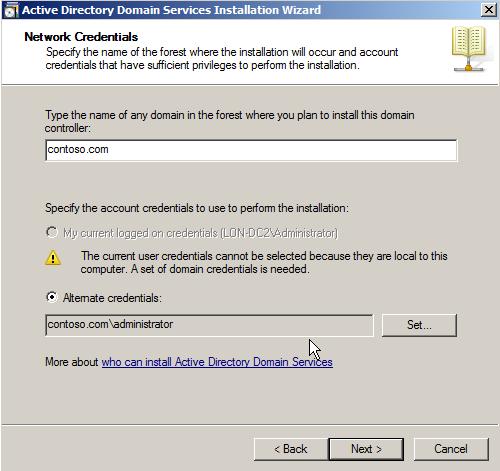
6. Enter the domain and domain admin credentials to install the domain controller. Click Next.
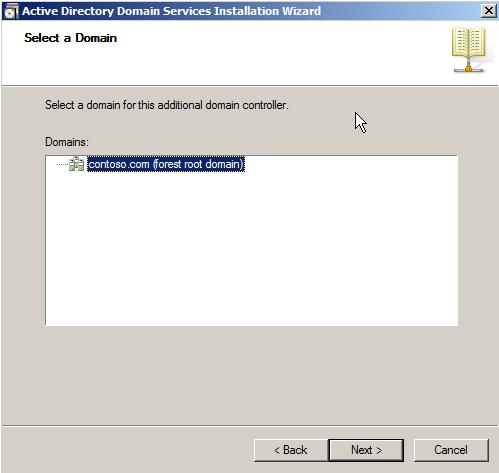
7. Select the domain. Click Next.
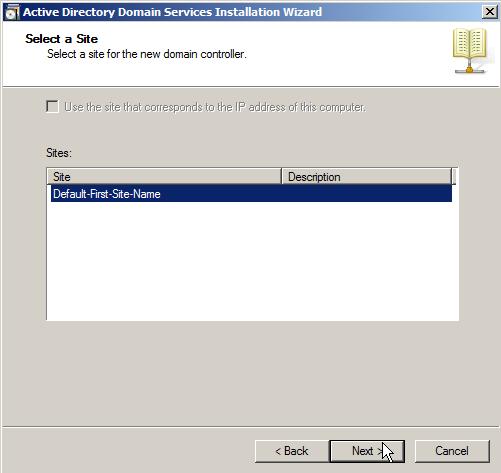
8. Select the site for the domain controller. Click Next.
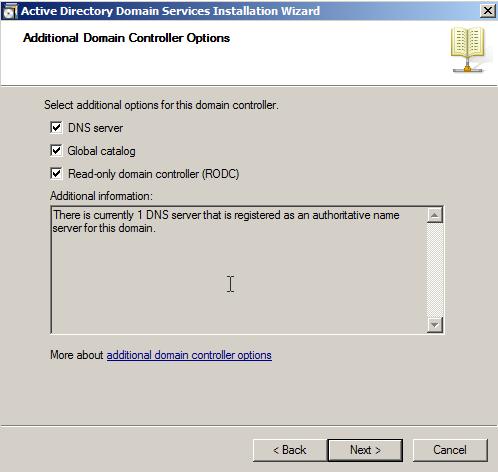
9. Select the DNS Server, Global Catalog and Read-only domain controller (RODC) options. Click Next.
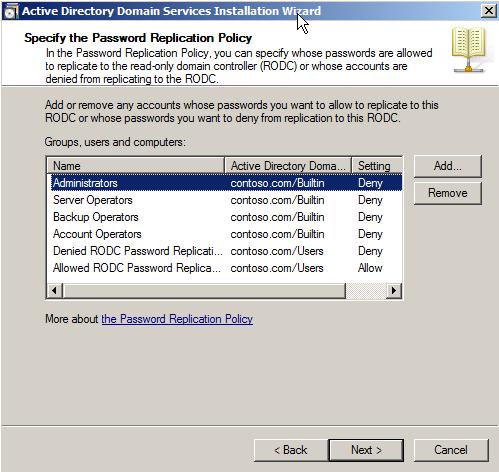
10. Specify the password replication policy. Click Next.
If you have any special password replication requirements such as specific server admin passwords need to be replicated, set them here.
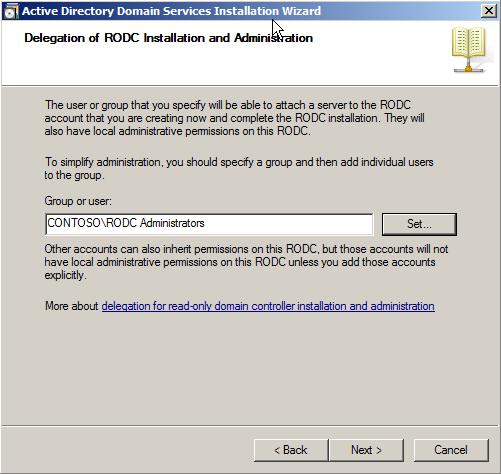
11. Create a security group for administrators of RODCs.
Create the group on an existing domain controller.

12. Delegate the installation and administration of the RODC to the new security group. Click Next.
13. Choose to replicate the data from an existing domain controlller or from media. Click Next.
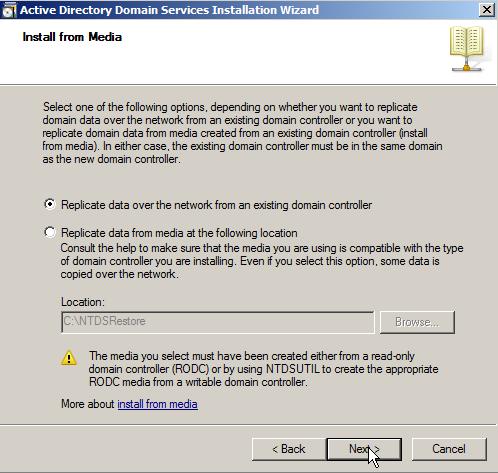
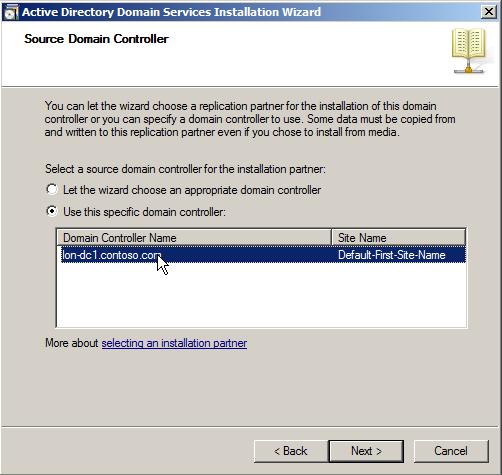
14. Select the domain controller to install from. Click Next.
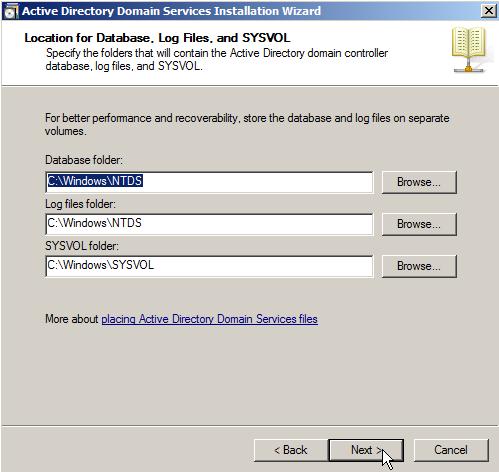
15. Set the location for the Database, Log files and SYSVOL folders. Click Next.
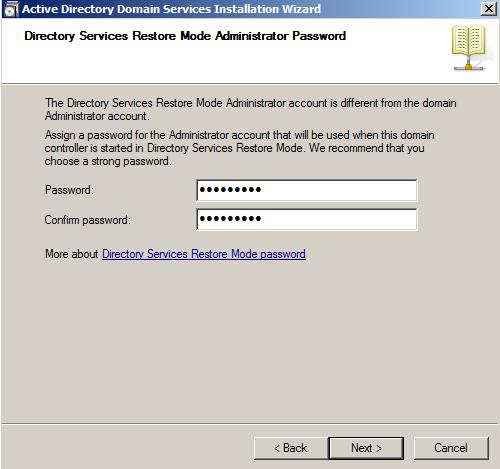
16. Set the Directory Services Restore Mode password. Click Next.
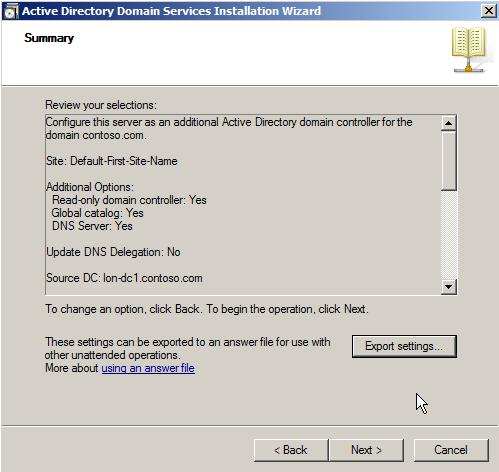
17. Review the summary and export the settings if required. Click Next.
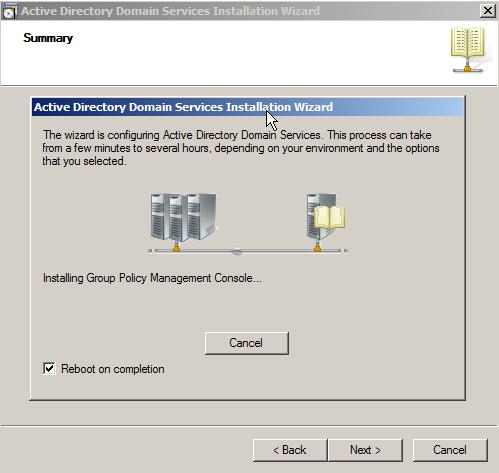
18. The domain controller installation will start.
Tick "Reboot on completion" to reboot when the promotion is complete.
Share this blog post on social media:
Tweet


Latest Blog Posts
- vSphere 7 U1 - Part 3 - Creating a Datacenter, HA/DRS Cluster and Adding a Host
- vSphere 7 U1 - Part 2 - Deploying vCenter 7.0 U1 VCSA
- vSphere 7 U1 - Part 1 - Installing ESXi 7.0 U1
- Veeam CBT Data is Invalid - Reset CBT Without Powering Off VM
- View Administrator Blank Error Dialog/Window After Upgrade