In Part 3 we configured vCO, it's authentication, SSL certificates and vCenter server. Now in Part 3 we are going to look at how to access and use VCO, including running a workflows.
This is where it get's more interesting and you will get a feel for what vCO looks like and what it can do.
If you missed any of the previous parts of the series or want go back here is the jump list:
- vCenter Orchestrator (vCO) 5.5 - Part 1 Deploying the Virtual Appliance
- vCenter Orchestrator (vCO) 5.5 - Part 2 Configuring vCO
- vCenter Orchestrator (vCO) 5.5 - Part 3 Using vCO and Running a Workflow
- vCenter Orchestrator (vCO) 5.5 - Part 4 Adding a Workflow to a Context Menu
1. Login to the vSphere Web Client
e.g. https://vcenter1.vmadmin.co.uk:9443
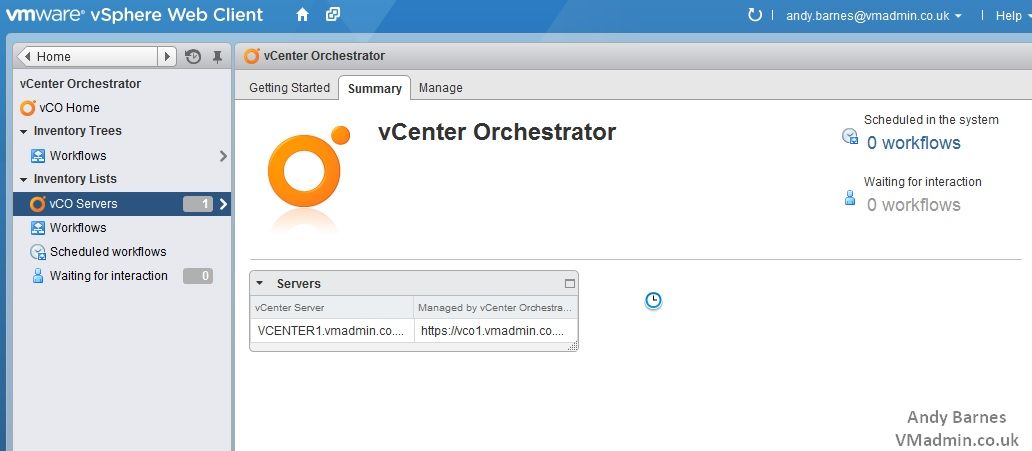
2. Under the vCenter Orchestrator plug-in you should now see 1 vCO Server.
You will now see it says you vCenter is managed by the vCenter Orchestrator server you have deployed and configured.
Note: If you don't see your vCO server, go back and make sure you configured the network interface, SSL certs, vCenter server and SSO auth correctly and restart the vCO service.
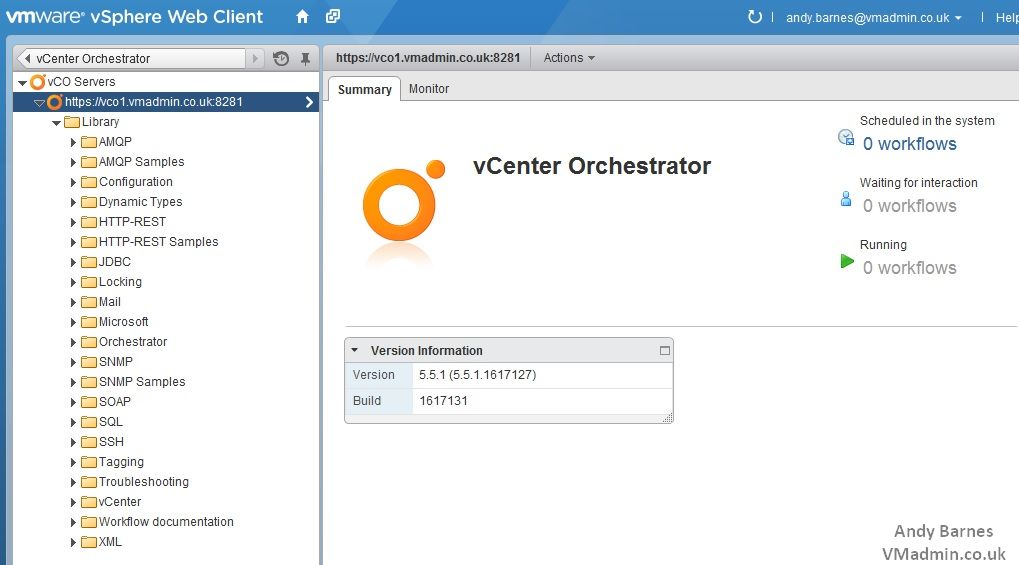
3. Click Workflows and expand the Library so you can see all the pre-configured workflows. There's quite a few!
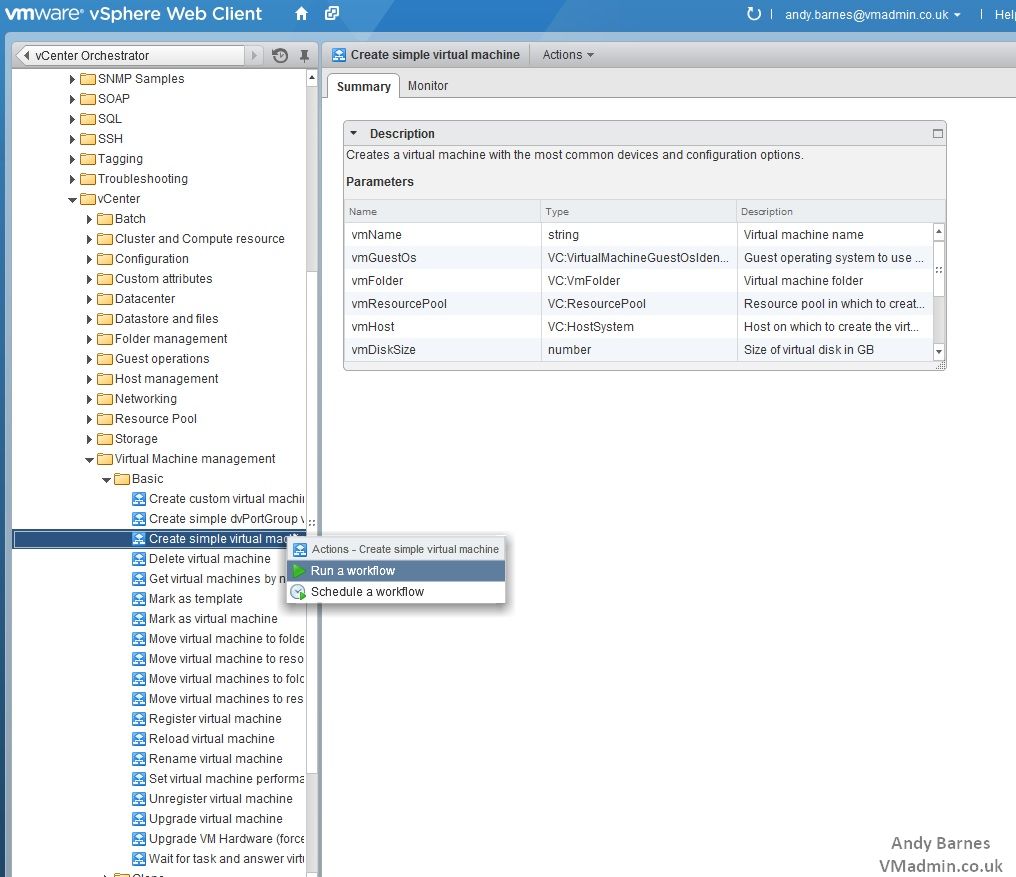
4. Expand vCenter --> Virtual Machine Management --> Basic
5. Right click "Create simple virtual machine", here is where you can run a workflow directly from within vSphere Web Client.
6. Browse to https://YourvCOAppliance:8281
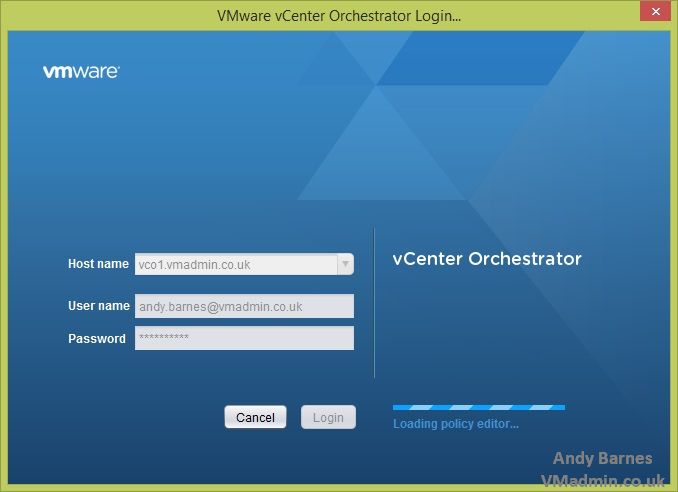
7. Download and Install the vCenter Orchestrator Client
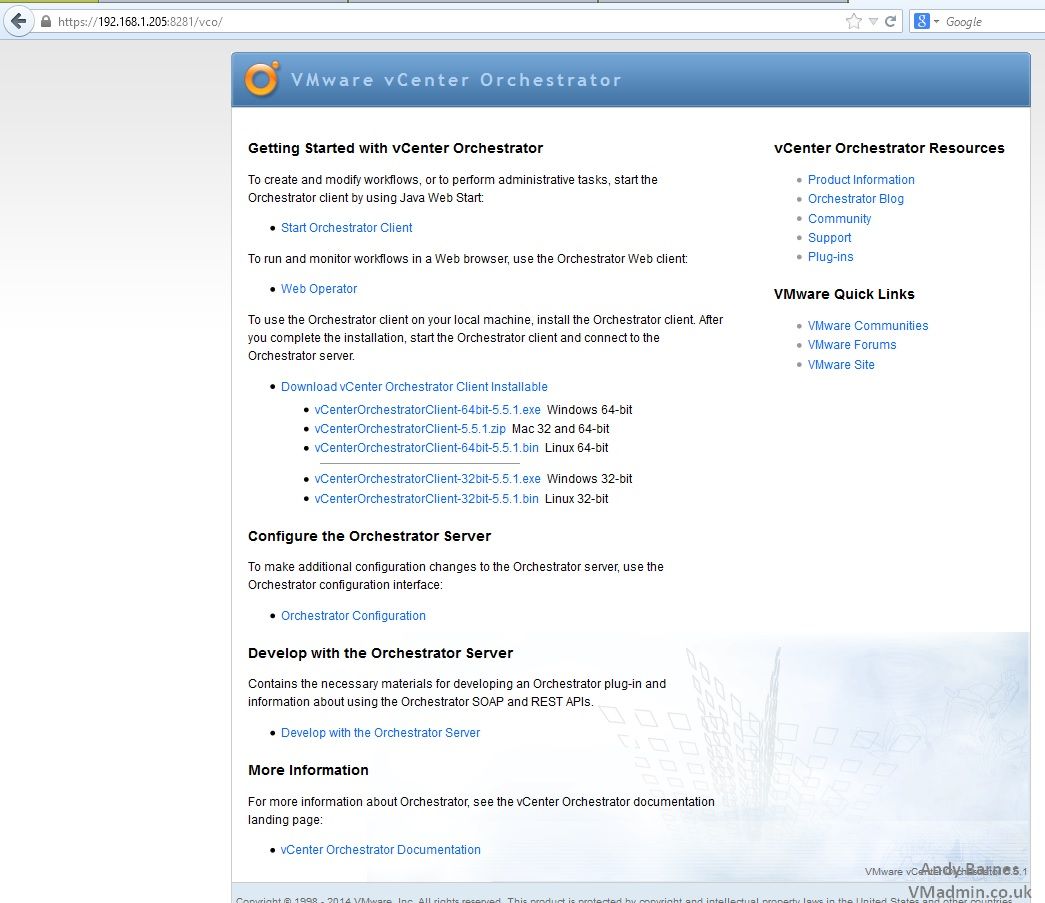
8. Login to vCO with your normal SSO user/pass that you use for vSphere Web Client
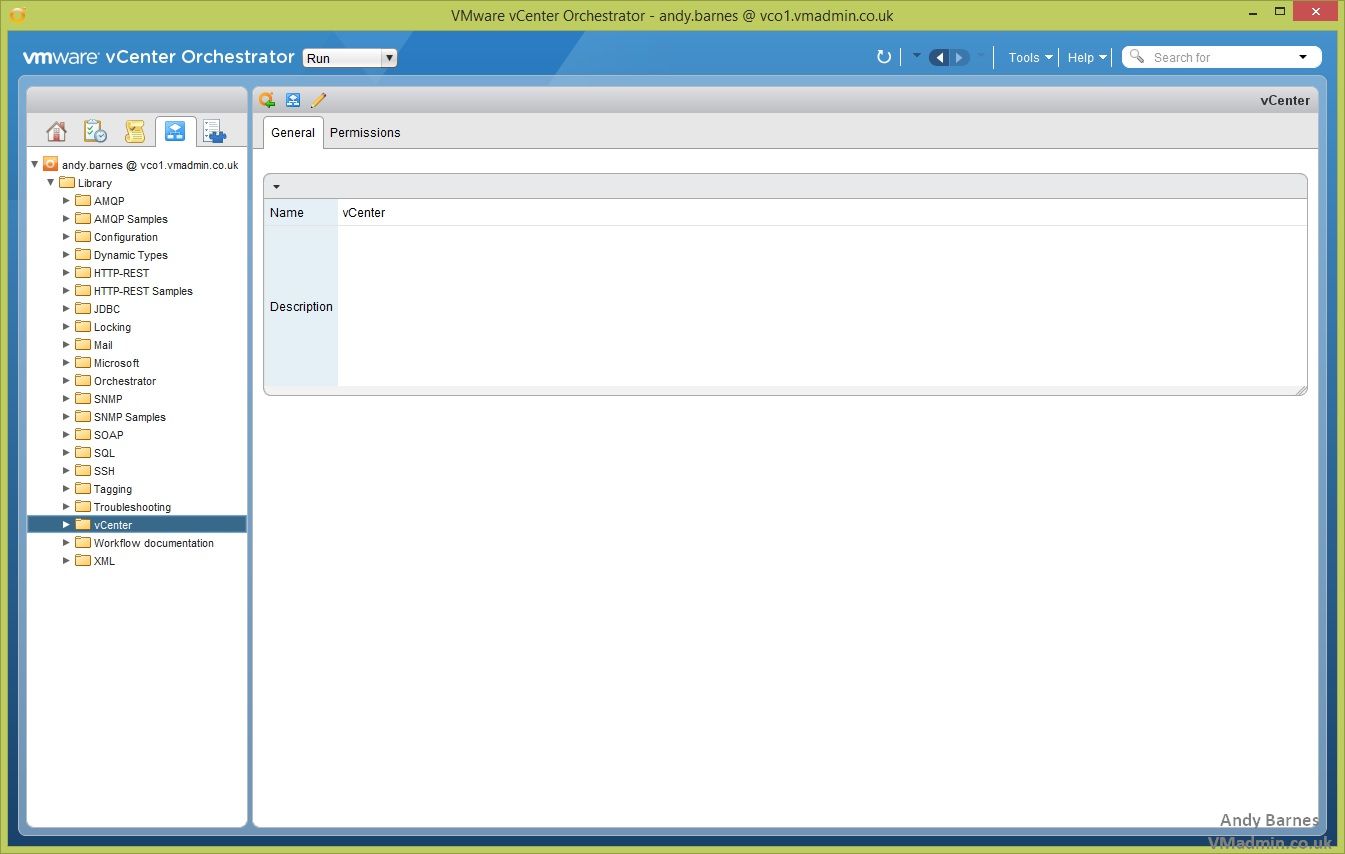
9. The vCenter Orchestrator Client not only allows you to run workflows, but create tasks, design your own workflows, manage configuration, basically everything to do with vCO you can do from here.
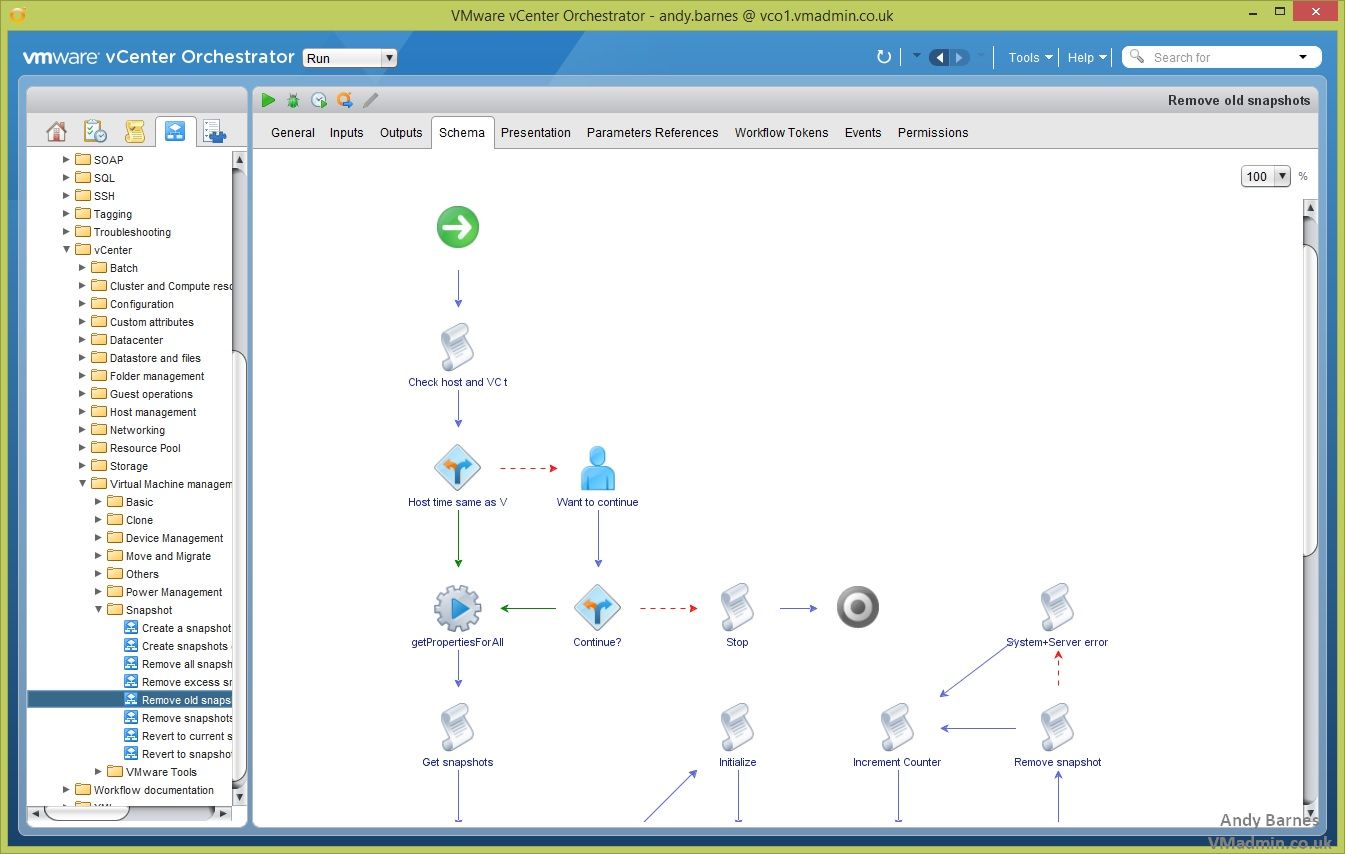
10. Expand the workflows and select one, such as "Remove Old Snapshots"
11. Click the "Schema" tab and you will be able to see all the tasks and how they construct the workflow. It makes it much easier to understand viewing it this way.
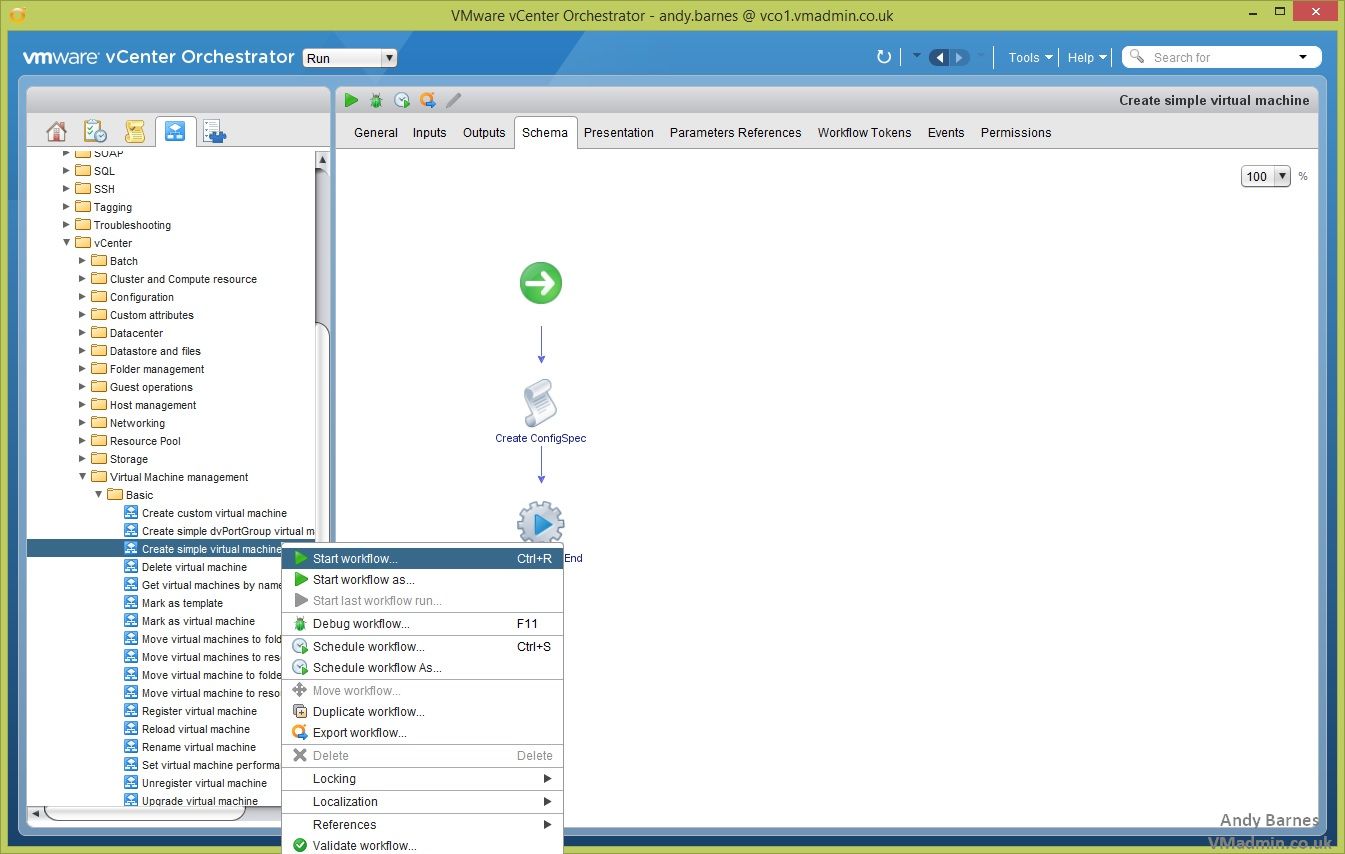
12. Select the vCenter --> Virtual Machine Management --> Basic --> Create simple virtual machine Workflow
13. Right click and select Start Workflow
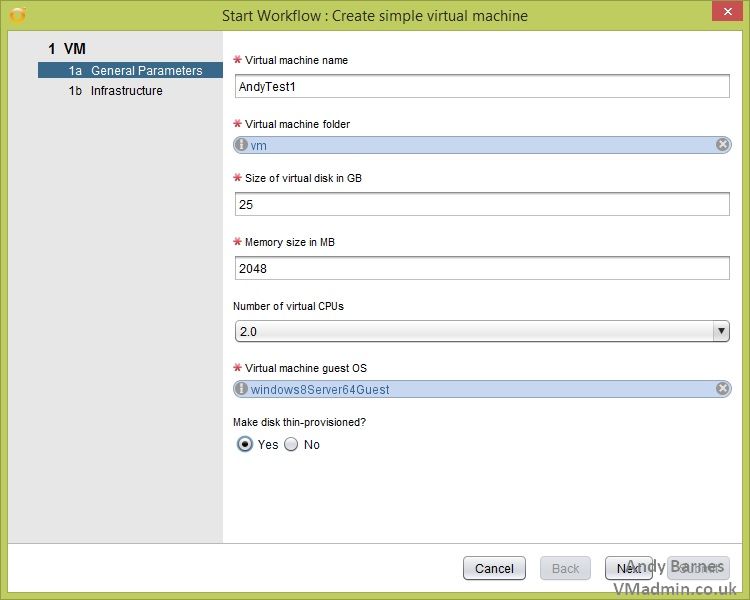
14. You will be prompted for some inputs to be able to run the workflow.
15. Enter the required information and Click Next.
VM Name
VM Folder
Disk size
Memory size
Number of vCPUs
Guest OS
Thick/Thin disk
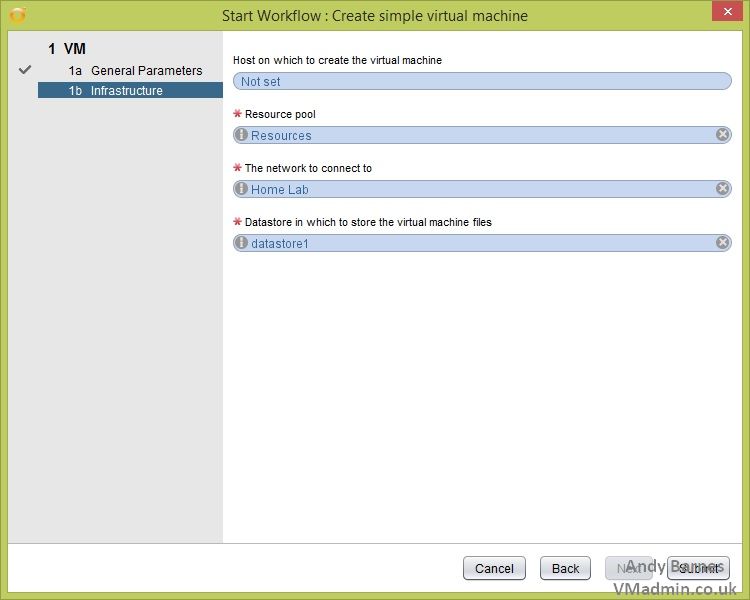
16. Select the Resource pool, network and datastore to create the virtual machine within.
17. Click Submit to run the workflow and create the virtual machine.
18. You will see in the vCO events tab the workflow will start and complete.

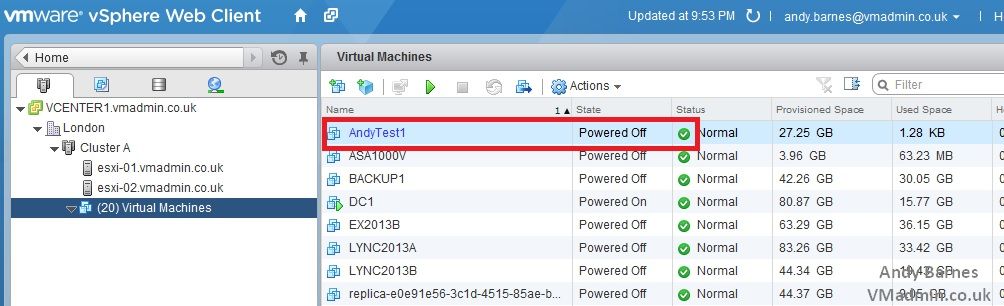
19. Sure enough if we switch back to the vSphere Web Client we can see you "AndyTest1" VM created by our workflow. Ok pretty neat but simple at this stage, but it can get a lot more complex and it depends on your imagination!
20. Next we will run a workflow from within the vSphere Web Client
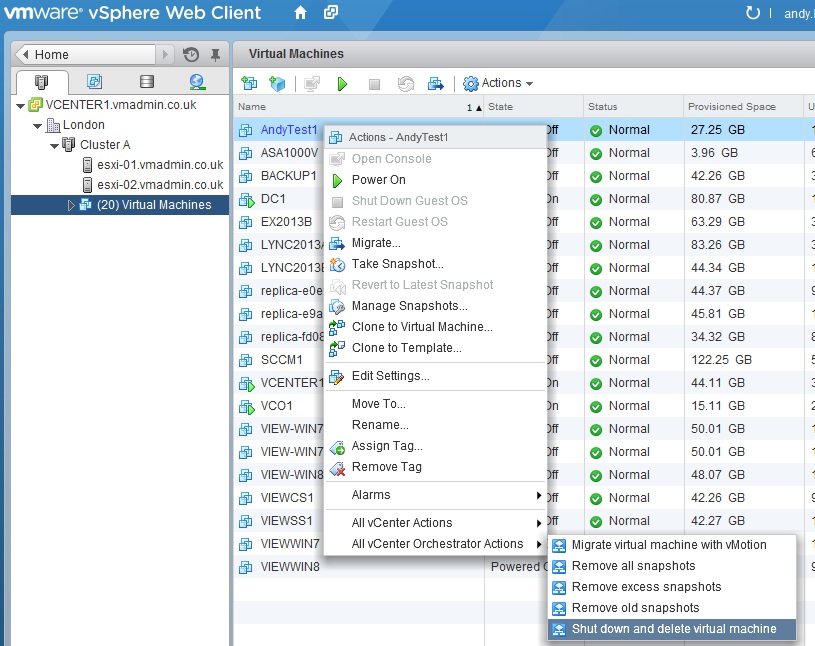
21. Right Click the VM we just created, Navigate to All vCenter Orchestrator Actions (a new context menu!)
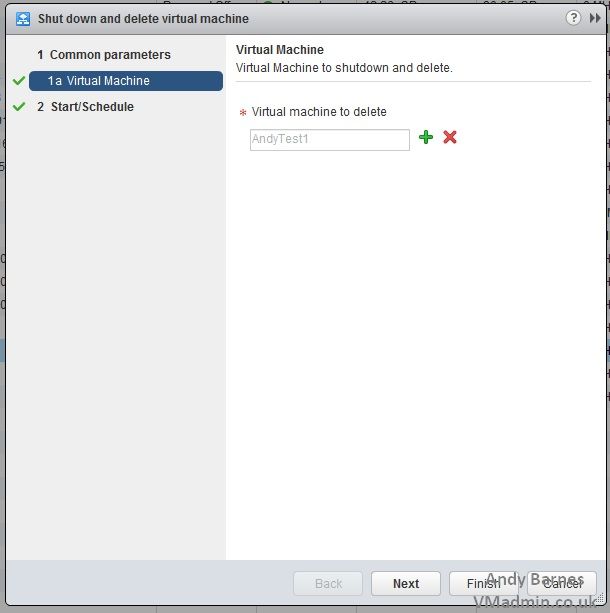
22. Select the "Shutdown and delete virtual machine" workflow.
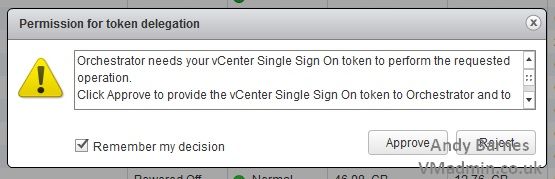
23. Approve Orchestrator to use your SSO token and tick the box to remember your decision.
24. Add your VM you would like to delete and click next
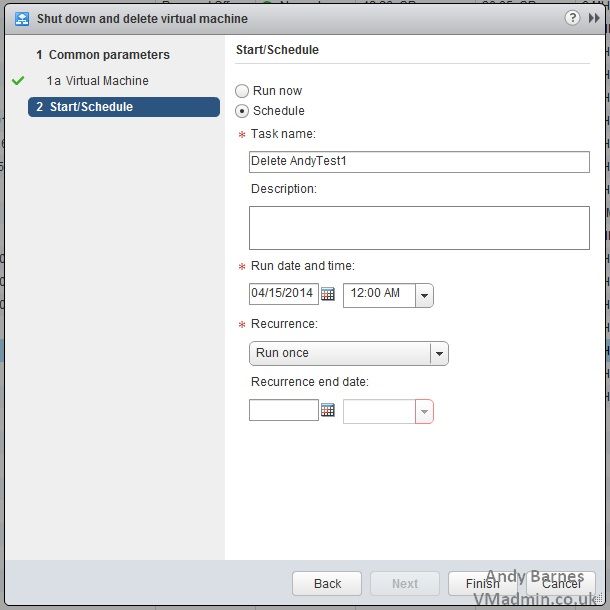
25. Select "Run now" OR "Schedule" and give the task a name and date/time to run.
26. Click Finish and wait for your task to run and complete.
You have just deployed and configured vCenter Server Orchestrator, then used it create a virtual machine and shutdown and delete it via a workflow.
Next up part 4..
If you missed any of the previous parts of the series or want go back here is the jump list:
- vCenter Orchestrator (vCO) 5.5 - Part 1 Deploying the Virtual Appliance
- vCenter Orchestrator (vCO) 5.5 - Part 2 Configuring vCO
- vCenter Orchestrator (vCO) 5.5 - Part 3 Using vCO and Running a Workflow
- vCenter Orchestrator (vCO) 5.5 - Part 4 Adding a Workflow to a Context Menu
Share this blog post on social media:
Tweet


Latest Blog Posts
- vSphere 7 U1 - Part 3 - Creating a Datacenter, HA/DRS Cluster and Adding a Host
- vSphere 7 U1 - Part 2 - Deploying vCenter 7.0 U1 VCSA
- vSphere 7 U1 - Part 1 - Installing ESXi 7.0 U1
- Veeam CBT Data is Invalid - Reset CBT Without Powering Off VM
- View Administrator Blank Error Dialog/Window After Upgrade