Continuing from part 1 - installing, the monitor service now needs to be configured to connect to EqualLogic groups.
The monitoring service will monitor and provide reporting for the configured groups.
1. First login to the EqualLogic group and go to the SNMP configuration.
2. Add a Read-Only SNMP community name for SAN HQ (e.g. "SANHQ-RO"). This is used to gather the statistics.
3. Save the changes.

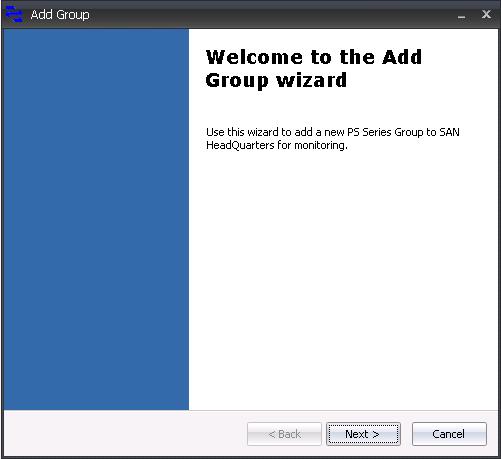
4. When opening the SAN HeadQuarters client, the Add Group Wizard will be displayed. Click Next.
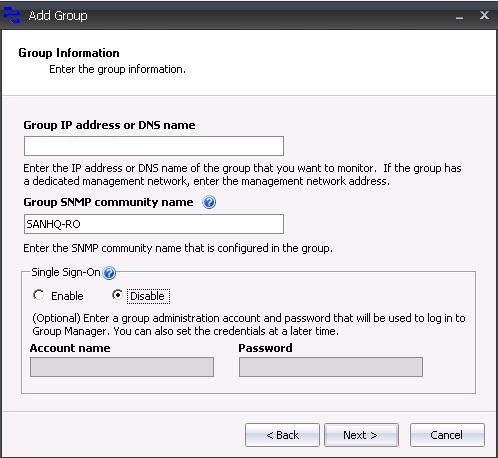
5. Enter the group IP or DNS name.
Enter the group SNMP community name.
Choose to enable or disable single sign on.
Click Next.
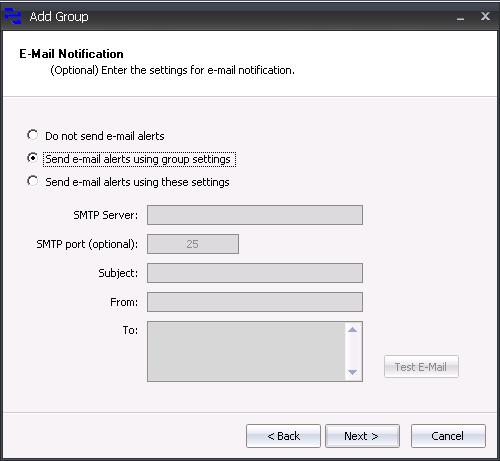
6. Select the desired email notification settings. (use group settings is preferred).
Click Next.
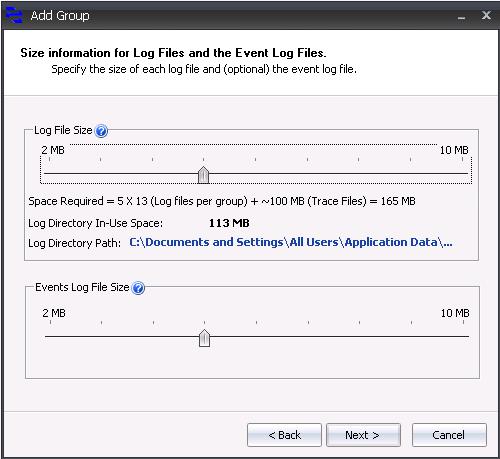
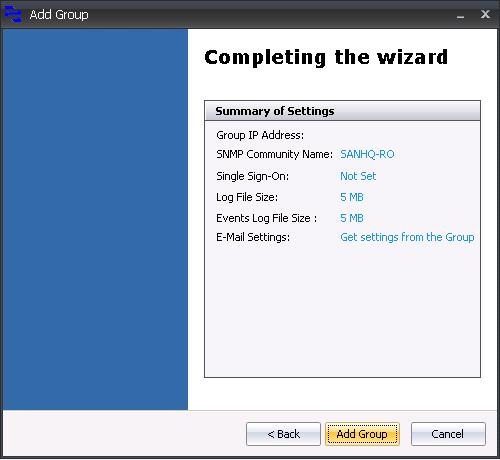
7. Choose the required Log File and Event File size.
Default of 5mb is sufficient, it can be reduced for improved performance, or increased for more detail.
Click Next.
8. Review the group connection settings and Click Finish to add the group to SAN HeadQuarters.
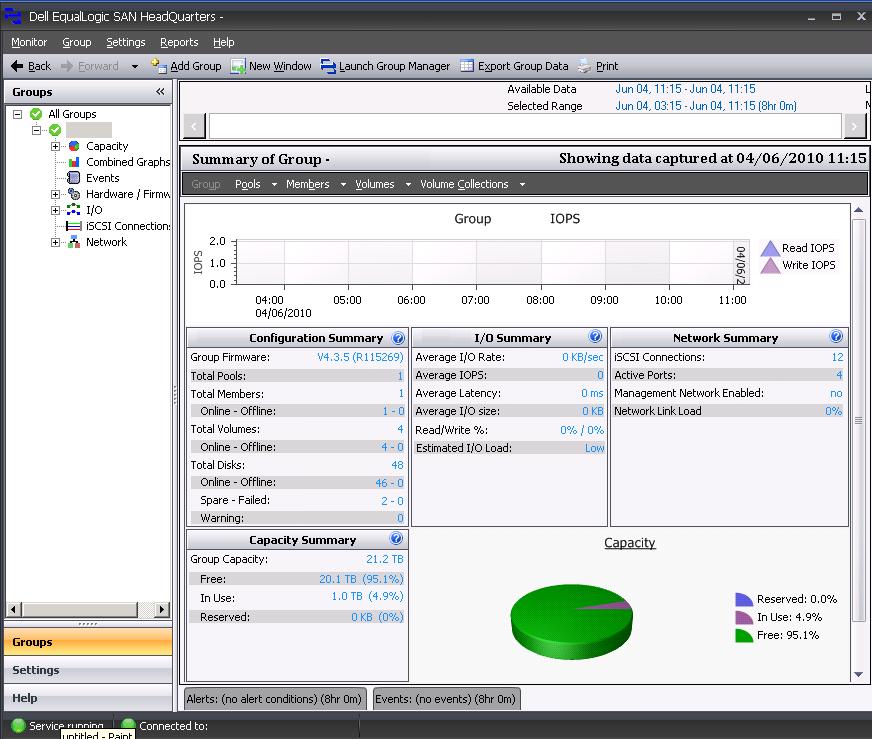
9. Now all the detailed group information and events are available in realtime and historically.
Share this blog post on social media:
Tweet


Latest Blog Posts
- vSphere 7 U1 - Part 3 - Creating a Datacenter, HA/DRS Cluster and Adding a Host
- vSphere 7 U1 - Part 2 - Deploying vCenter 7.0 U1 VCSA
- vSphere 7 U1 - Part 1 - Installing ESXi 7.0 U1
- Veeam CBT Data is Invalid - Reset CBT Without Powering Off VM
- View Administrator Blank Error Dialog/Window After Upgrade