To deploy and make a desktop available via VMware View there are several steps and pieces of software that need to be installed.
Here I will go through what needs to be done to create a desktop VM and prepare it for the next stage which is provisioning to users.
For an overview of the components of VMware View see VMware View 4 - Intro and Components.
Summary of Steps:
-
Create Virtual Machine
-
Install Operating System (32 Bit Only for View Agent to work)
-
Configure Operating System
-
Install VMware Tools
-
Install View Agent
-
Shutdown VM
-
Snapshot VM as baseline
1. Start by creating a new Virtual Machine using vSphere client.

2. Ensure the VM is created with the correct CPU, memory amounts for the guest OS.
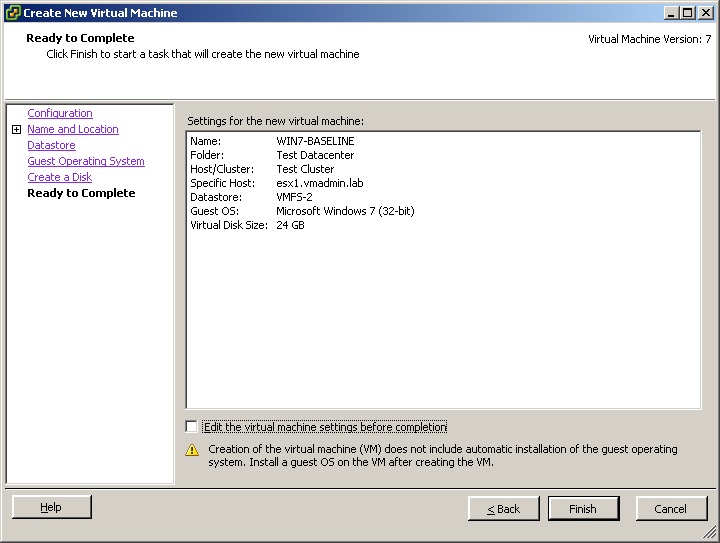
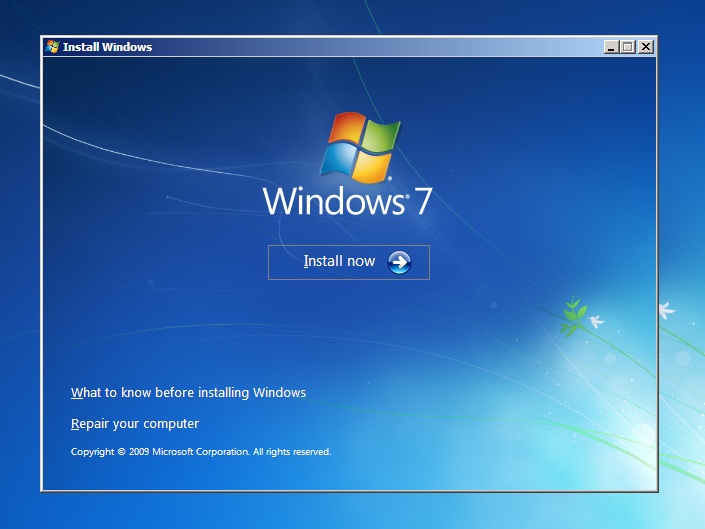
3. Install the guest OS (in this case Windows 7 32Bit).
4. Configure the guest OS, Networking and Software (Install any Updates, AntiVirus, Office Apps etc)
4. Install VMware Tools.

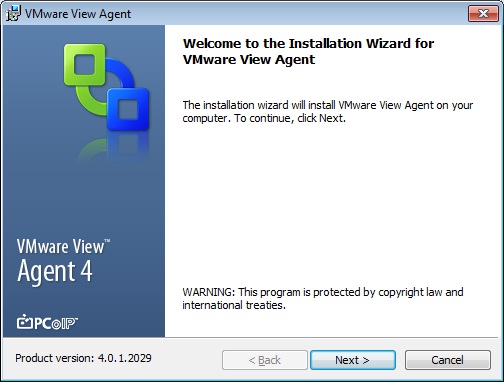
5. Install VMware View Agent.
To enable the View Connection Server to communicate with virtual desktops this agent must be installed. It is currently only available for 32Bit operating systems, hence restricts being able to provide 64Bit OSes to your users via View.
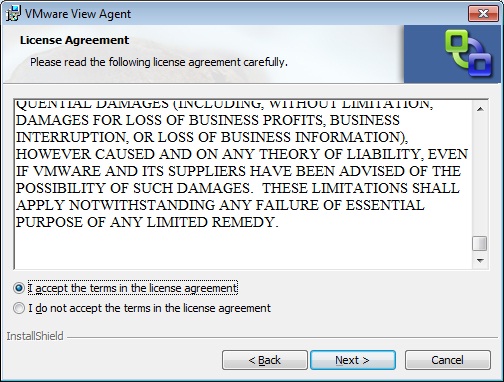
6. Read and Accept the license agreement and Click Next.
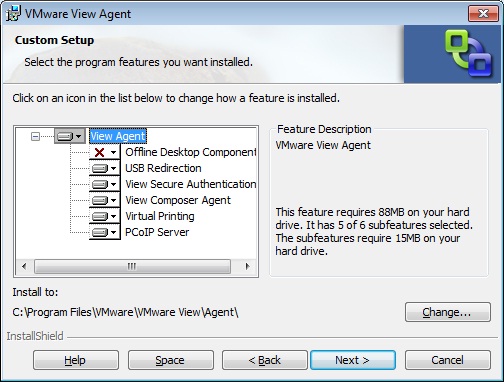
7. Review the features being installed (Offline desktop is optional).
Change the installation location if required.
Click Next.
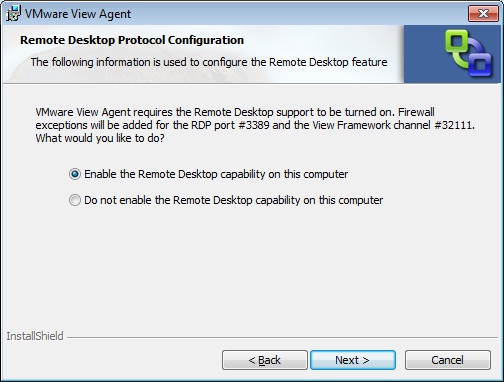
8. Enable remote desktop capability on the computer. Click Next.
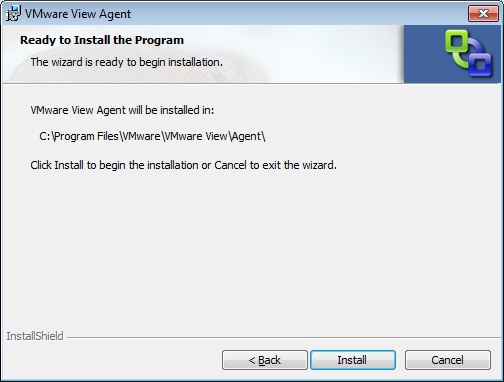
9. Review the location and Click Install.
10. If requested allow the installation of the drivers, Click Install.

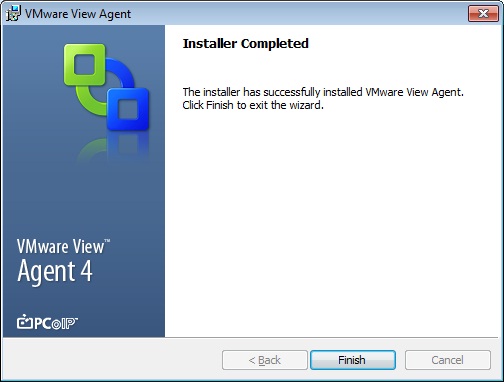
11. The View Agent is now successfully installed. Click Finish.
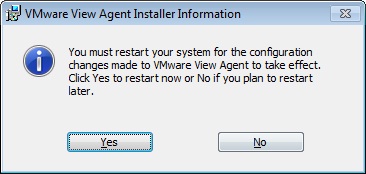
12. The guest OS needs to be restarted to complete installation of the View Agent.
Click Yes to restart the computer.
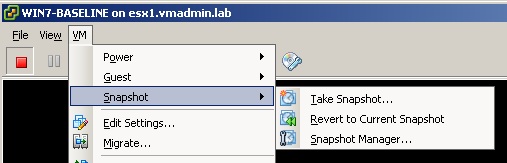
13. Take a snapshot of the VM so you have a baseline of the current installation.
Click VM --> Snapshot --> Take Snapshot
Ensure the VM is shutdown when doing this.
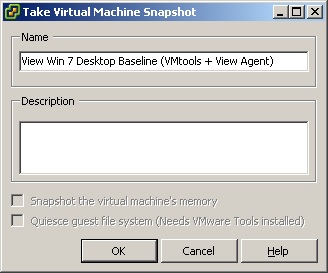
14. Call the snapshot something appropriate. Click Ok.
15. You now have a master image of a desktop ready to provision with View Administrator.
For an overview of the components of VMware View see VMware View 4 - Intro and Components.
How To Series: VMware View Installation, Configuration and Management
Part 1 - Installing VMware View Composer 2
Part 2 - Installing VMware View Connection Server 4
Part 3 - Configuring VMware View Connection Server 4 with View Manager
Part 4 - Creating a Master Image for VMware View Desktop Deployment
Part 5 - Provisioning an Individual Desktop with View Manager
Part 6 - VMware View 4 - Windows 7 Deployment Guide
Part 7 - Creating an Automated Desktop Pool
Share this blog post on social media:
Tweet


Latest Blog Posts
- vSphere 7 U1 - Part 3 - Creating a Datacenter, HA/DRS Cluster and Adding a Host
- vSphere 7 U1 - Part 2 - Deploying vCenter 7.0 U1 VCSA
- vSphere 7 U1 - Part 1 - Installing ESXi 7.0 U1
- Veeam CBT Data is Invalid - Reset CBT Without Powering Off VM
- View Administrator Blank Error Dialog/Window After Upgrade