The latest version of vShield which is 5.1, has been named vCloud Networking and Security, which provides firewall protection, traffic analysis, and network perimeter services to protect your vCenter Server virtual infrastructure.
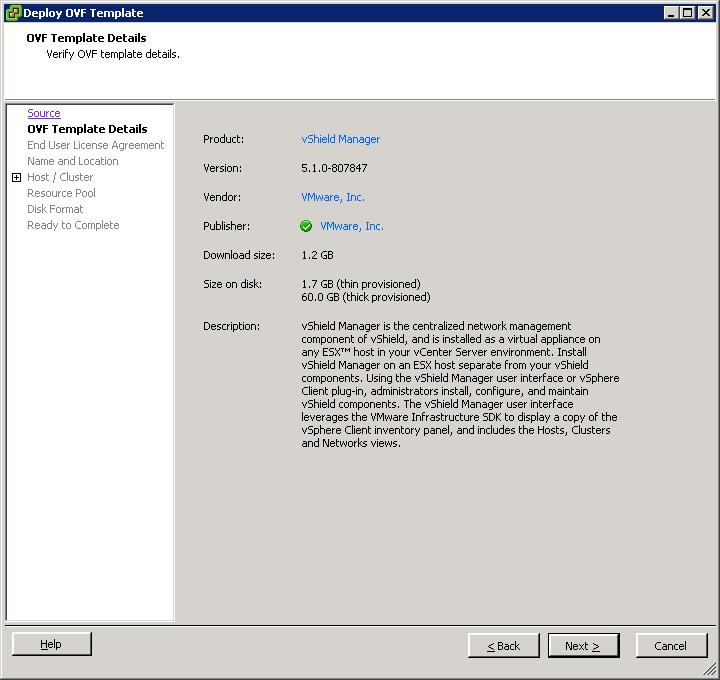
vShield Manager is the centralized management component of vShield. vShield Manager is used to monitor and push configurations to vShield App, vShield Endpoint, and vShield Edge instances. vShield Manager is a virtual appliance deployed as an OVA file downloaded from VMware.
Once you have installed vShield Manager and linked it to vCenter Server you will see vCloud Networking and Security appears under the licensing section (which used to show 3 seperate products vShield App, vShield Edge and vShield Endpoint).
1. Download vShield Manager 5.1
https://my.vmware.com/web/vmware/details?downloadGroup=VSP51-VCL-VCNS511&productId=286&rPId=2867
2. Import the OVF template into vCenter
Connect to vCenter with vSphere client.
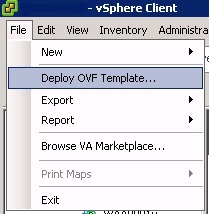
Select File --> Deploy OVF Template
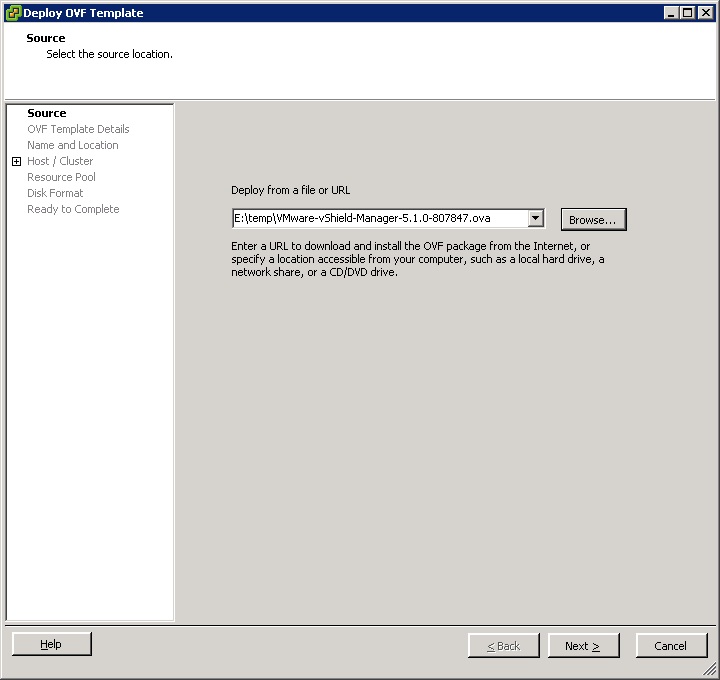
3. Browse to the path where the OVA file for vShield manager was downloaded to
Click Next
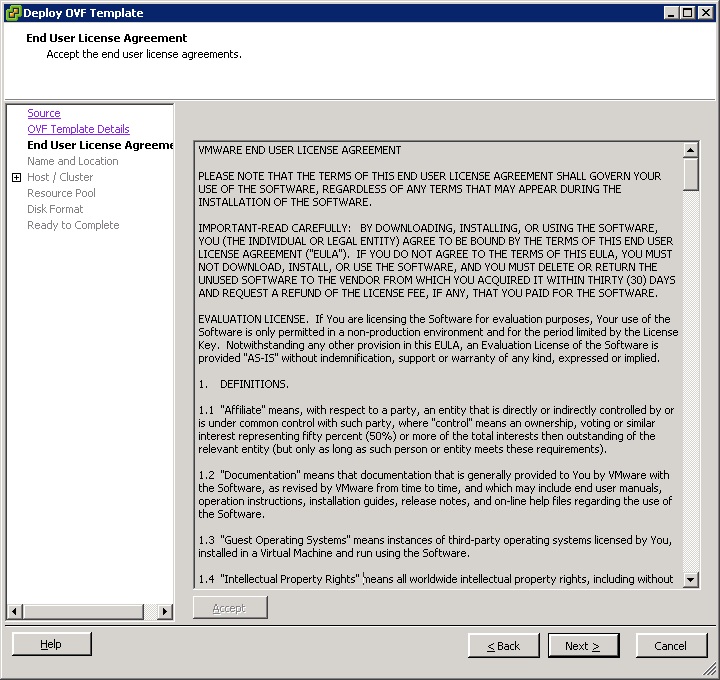
4. Read and Accept the license agreement
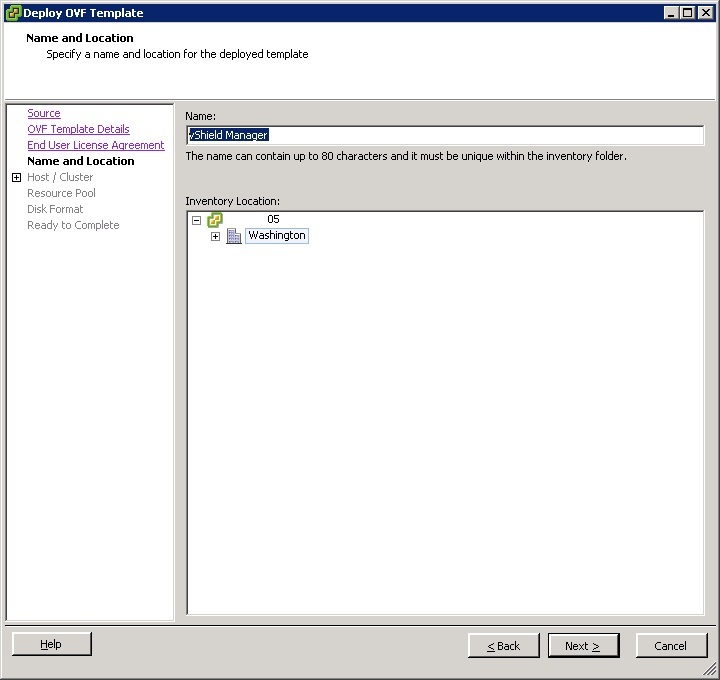
5. Enter a VM name for the vShield Manager VM
Select the datacenter and folder to deploy to, Click Next.
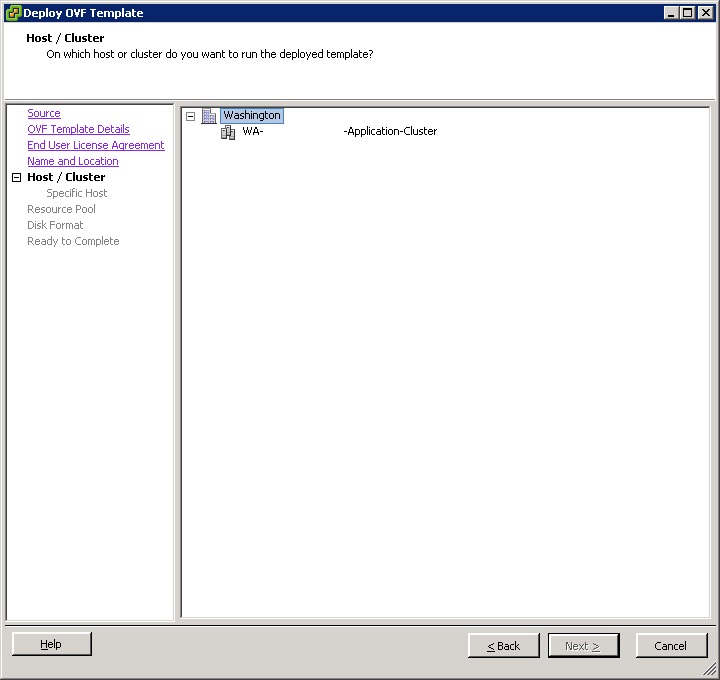
6. Select the Host and Cluster to deploy to
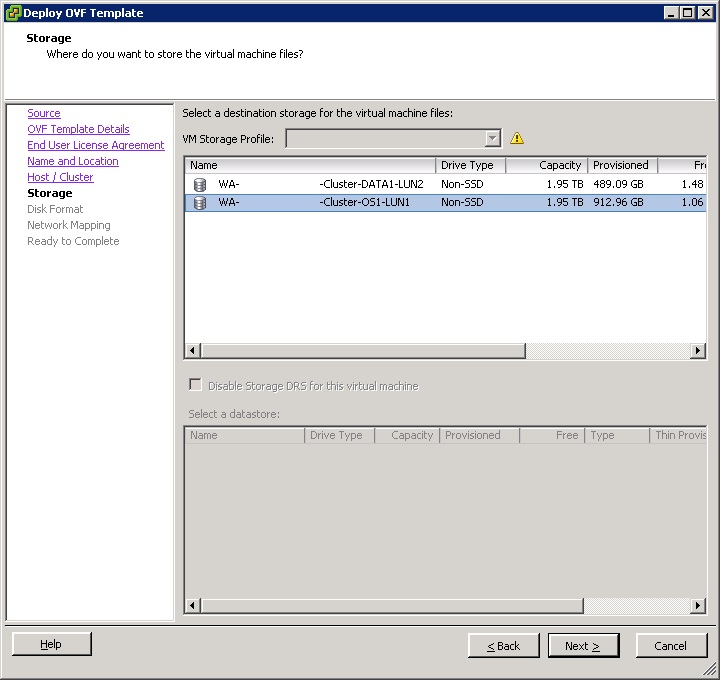
7. Select the datastore to store the VM
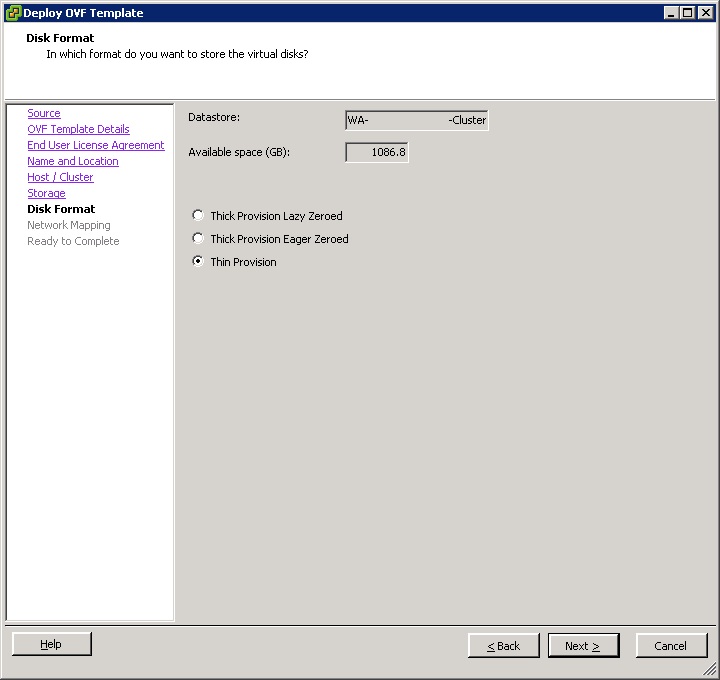
8. Select to Thin or Thick provision the VM storage
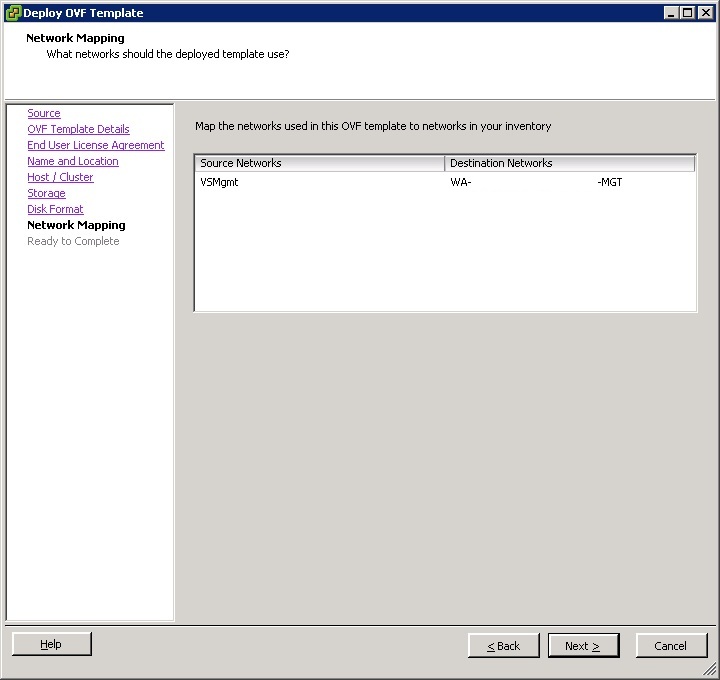
9. Map the network that will be used to manage the vShield Manager VM
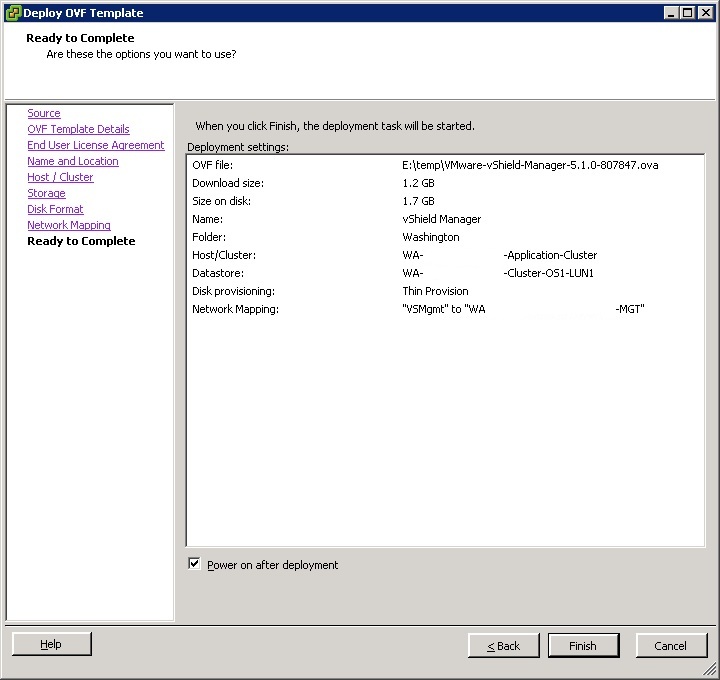
10. Review the settings
Tick power on after deployment and Click Finish.
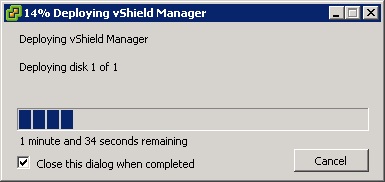
11. You will see a progress dialog and task while the VM is being deployed
12. After the vShield Manager VM has been deployed it will automatically power on (if you ticked the box)
Open a console to the VM and you will see it boot up
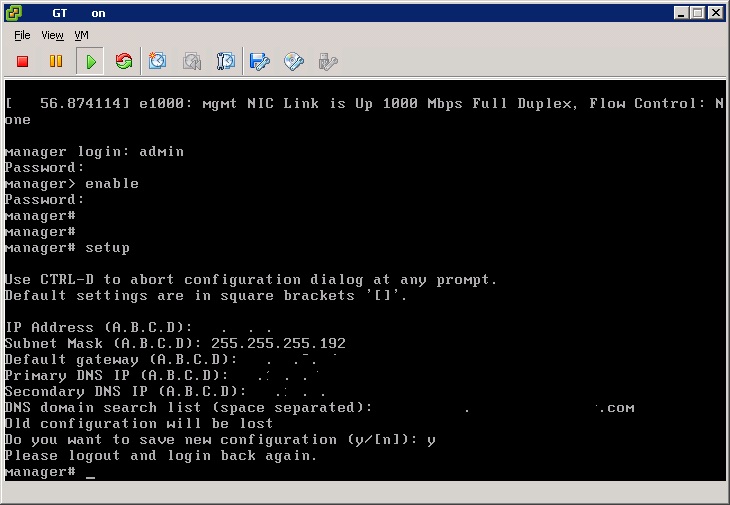
13. Login to the vShield Manager with the default username and password
Username: admin
Password: default
14. Enter enable mode, type setup and configure the network settings
Type "enable" and hit enter
Re-enter the admin password "default"
Type "setup" and hit enter
Enter the management network settings (IP address, mask, gateway, DNS and search domain)
Save the new configuration with "y" enter
15. Now open Internet Explorer and browse to the IP you just set e.g. https://123.123.123.123
Login with the same credentials
Username: admin
Password: default
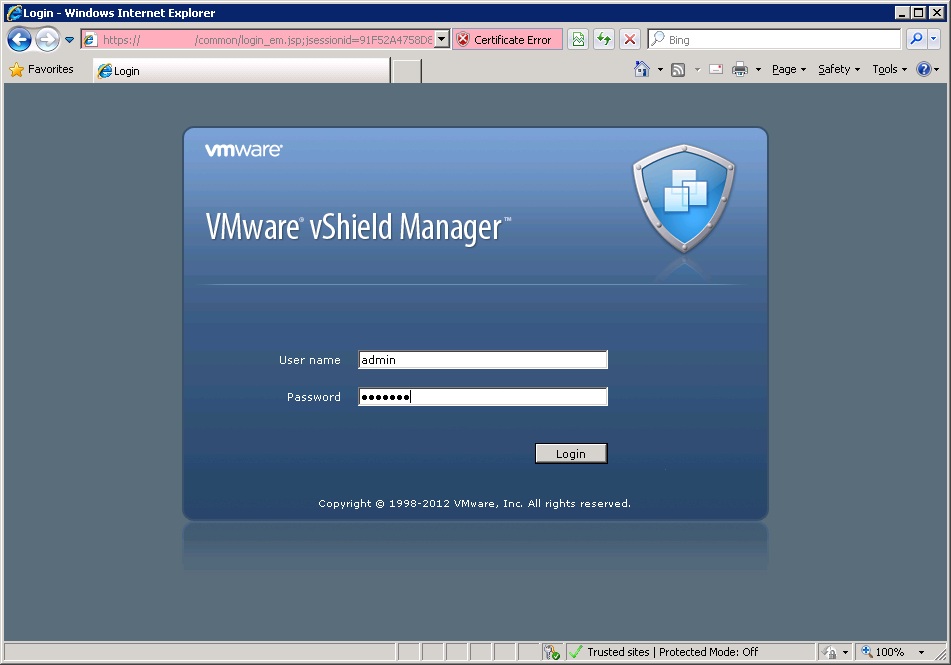
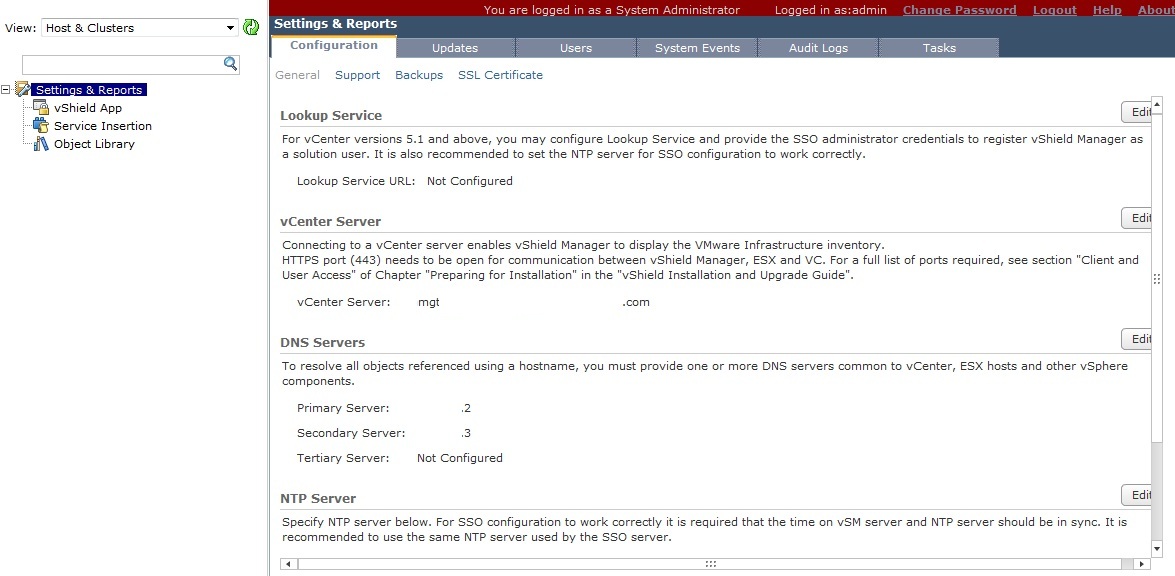
16. This is the admin interface of vShield Manager (you can also get to it from vSphere client once vCenter server is register)
First configure vShield Manager to register with a vCenter server
Ensure you are usder "Settings and Reports"
Click the "Configuration" tab
Click "Edit" next to vCenter Server, if you are using vCenter 5.1 you need to use the lookup service. For vCenter Server 5.0 you dont need to/cant use the lookup service for SSO.

17. Enter the vCenter server FQDN and username/password
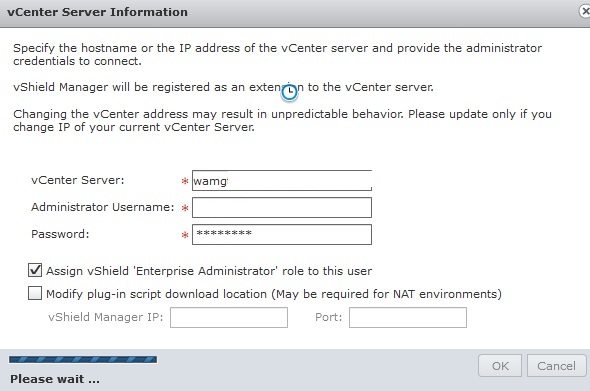
18. Now the vCenter server will show in the configuration tab
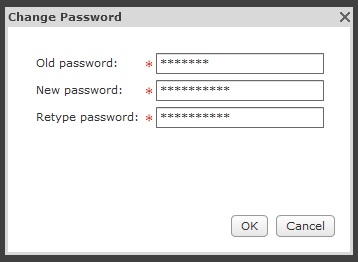
19. Click "Change Password" in the top right of the screen and set a new password for the admin user
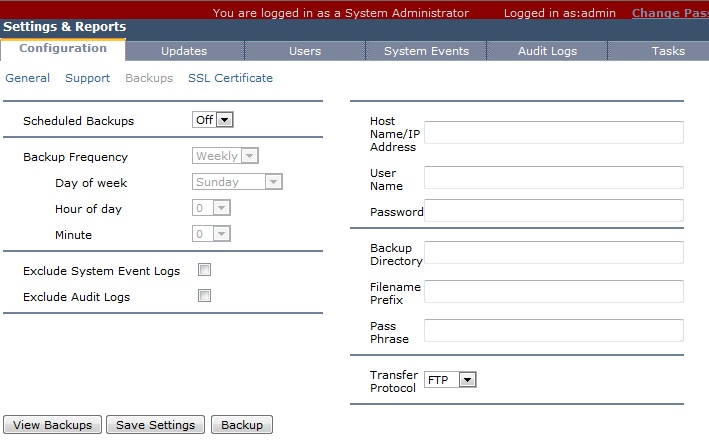
20. Now click "Backups" under "Configuration"
Setup a backup job for vShield Manager
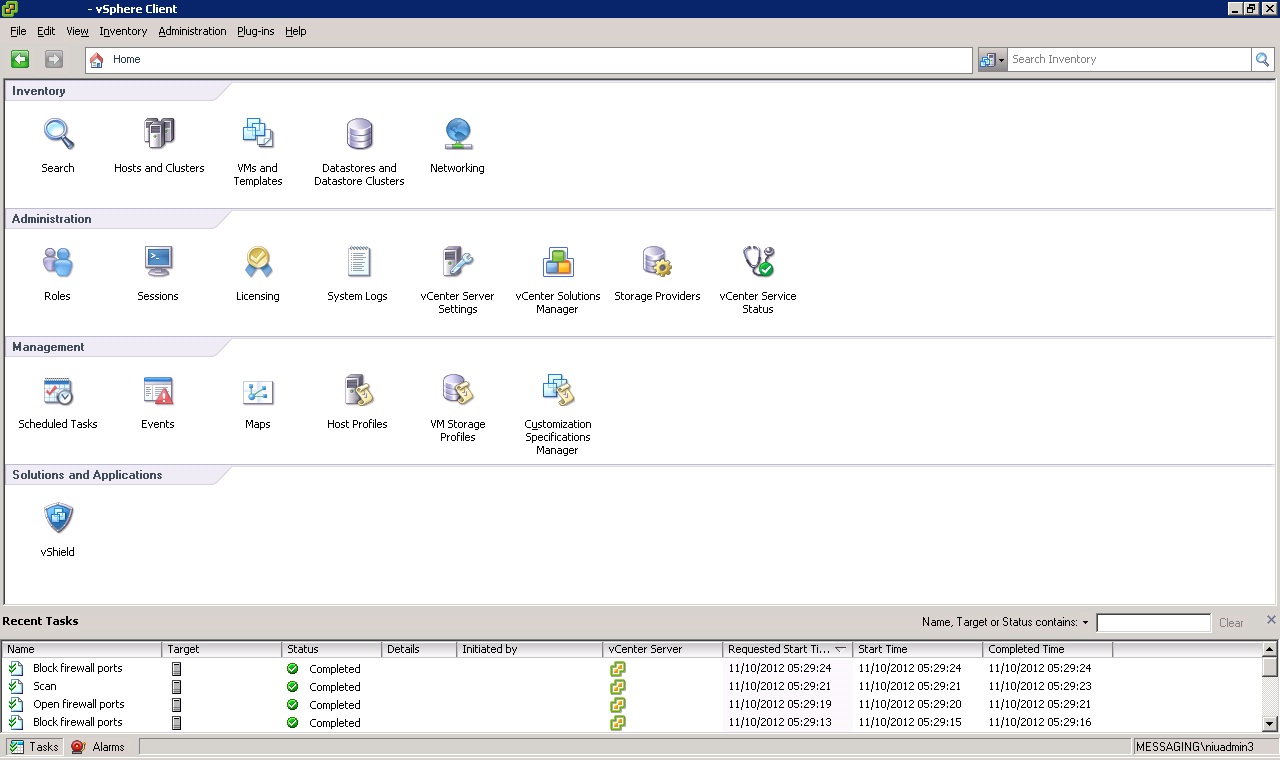
21. Now open vSphere client and login to vCenter
You will see a vShield Manager icon under Solutions and Applications
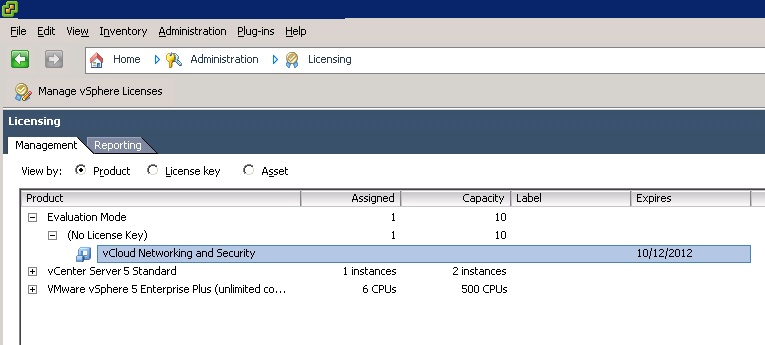
22. In the Licensing section of vSphere you will notice vCloud Networking and Security
Add your license key now otherwise it will continue to run in evaluation mode which will expire.
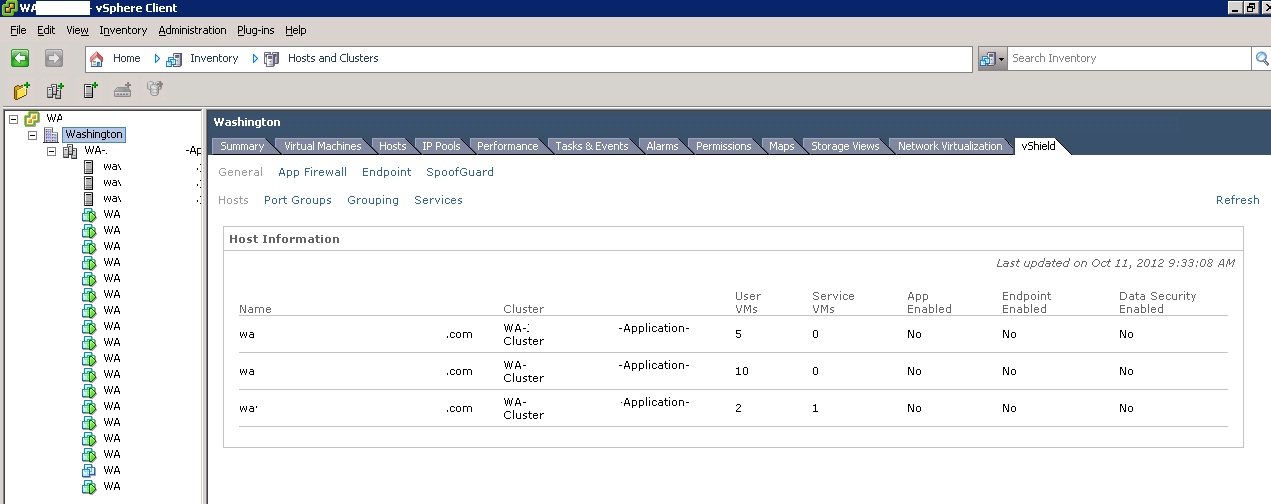
23. Thats vShield Manager deployed! If you click on the datacenter or cluster objects you will see a "vShield" tab like below.
This shows information on if vShield endpoint, App is deployed here, they can also be configure from here. The configuration of these will be covered in a seperate article.
Share this blog post on social media:
Tweet


Latest Blog Posts
- vSphere 7 U1 - Part 3 - Creating a Datacenter, HA/DRS Cluster and Adding a Host
- vSphere 7 U1 - Part 2 - Deploying vCenter 7.0 U1 VCSA
- vSphere 7 U1 - Part 1 - Installing ESXi 7.0 U1
- Veeam CBT Data is Invalid - Reset CBT Without Powering Off VM
- View Administrator Blank Error Dialog/Window After Upgrade