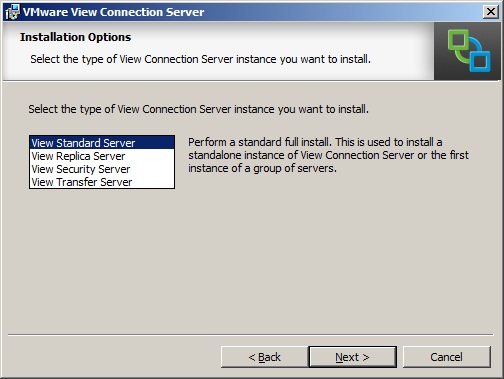
Connection Server Types:
Standard Server - Is the first instance of a group of Connection Servers.
Replica Server - Additional Standard Connection Servers are called Replica Servers. Replica Servers can be used to provide high‐availability and load balancing.
Each replica server has a local LDAP instance (using Microsoft's ADAM), the View LDAP data on the replica server is copied from an existing View Connection Server when a new one is installed.
Security Server - In a DMZ a Security server can be installed to add additional protection. Security servers ensure only authenticated users can connect to the internal network from external locations by providing a single point of access.
Transfer Server - A Transfer Server is required when using local desktop (aka offline mode).
Minimum requirements for View Connection Server(s) are as follows:
The View Connection Server can be physical or virtual. (Ideally virtual to get the benefits of HA and DRS)
Processor:
Pentium IV 2.0GHz Processor or Higher
Memory:
2 GB RAM or higher for Windows Server 2003 32bit host system
4 GB RAM or higher for Windows Server 2008 64bit host system
Networking:
One ore more 1GB NICs recommended (depends if virtual or physical)
Operating System:
Windows Server 2003 32-Bit SP2 (Standard/Enterprise)
Windows Server 2003 R2 32-Bit SP2 (Standard/Enterprise)
Windows Server 2008 R2 (Standard/Enterprise)
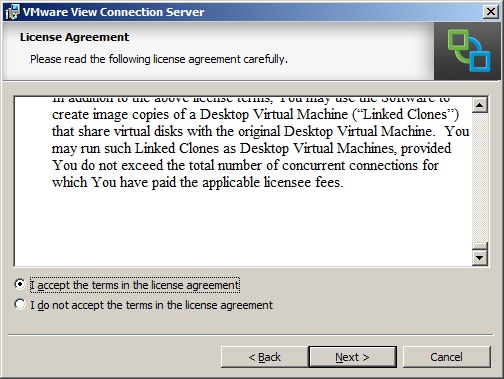
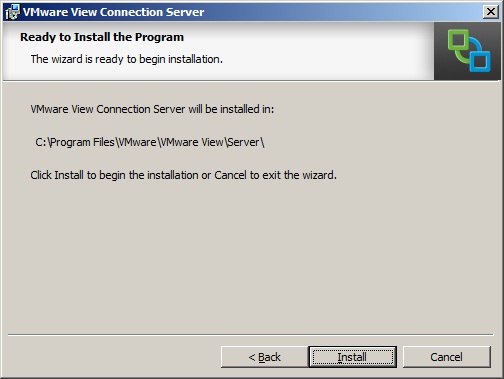
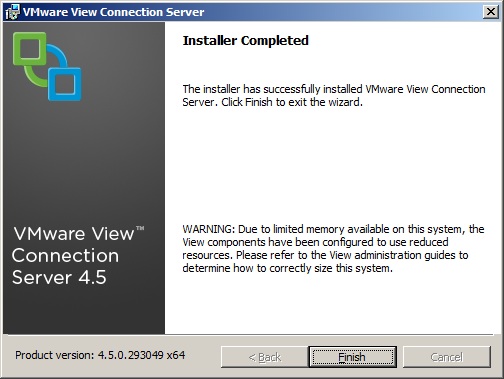
4. Read and Accept the VMware license agreement, Click Next.
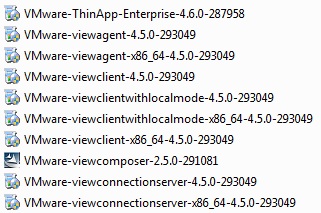
VMware View 4.5 How To Series:
View 4.5 Part 1 - Intro and Components
View 4.5 Part 2 - Installing View Composer
View 4.5 Part 3 - Installing View Connection Server
View 4.5 Part 4 - Configuring with View Adminstrator
View 4.5 Part 5 - Creating a Master/Golden Image
View 4.5 Part 6 -
Share this blog post on social media:
Tweet


Latest Blog Posts
- vSphere 7 U1 - Part 3 - Creating a Datacenter, HA/DRS Cluster and Adding a Host
- vSphere 7 U1 - Part 2 - Deploying vCenter 7.0 U1 VCSA
- vSphere 7 U1 - Part 1 - Installing ESXi 7.0 U1
- Veeam CBT Data is Invalid - Reset CBT Without Powering Off VM
- View Administrator Blank Error Dialog/Window After Upgrade