Following on from Installing VMware ThinApp 4.6 - ThinApp Part 1 we will actually create a ThinApp.
The software of choice is Adobe Reader 9.1, a very common piece of software used in the enterprise.
It is also the perfect candidate for ThinApp application virtualisation due to the constant updates to the product. With ThinApp you would just need to re-recreate the package with the update and then replace the original ThinApp package with the new one (it sure beats trying to apply it to 1000's of computers).
1. Download Adobe Reader
Dont forget you will probably want the Enterprise version to be allowed to deploy/distribute on a corporate network.
http://www.adobe.com/products/reader/
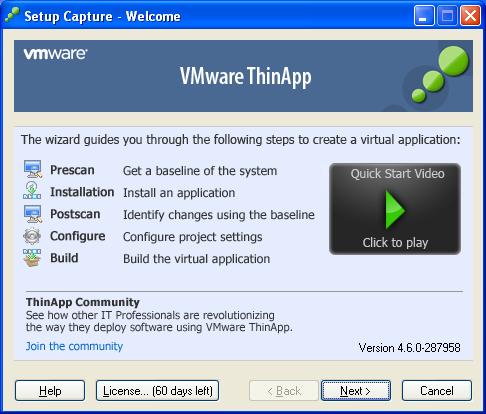
2. Start VMware ThinApp, Click Next.
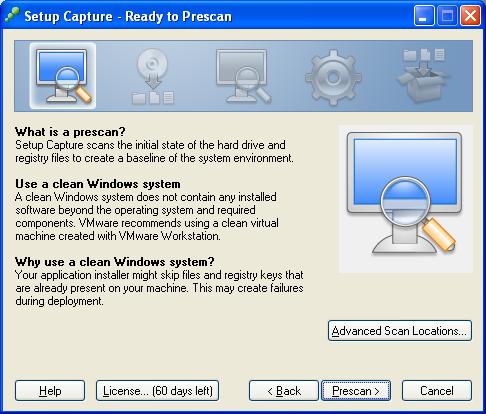
3. Run the Prescan.
A prescan is run to take a baseline of the registry and files on the computer. This will be used to compare what has changed when the software is installed.
Click "Prescan >" and wait a few minutes for the prescan to complete.
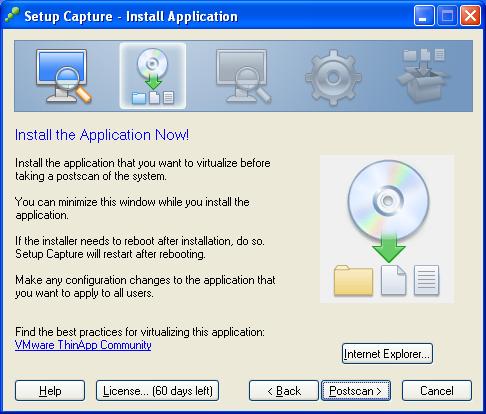
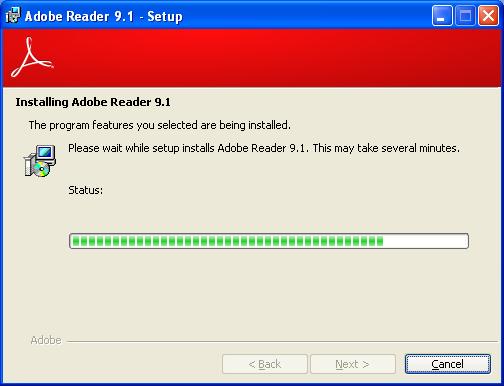
4. Install Adobe Reader
Dont run a postscan yet! Start the installation of Adobe Reader 9 and install as required.
Once installed make any preference changes you need (turn off internet updates, accept license agreement etc)
5. Run the postscan
The postscan is compared with the prescan to see exactly what changes the application makes to the registry and files.
Click "Postscan >" to run the scan a wait.
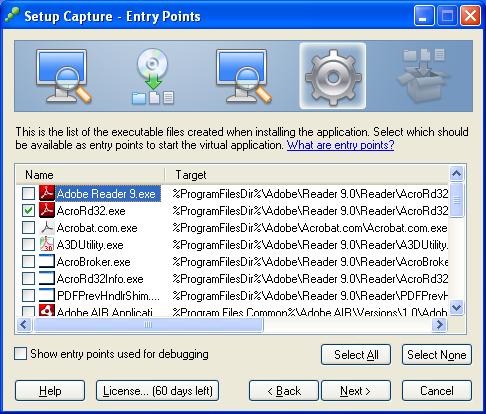
6. Executable entry point
Select the executable which should be used to start the application.
In this case "AcroRd32.exe" is the actual executable for Adobe Reader.
Click Next.
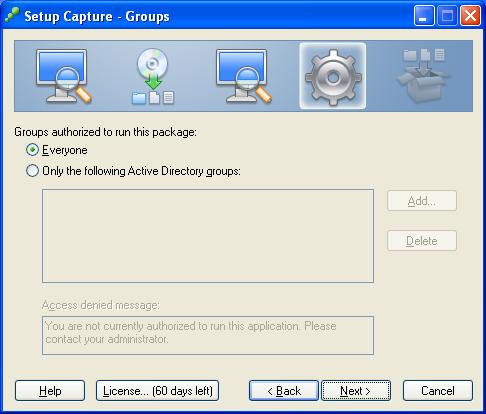
7. Application Access
Choose to limit the application with Active Directory groups or allow everyone.
Click Next.
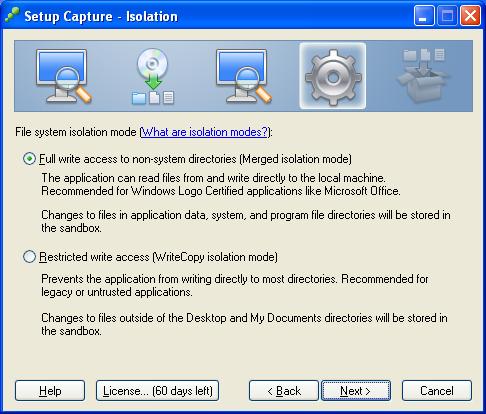
8. Select the Isolation Mode
Choose "Full write access" and Click Next.
For legacy applications that are no longer patched this needs to be reviewed and tested, as you would prefer to limit these to "Restricted write access". Generally Windows Logo Certified applications are set to "Full write access".
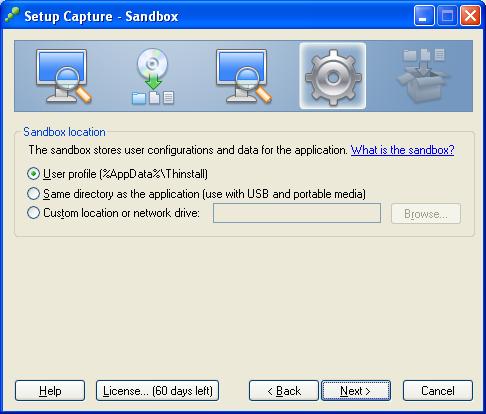
9. Sandbox location
This depends on how you are running your environment. Generally this is in the user profile.
Select "User profile" and Click Next.
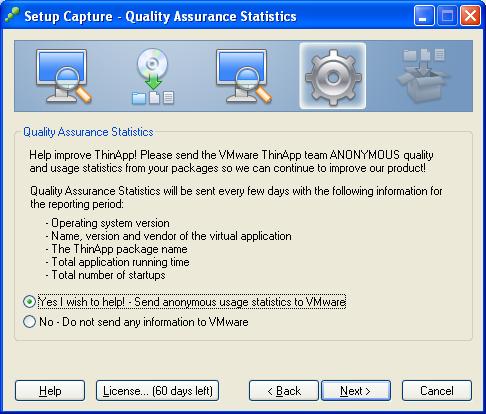
10. Quality Assurance
Decide if you want to share your ThinApp statistics with VMware (its annonymous you know and it helps!).
Click Next.
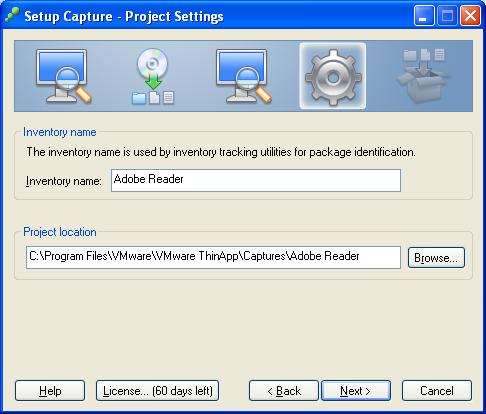
11. Project Settings
Give the application a name for identifying packages and a build location.
Click Next.
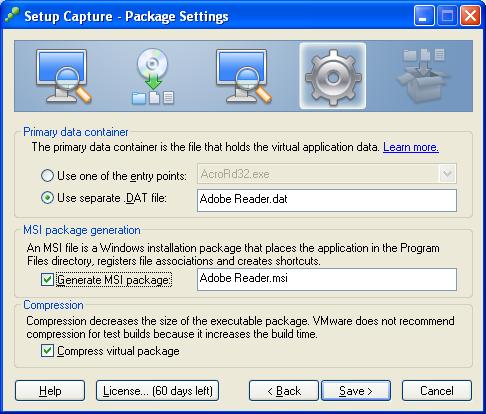
12. Package Settings
Choose to package the file as one a single entry point or as a seperate .DAT file.
If you would like to distribute the package as an MSI and register file associations when this installed, choose generate MSI package.
Finally if you are distributing this package for production compress it to save precious space.
Click Save.
13. Build It!!
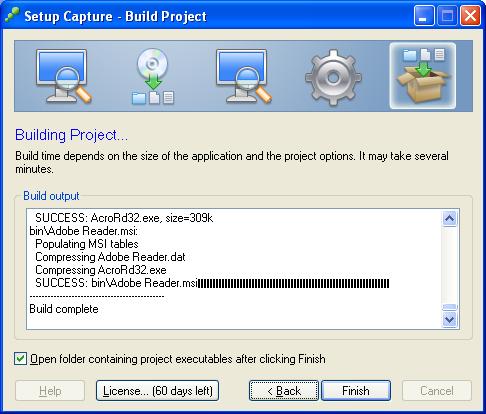
Click "Build" to start building the package....
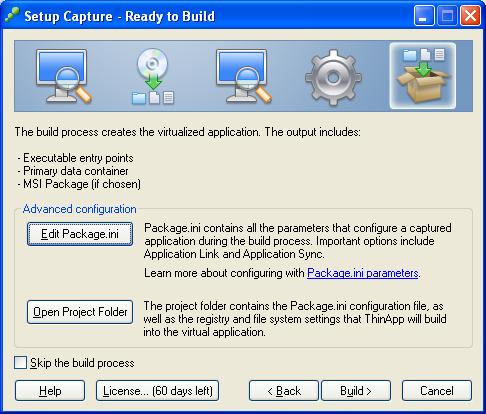
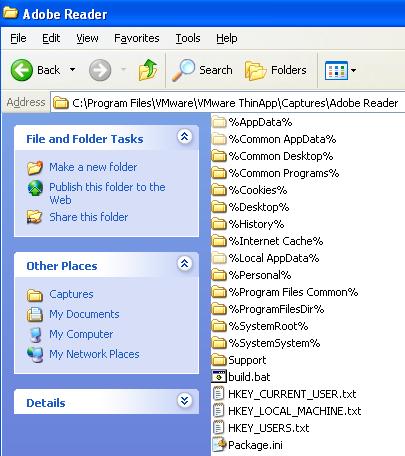
If you click "Open the project folder" before building you can see what the package contains and make any further advanced changes if required.
14. Build Complete
When the build completes Click Finish.
15. The folder with the complied and compressed ThinApp virtual package will be displayed.

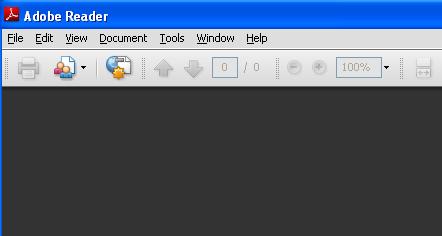
16. Run your ThinApp!!
Double click the .exe for your Adobe Reader ThinApp package and confirm it works correctly, try this on another computer.
Depending on what project settings you chose you may have only one .exe which you could make available in a network location to all users.
Share this blog post on social media:
Tweet


Latest Blog Posts
- vSphere 7 U1 - Part 3 - Creating a Datacenter, HA/DRS Cluster and Adding a Host
- vSphere 7 U1 - Part 2 - Deploying vCenter 7.0 U1 VCSA
- vSphere 7 U1 - Part 1 - Installing ESXi 7.0 U1
- Veeam CBT Data is Invalid - Reset CBT Without Powering Off VM
- View Administrator Blank Error Dialog/Window After Upgrade