Adding an ESX or ESXi Server to vCenter is very simple indeed.
The most important rule is to ensure that everything has DNS configured correctly and the ESX server has a DNS name.
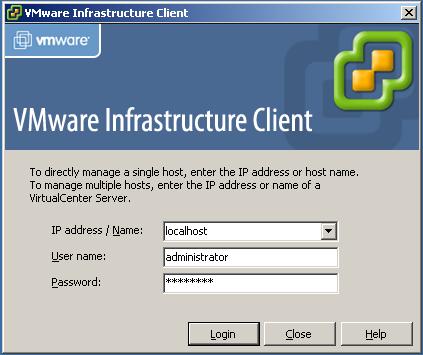
First login to the vCenter Server.
Enter the DNS name, username and password. Click Login.
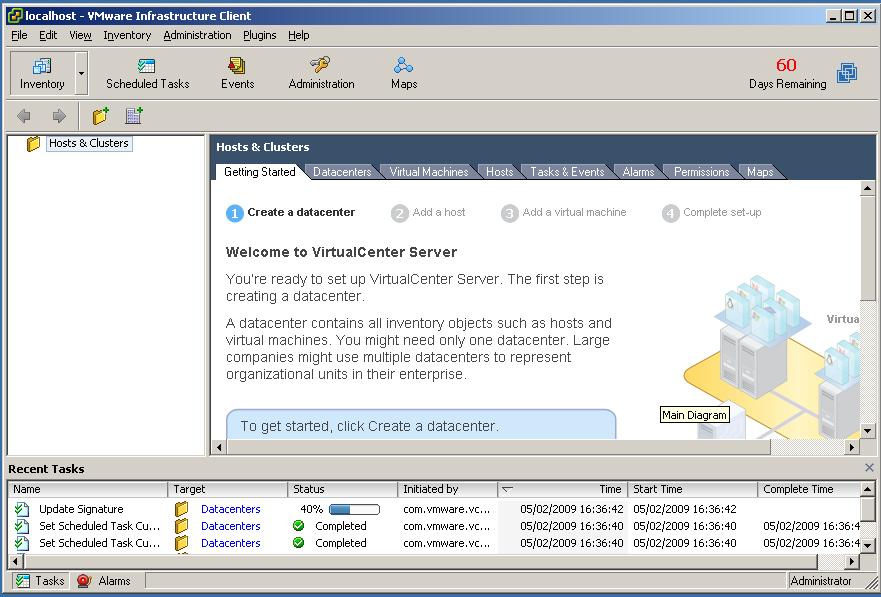
Once you are connected to vCenter and if this is a fresh new vCenter Server you need to create a datacenter.
Right click "Hosts & Clusters" and click "Add Datacenter". Give the datacenter a name (e.g. London).
Right click your datacenter "London" and click "Add Host".
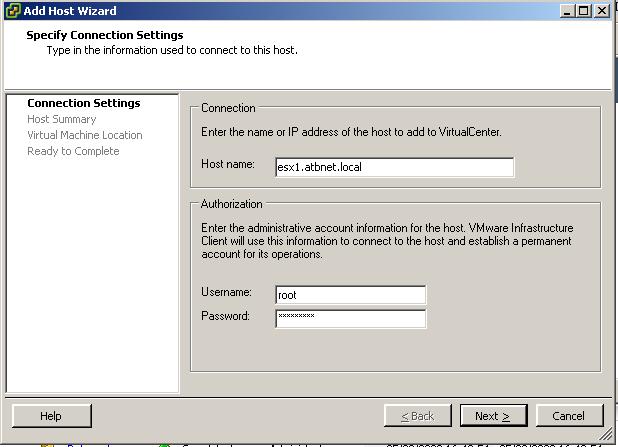
The Add Host Wizard will appear. Enter the fully qualified DNS name of the ESX/ESXi Server and a username/password for the host. Click Next.
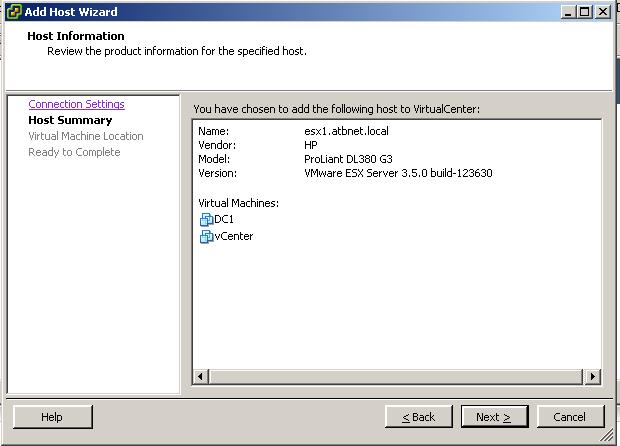
It will discover an VMs running on the host the model details of the server. Click Next.
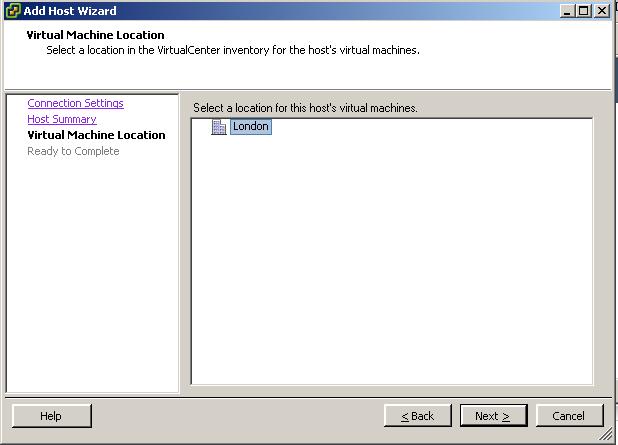
Select which datacenter to add the host to. Click Next.
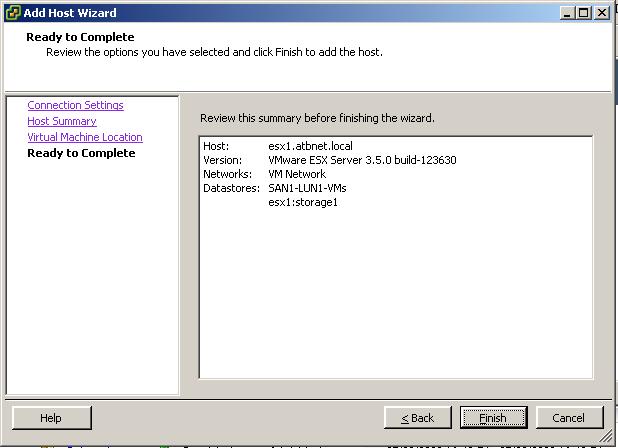
Review the summary and click Finish.
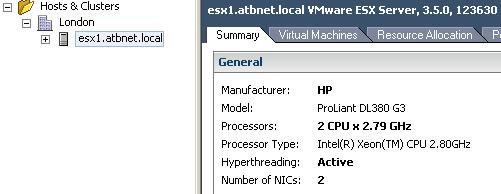
A task will appear "Add Standalone Host" when complete the ESX/ESXi Server will now be in your vCenter Server. You no longer need to connect VI client directly to each individual host, only vCenter.

Share this blog post on social media:
Tweet


Latest Blog Posts
- vSphere 7 U1 - Part 3 - Creating a Datacenter, HA/DRS Cluster and Adding a Host
- vSphere 7 U1 - Part 2 - Deploying vCenter 7.0 U1 VCSA
- vSphere 7 U1 - Part 1 - Installing ESXi 7.0 U1
- Veeam CBT Data is Invalid - Reset CBT Without Powering Off VM
- View Administrator Blank Error Dialog/Window After Upgrade