Welcome to Part 3 of our vSphere 5.5 installation.
If you missed any of the previous parts of the series or want go back here is the jump list:
- vSphere 5.5 - Part 1 - ESXi Server 5.5 (inc U1) Install
- vSphere 5.5 - Part 2 - vCenter Single Sign On (SSO) Install
- vSphere 5.5 - Part 3 - vCenter Inventory Service Install
- vSphere 5.5 - Part 4 - vCenter Server Install
- vSphere 5.5 - Part 5 - vSphere Web Client Install
- vSphere 5.5 - Part 6 Creating a Datacenter, HA/DRS Cluster and Adding a Host
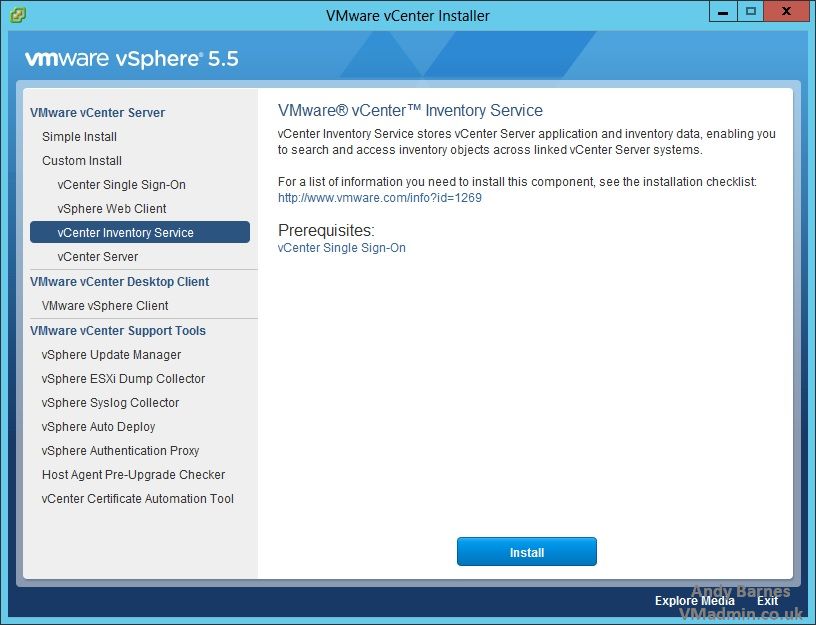
So what does the vCenter Inventory Service actually do?
vCenter Inventory Service reduces direct client requests to the vCenter server with query caching, reducing the load on core vCenter Server processes.
The main use case of the vCenter Inventory Service is to manage the vSphere Web Client inventory objects and property queries that the client requests when users navigate the vSphere environment.
The vSphere Web Client requests only information viewed on the screen, so navigation is more efficient.
In vCenter Server 5.0, vCenter Inventory Service was a separate process. With the updated vCenter Server, it is now a separate independent component and can be offloaded to a separate server or closer to the vSphere Web Client.
This reduces traffic and improves response times.
There is not much more to say about this other than to get on with installing it..
1. Kick off the installer for vCenter Inventory Service and Click Next.
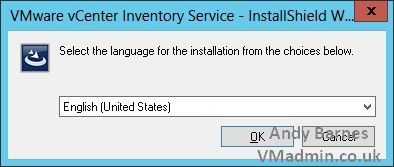
2. Choose the required language. Click Next.
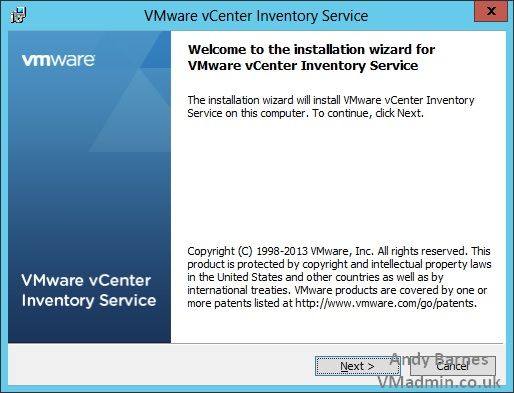
3. The installer will begin. Click Next.
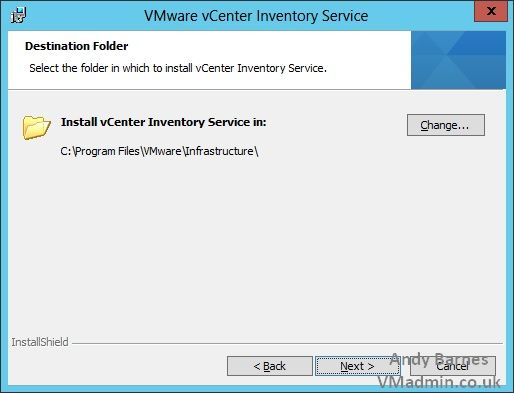
4. Select the desired installation location and click next.
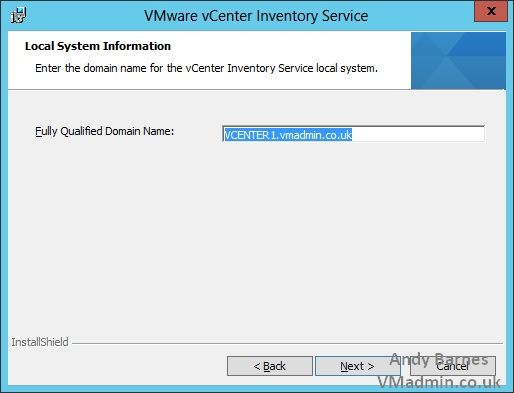
5. Enter the FQDN for the inventory service.
6. Keep the ports as their defaults. Click Next.

7. Select the appropriate JVM memory size for your expected end goal deployment size.

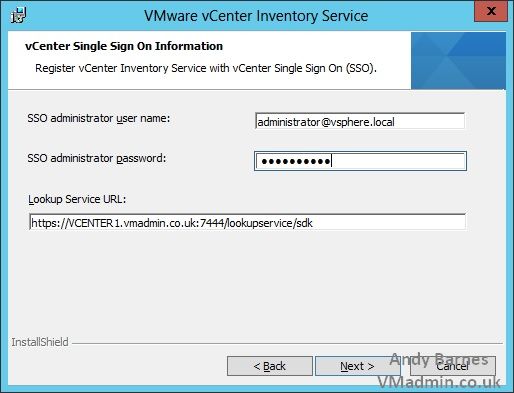
8. Enter your Single Sign On (SSO) username/password and lookup service URL:
e.g.
This email address is being protected from spambots. You need JavaScript enabled to view it.
It'sasecret123
https://vcenter1.vmadmin.co.uk:7444/lookupservice/sdk
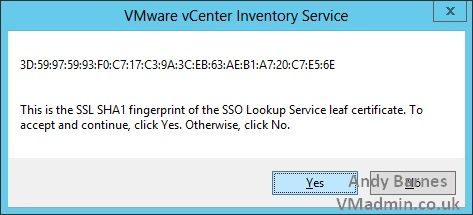
9. Accept the SSO certificate by Clicking "Yes"
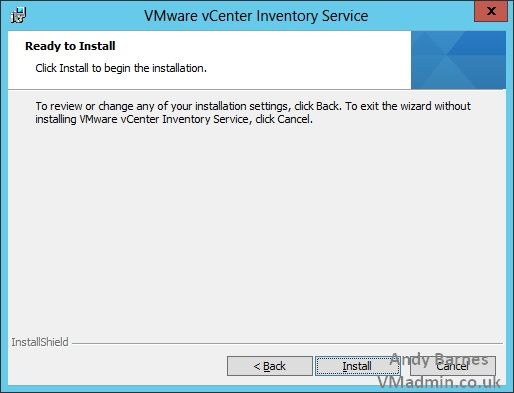
10. Click install
11. And after a few short moments the vCenter Inventory Service will complete installing. Very simple, now onto the vCenter Server install in the next part...
Next up Part 4- vCenter Server Install..
If you missed any of the previous parts of the series or want go back here is the jump list:
- vSphere 5.5 - Part 1 - ESXi Server 5.5 (inc U1) Install
- vSphere 5.5 - Part 2 - vCenter Single Sign On (SSO) Install
- vSphere 5.5 - Part 3 - vCenter Inventory Service Install
- vSphere 5.5 - Part 4 - vCenter Server Install
- vSphere 5.5 - Part 5 - vSphere Web Client Install
- vSphere 5.5 - Part 6 Creating a Datacenter, HA/DRS Cluster and Adding a Host
Share this blog post on social media:
Tweet


Latest Blog Posts
- vSphere 7 U1 - Part 3 - Creating a Datacenter, HA/DRS Cluster and Adding a Host
- vSphere 7 U1 - Part 2 - Deploying vCenter 7.0 U1 VCSA
- vSphere 7 U1 - Part 1 - Installing ESXi 7.0 U1
- Veeam CBT Data is Invalid - Reset CBT Without Powering Off VM
- View Administrator Blank Error Dialog/Window After Upgrade