For an overview of the components of VMware View see VMware View 4 - Intro and Components.
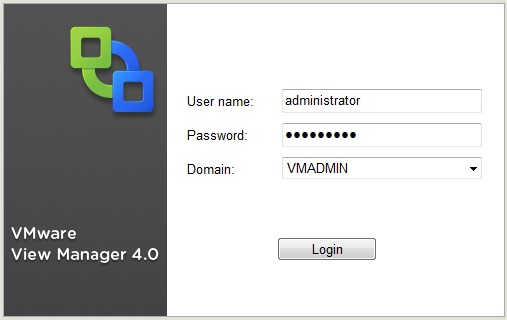
1. Login to View Manager Administrator
https://<your-connectionserver>/admin/
Login with an account which is part of the BUILTIN\Administrators group on the connection server.
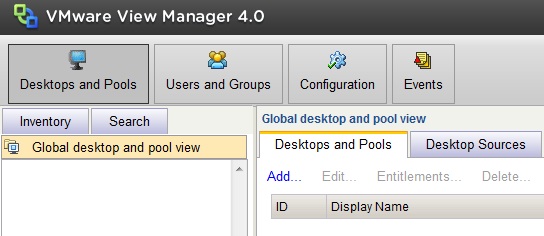
2. Under "Desktops and Pools" section and tab Click "Add" to create a new desktop.
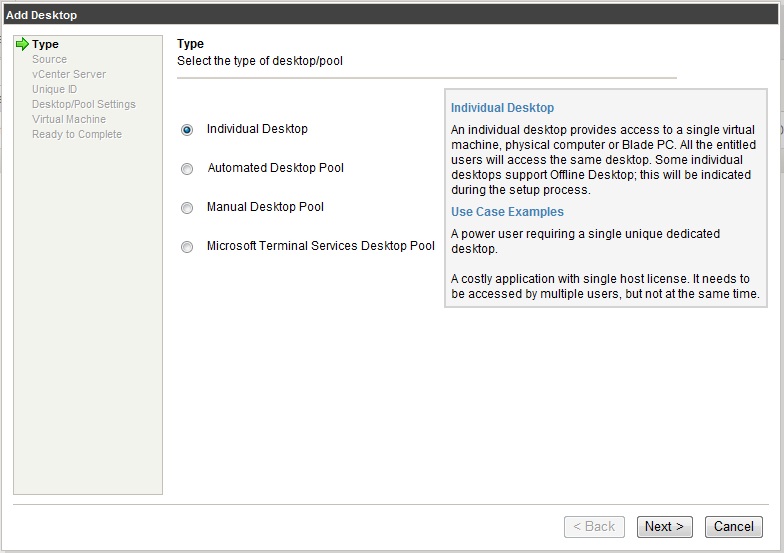
3. Select "Individual Desktop" for the desktop type, Click Next.
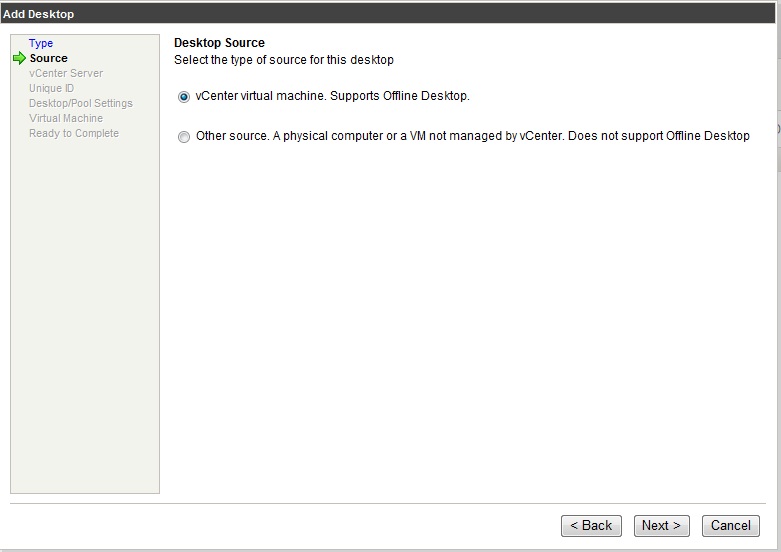
4. Select "vCenter virtual machine" as the source. Click Next.
If you wanted to use a physical computer at some point, here you would choose "Other source" instead.
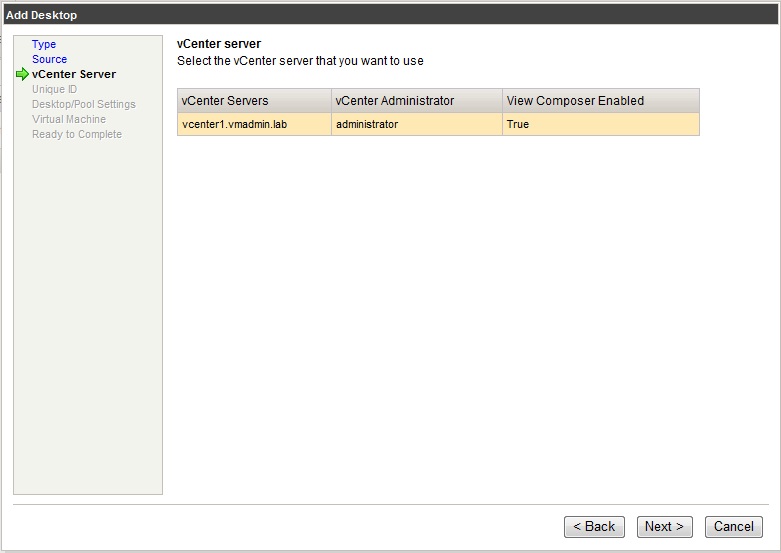
5. Select the vCenter server (you will only see one vCenter server here unless you added more). Click Next.
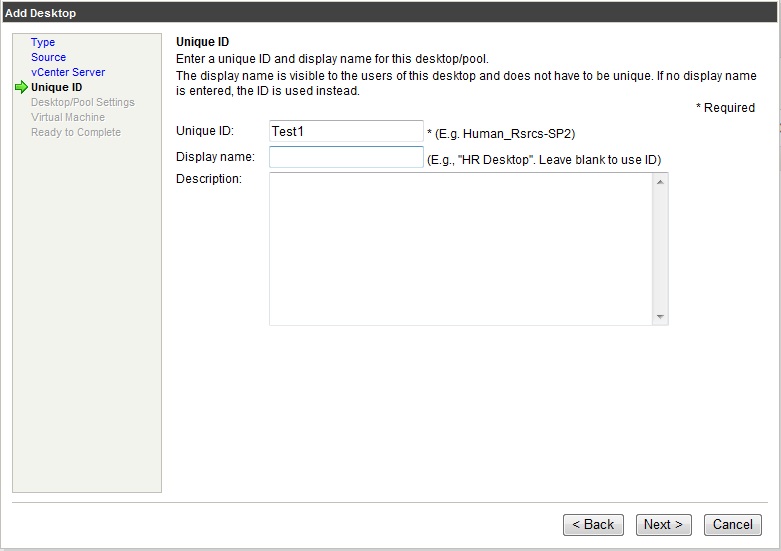
6. Enter a unique ID for the desktop. Click Next.
Optionally provide a display name and a description.
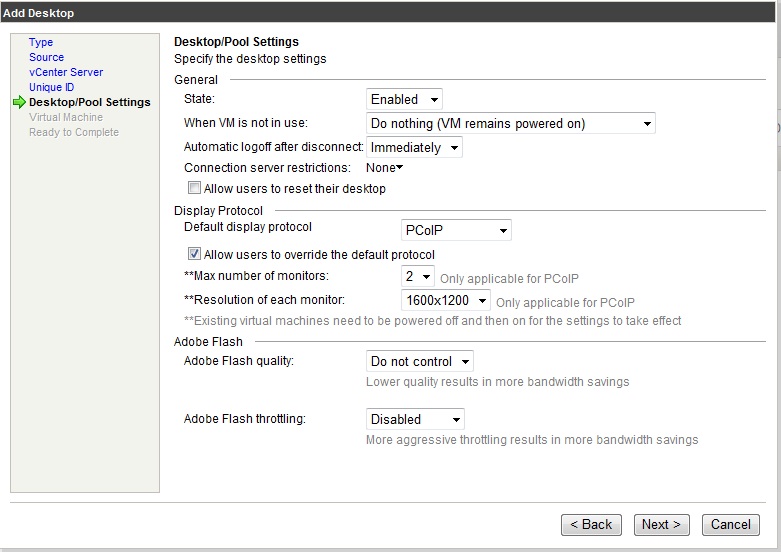
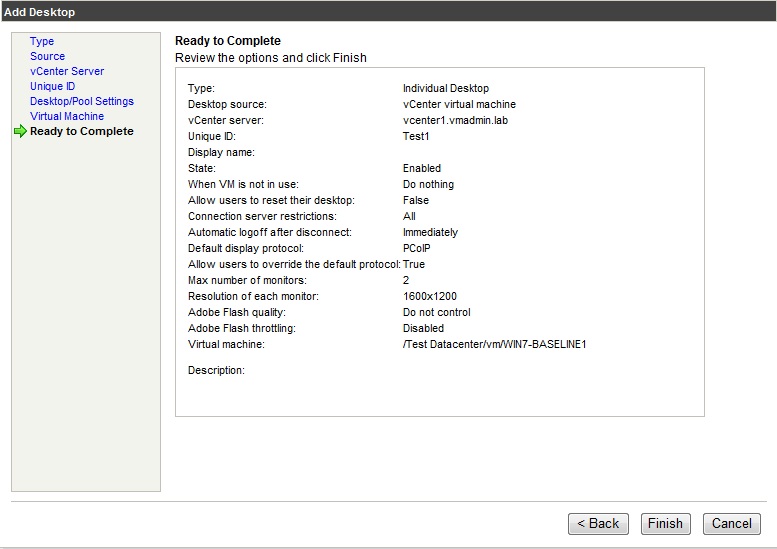
7. Provide the desktop settings:
State: Enabled
When VM is not in use: Do nothing
Automatic Logoff: Immediatley
Default display protocol: PCoIP
Max monitors and Resolution: As required
Leave adobe flash settings disabled for now (however you may want to tweak this later in your automated pool)
Click Next.
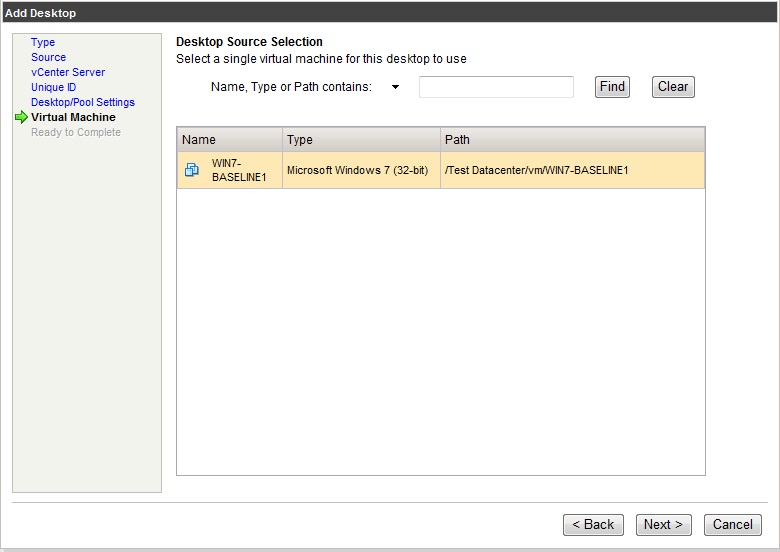
8. Add a desktop source.
Search for the VM in vSphere that will be used for the virtual desktop. Click Next.
9. Review the settings and Click Finish.
10. The desktop will now appear under "Desktop and Pools".
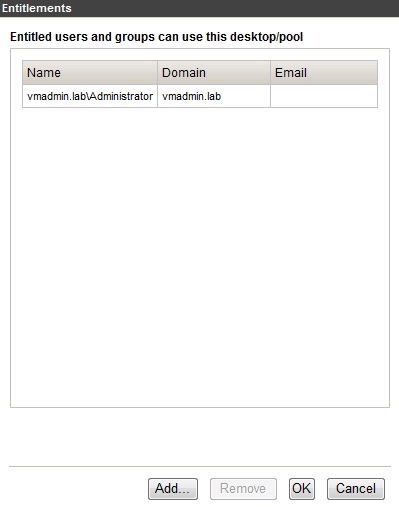
11. Add an entitlement for a user to use the desktop.
Click the desktop and then "Entitlements".

12. Click "Add" and add user(s) that will be entitled to use the desktop. Then Click Ok.
13. Login to View Portal
https://<your-connectionserver>
Ensure you login as the entitled user. This cannot be done on Windows Server 2003 as its unsupported so ensure you use another computer (e.g. running XP).

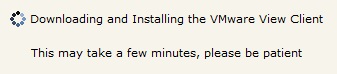
14. The VMware View Client will be installed on the computer if not installed already.
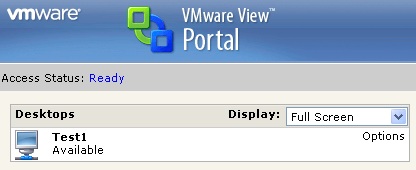
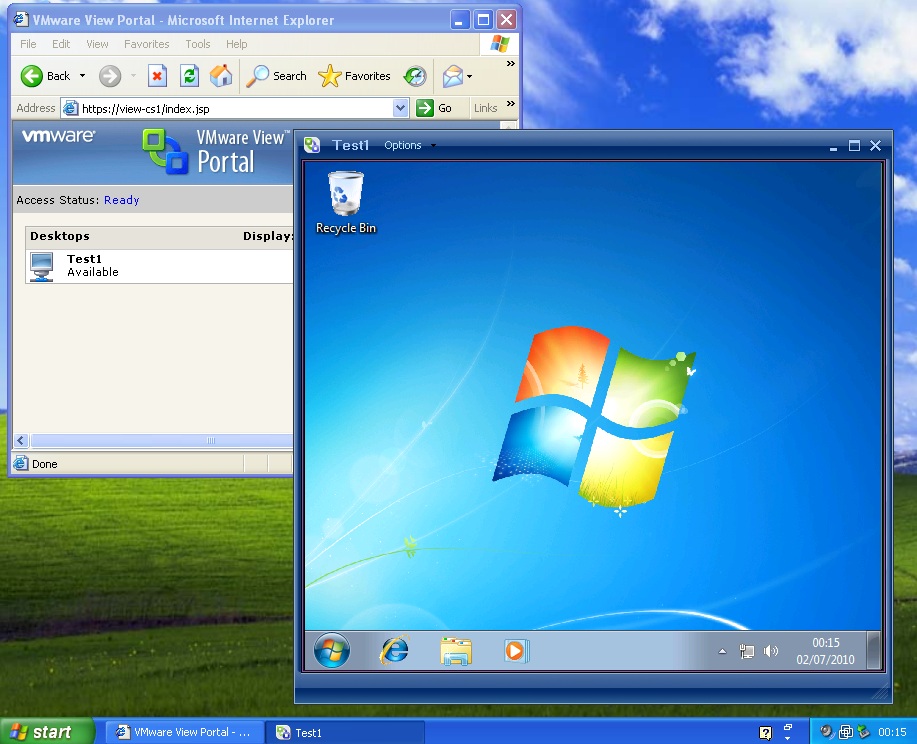
15. The View Portal will then display the entitled desktop "Test1" which we created.
Click on the desktop and it will open the desktop to use.
16. You now have Windows 7 running on an old Windows XP computer (possibly not capable of running Windows 7).
Plus the fact now its sat in a secure datacenter with HA and DRS ensuring it is highly available and running gloriously.
It could now be accessed from home if another connection server was installed in the DMZ and they could access the same desktop from anywhere in the world.
By the way there are options for full screen, its in a small window for effect to show Windows 7 via View and an old XP computer.
For an overview of the components of VMware View see VMware View 4 - Intro and Components.
How To Series: VMware View Installation, Configuration and Management
Part 1 - Installing VMware View Composer 2
Part 2 - Installing VMware View Connection Server 4
Part 3 - Configuring VMware View Connection Server 4 with View Manager
Part 4 - Creating a Master Image for VMware View Desktop Deployment
Part 5 - Provisioning an Individual Desktop with View Manager
Part 6 - VMware View 4 - Windows 7 Deployment Guide
Part 7 - Creating an Automated Desktop Pool
Share this blog post on social media:
Tweet


Latest Blog Posts
- vSphere 7 U1 - Part 3 - Creating a Datacenter, HA/DRS Cluster and Adding a Host
- vSphere 7 U1 - Part 2 - Deploying vCenter 7.0 U1 VCSA
- vSphere 7 U1 - Part 1 - Installing ESXi 7.0 U1
- Veeam CBT Data is Invalid - Reset CBT Without Powering Off VM
- View Administrator Blank Error Dialog/Window After Upgrade