vSphere 5.0 saw the vSphere Web Client make it's entry but with limited functionality compared to the installed vSphere Client.
However now the tables have turned and with the release of vSphere 5.5 VMware are now pushing the vSphere Web Client as the client to manage vCenter Server.
Only the new features in vSphere 5.1 and 5.5 can be managed via the vSphere Web Client and the old vSphere Client will disappear in future releases (possibly with vSphere 6!).
To be honest I like the idea that I don't have to install the correct version client as I work on so many different customers systems, but I do find the web client slow to respond (like View).
If you missed any of the previous parts of the series or want go back here is the jump list:
- vSphere 5.5 - Part 1 - ESXi Server 5.5 (inc U1) Install
- vSphere 5.5 - Part 2 - vCenter Single Sign On (SSO) Install
- vSphere 5.5 - Part 3 - vCenter Inventory Service Install
- vSphere 5.5 - Part 4 - vCenter Server Install
- vSphere 5.5 - Part 5 - vSphere Web Client Install
- vSphere 5.5 - Part 6 Creating a Datacenter, HA/DRS Cluster and Adding a Host
We are installing this on the same vCenter server, but again if you wanted this could be installed on it's own dedicated server.
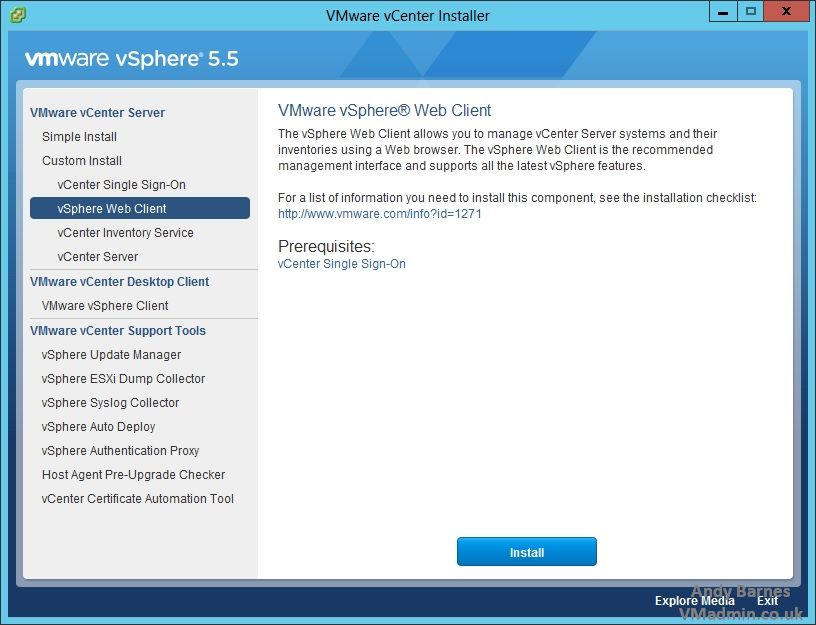
1. Again back at the installer launchpad click "vSphere Web Client" and Click Next.
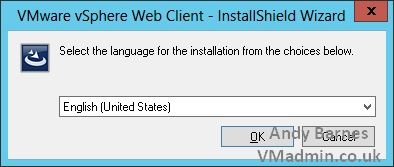
2. Select the language click next!
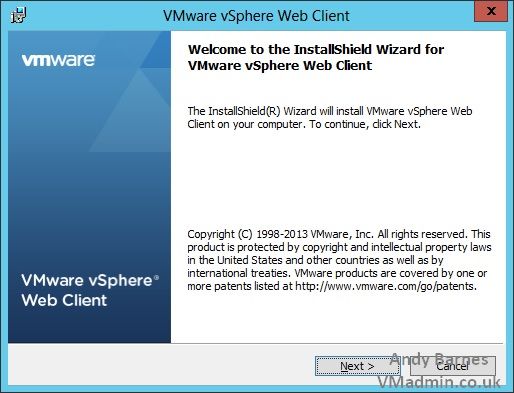
3. Next!!
4. Read and access the license agreement.

5. Set the install location and click Next.

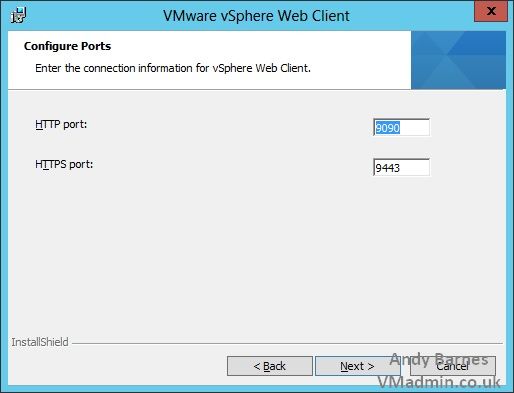
6. Leave the ports as their defaults. Click Next.
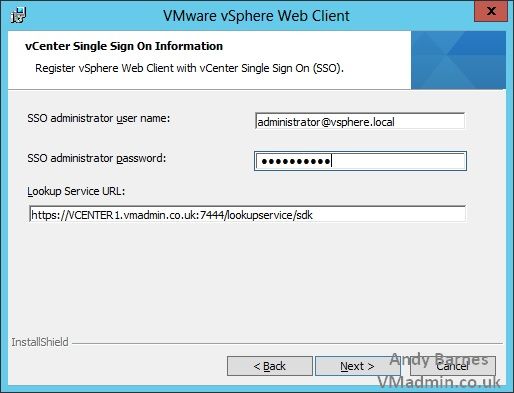
7. Enter the vCenter Single Sign On details as you did with the vCenter install to register it with vCenter SSO.
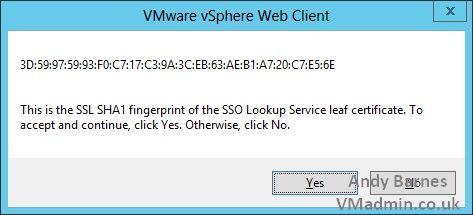
8. Accept the SSO certificate.
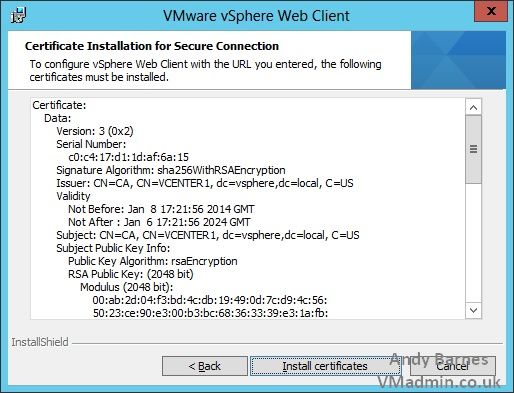
9. Install the self generated Web Client certificate.
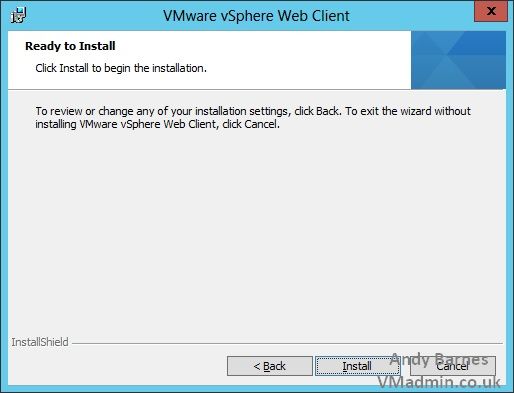
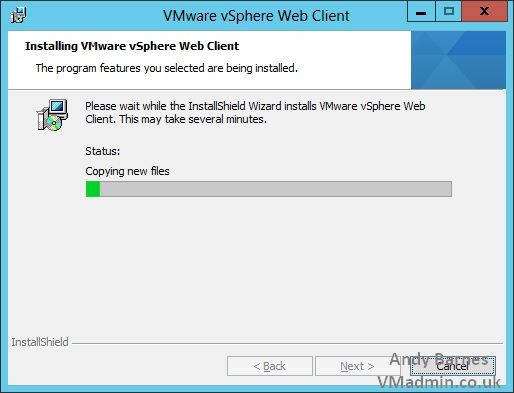
10. Hit Install!
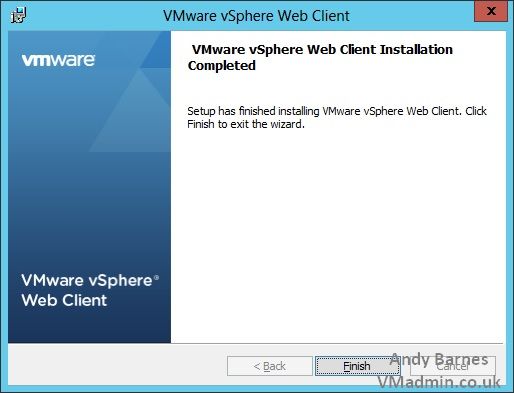
11. When the installation completes click finish.
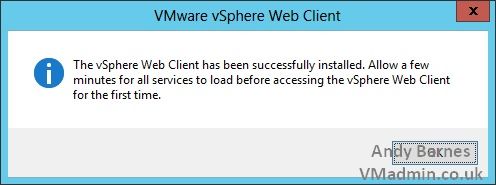
12. Note that the vSphere Web Client services will take some time to load before they become available.
Note: This is another annoyance of mine. Even with a bit of extra vCPU and vRAM after a reboot the vSphere Web client services take anything from 5-10mins to get going fully.
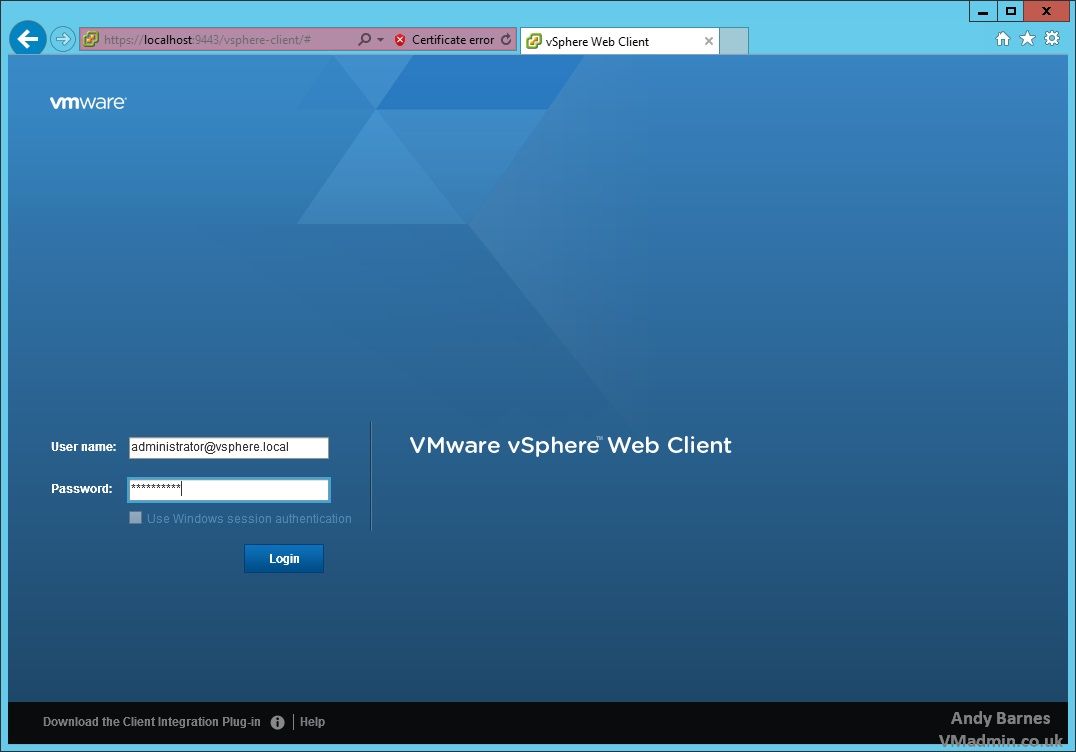
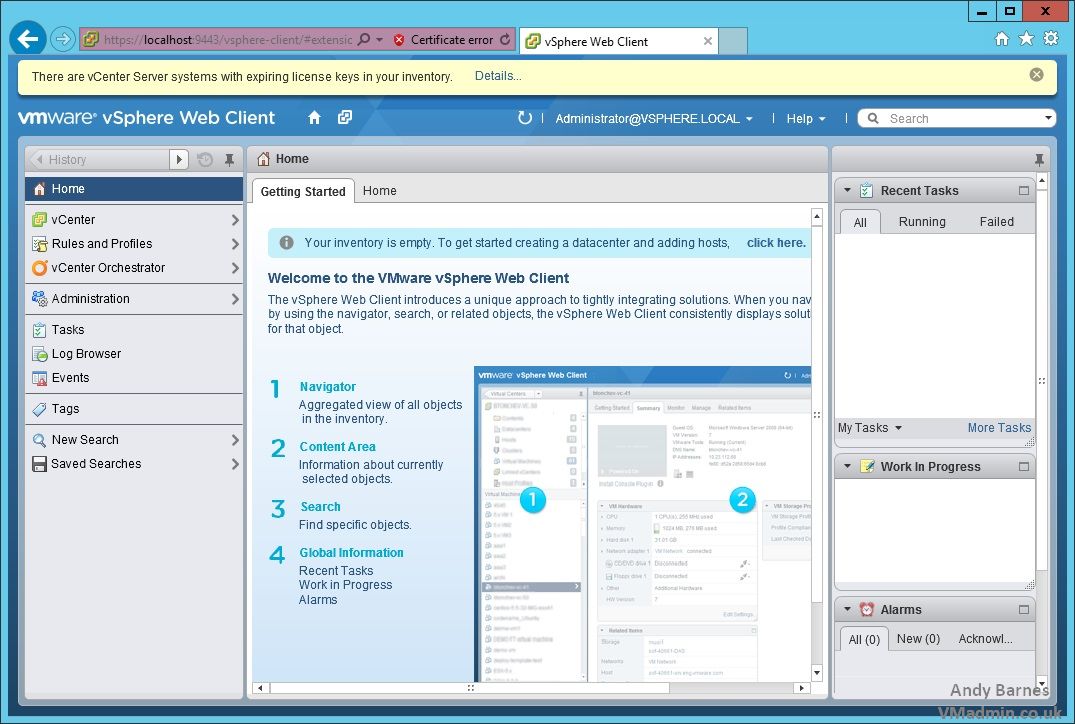
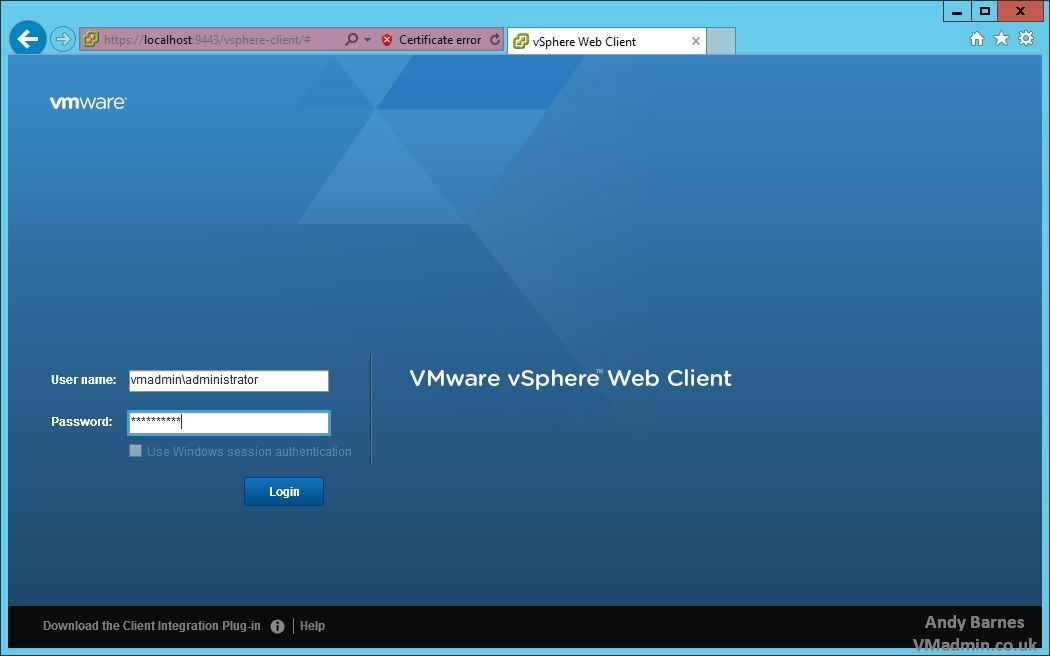
13. Now point your web browser to https://yourvcenter:9443
14. Login with the This email address is being protected from spambots. You need JavaScript enabled to view it. account first to do some configuration
Note: You do not use account on a daily basis!
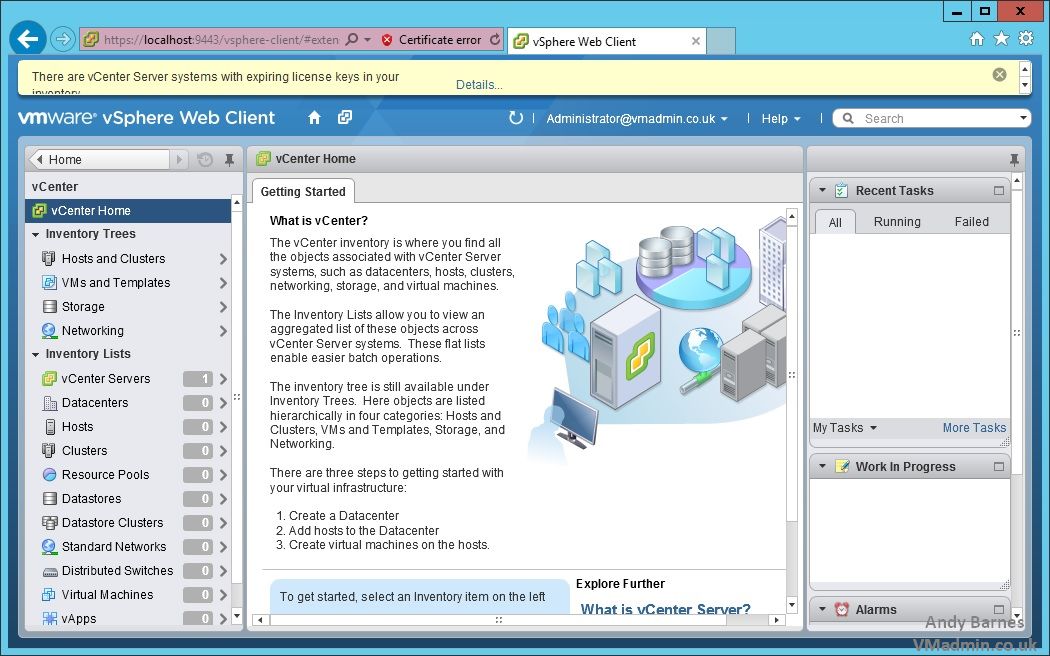
15. Once logged in you want to navigate to "Administration" in the left menu
What we are looking to do here first, is add some domain accounts (in our case Domain Admins) as SSO admins.
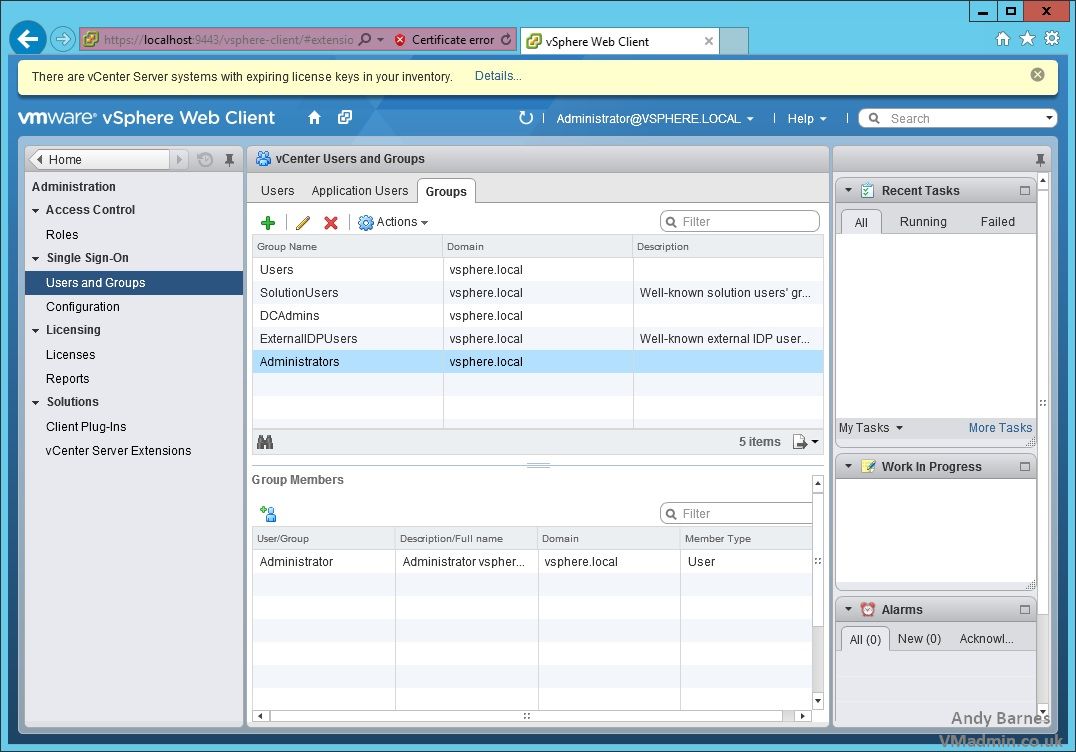
16. Navigate to "Single Sign On --> Users and Groups"
17. Click the "Groups" tab in the center pane
18. Select "Administrators" and below that the add accounts (little blue man with a plus sign next to his head)
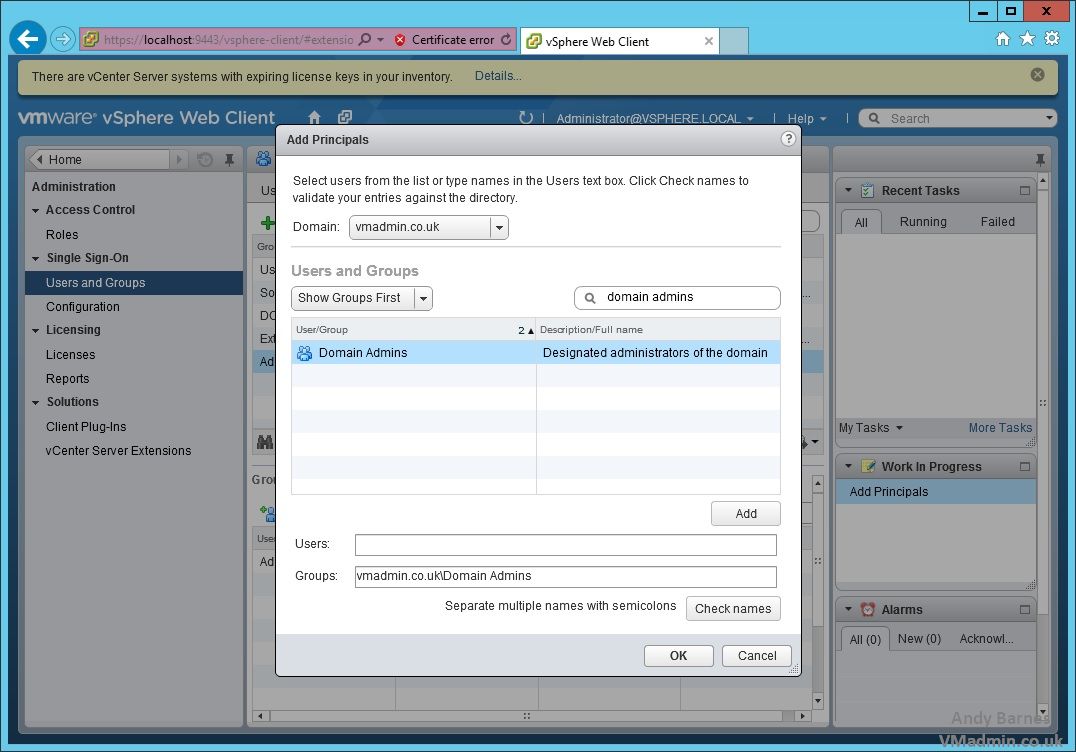
19. Ensure you have selected your domain and search for your desired users/group to delegate SSO admin rights to. Click Add and Ok.
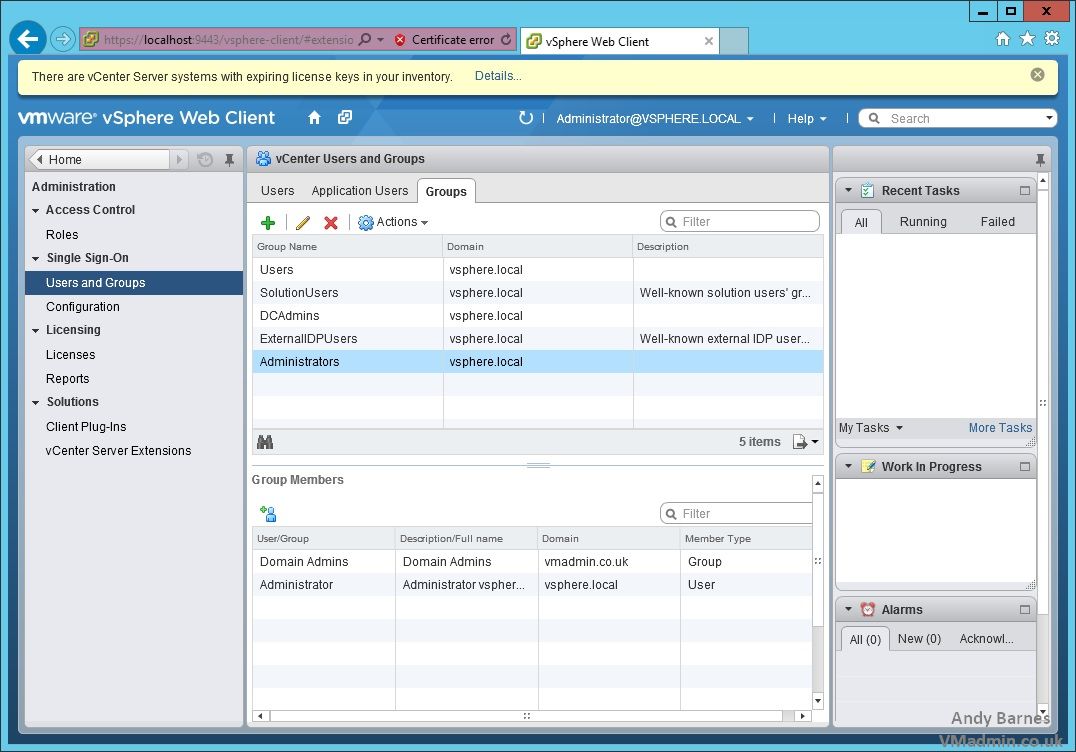
20. You will now see "Domain Admins" as part of the Administrator group in SSO.
21. Next we want to delegate some domain users/groups permissions within vCenter itself (as Administrators).
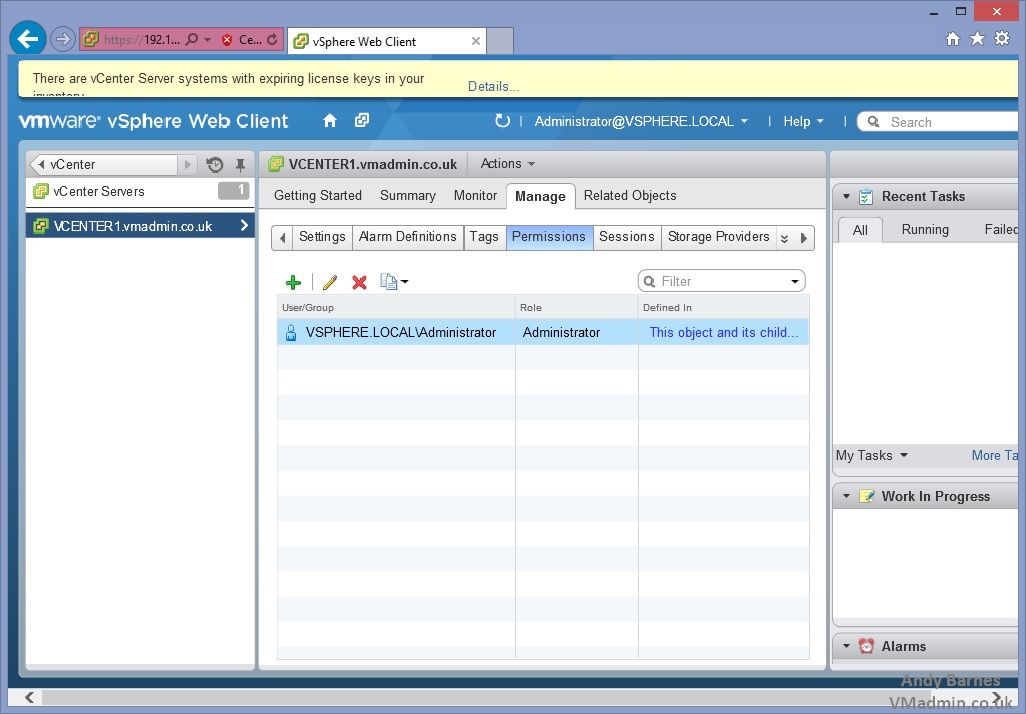
22. Navigate back and select your vCenter server (e.g. vcenter1.vmadmin.co.uk).
23. Select the "Manage" tab followed by the "Permissions" sub tab (in know these seem hidden but you get the hang of it).
24. Click the "plus" (+) button to add permissions (like you would in the old client).
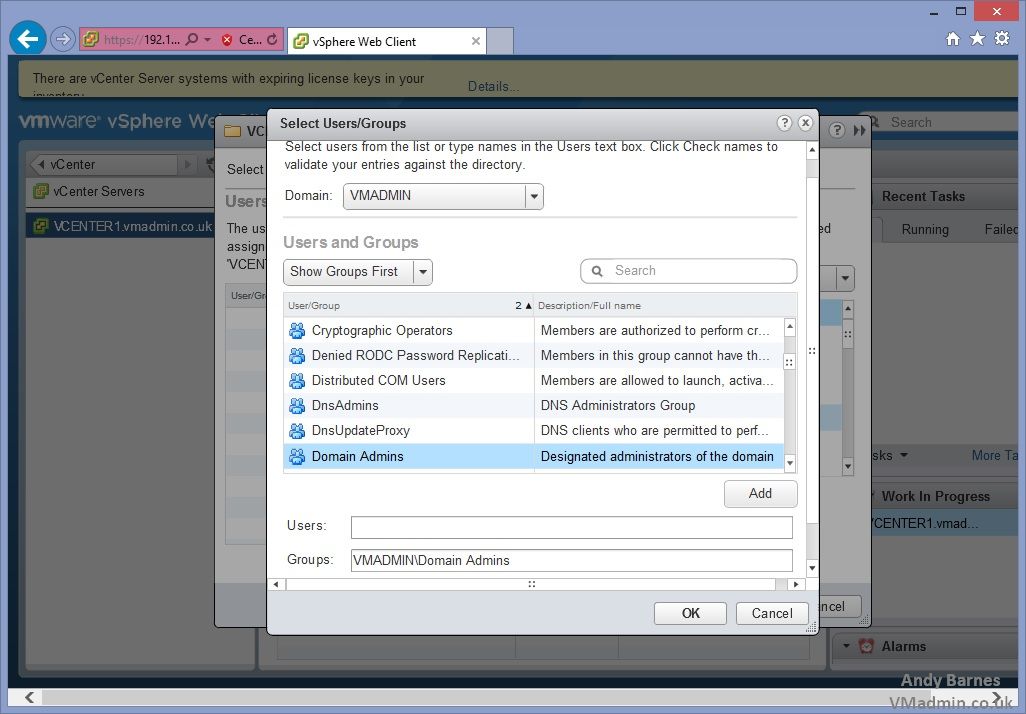
25. Make sure you domain is selected and search for your users/groups to add
26. I'm going to select then add "Domain Admins", Click Ok
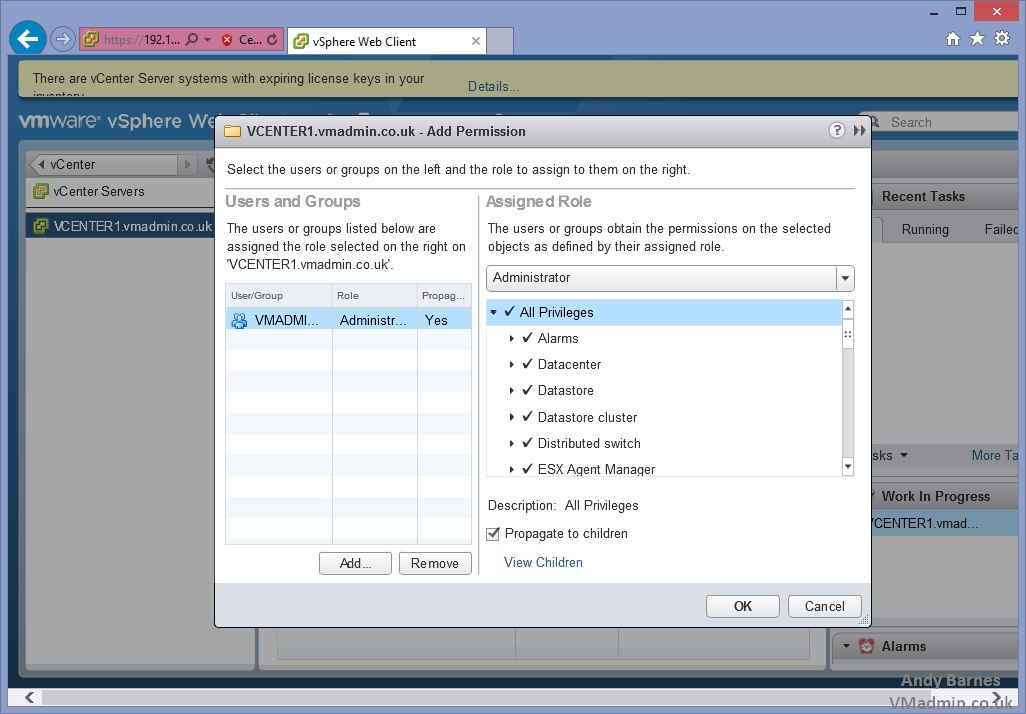
27. Assign a role to your user/group such as the "Administrator" role and click Ok.
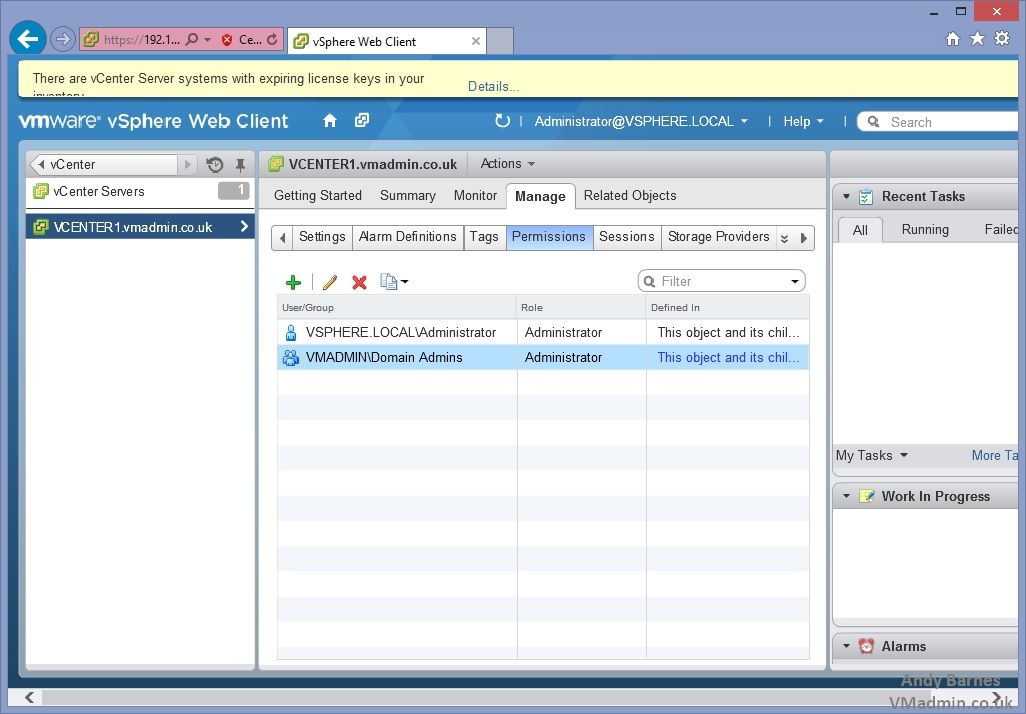
28. That's it, you've now made members of your Active Directory "Domain Admins" group administrators of both Single Sign On and vCenter Server (which includes clusters, hosts and VMs)!
29. Now you can log out as This email address is being protected from spambots. You need JavaScript enabled to view it. and log back in as a domain user domain\username that is part of the domain admins group.
30. Previously this user would not have been able to see or manage a vCenter Server within the vSphere Web Client or manage Single Sign On.
Next up Part 6 - Creating a Datacenter, HS/DRS cluster and adding a host
If you missed any of the previous parts of the series or want go back here is the jump list:
- vSphere 5.5 - Part 1 - ESXi Server 5.5 (inc U1) Install
- vSphere 5.5 - Part 2 - vCenter Single Sign On (SSO) Install
- vSphere 5.5 - Part 3 - vCenter Inventory Service Install
- vSphere 5.5 - Part 4 - vCenter Server Install
- vSphere 5.5 - Part 5 - vSphere Web Client Install
- vSphere 5.5 - Part 6 Creating a Datacenter, HA/DRS Cluster and Adding a Host
Share this blog post on social media:
Tweet


Latest Blog Posts
- vSphere 7 U1 - Part 3 - Creating a Datacenter, HA/DRS Cluster and Adding a Host
- vSphere 7 U1 - Part 2 - Deploying vCenter 7.0 U1 VCSA
- vSphere 7 U1 - Part 1 - Installing ESXi 7.0 U1
- Veeam CBT Data is Invalid - Reset CBT Without Powering Off VM
- View Administrator Blank Error Dialog/Window After Upgrade