In part 1 we covered the installation of the pre-requisite's required for SCCM. If you missed that catch it below, otherwise we will get on with the install of SCCM 2012 R2.
System Center Configuration Manager SCCM 2012 R2 Installation Step by Step - Part 1
SCCM 2012 R2 Installation
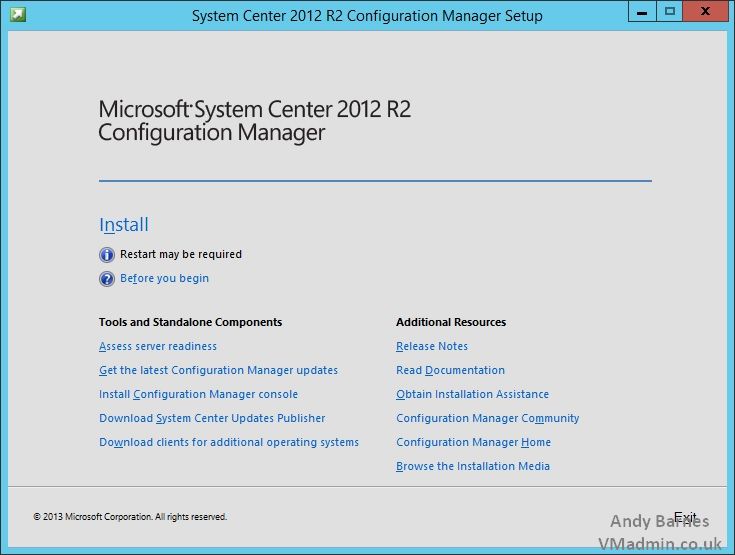
1. Run the SCCM 2012 R2 Setup (splash.hta) and Click "Install"
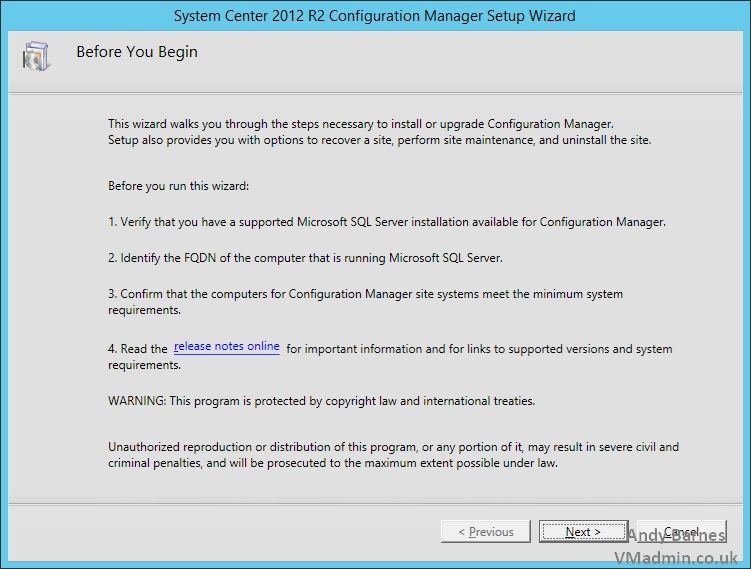
2. Confirm you meet the requirements and Click Next.
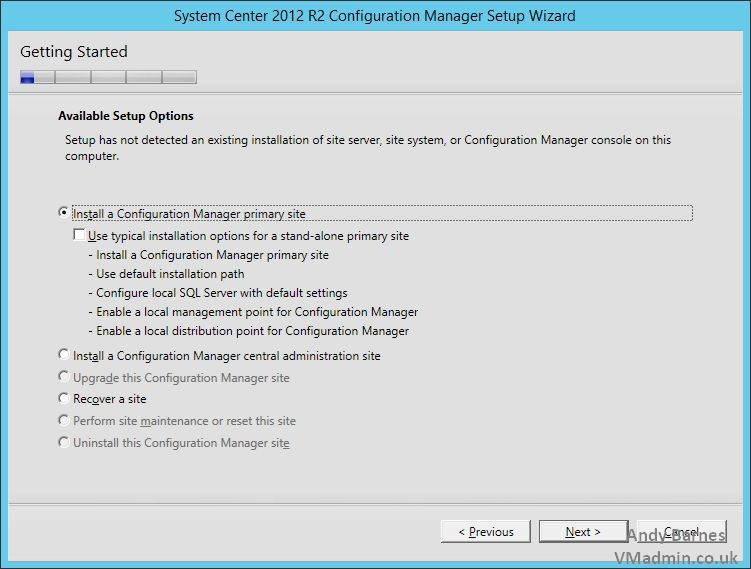
3. Select "Install a Configuration Manager Primary Site"
Click Next.
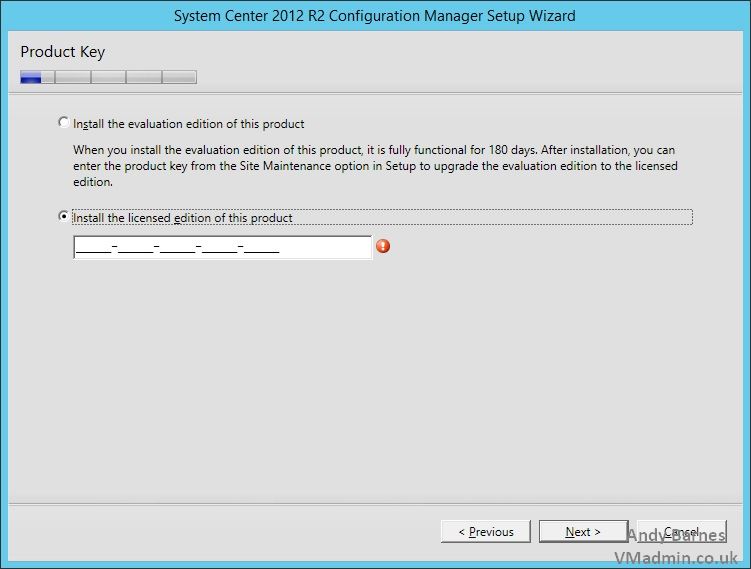
4. Enter your SCCM license key or choose the eval.
5. Read the license agreement and click next.
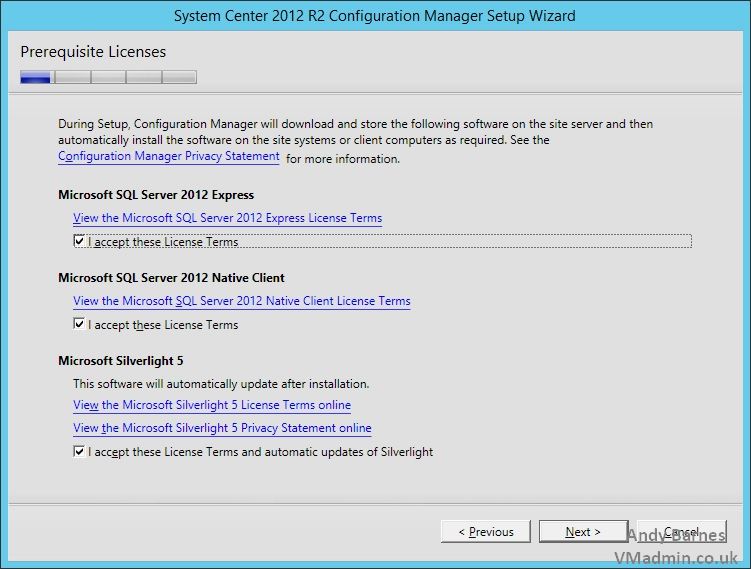
6. Accept the license terms each the listed products (including SQL express even if your not using it) and click next.
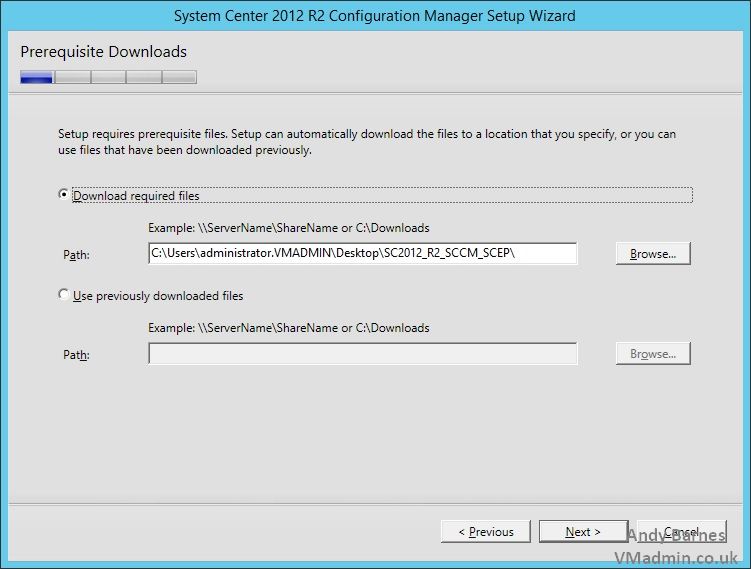
7. SCCM will now try and download any updates and prerequisites it may need that are not in the installation media or have been since updated (you will need internet access).
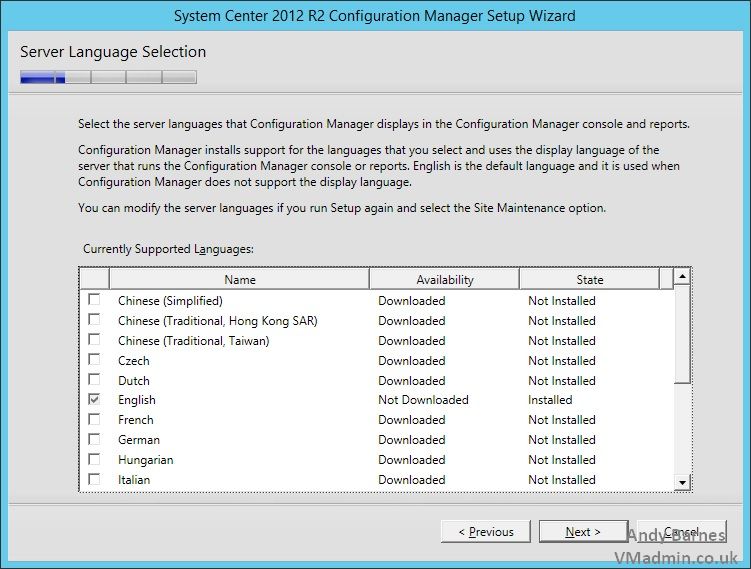
8. Choose your lanuage for the config manager server.
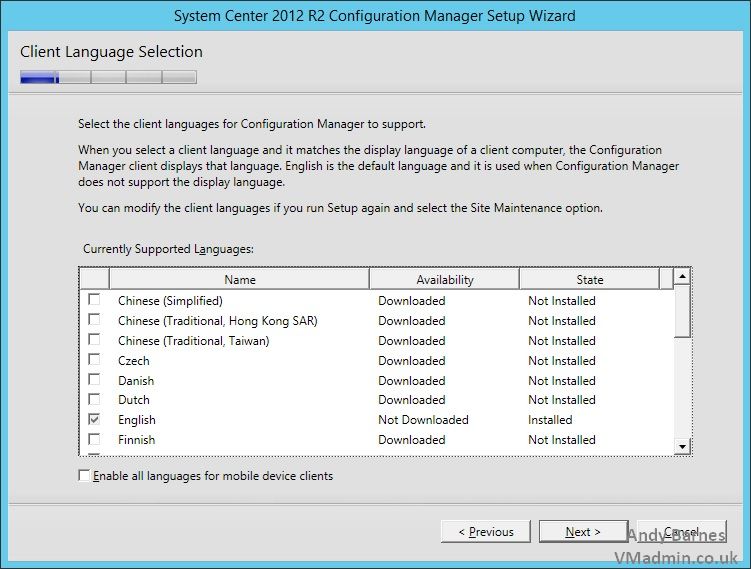
9. Choose the languages for your clients.
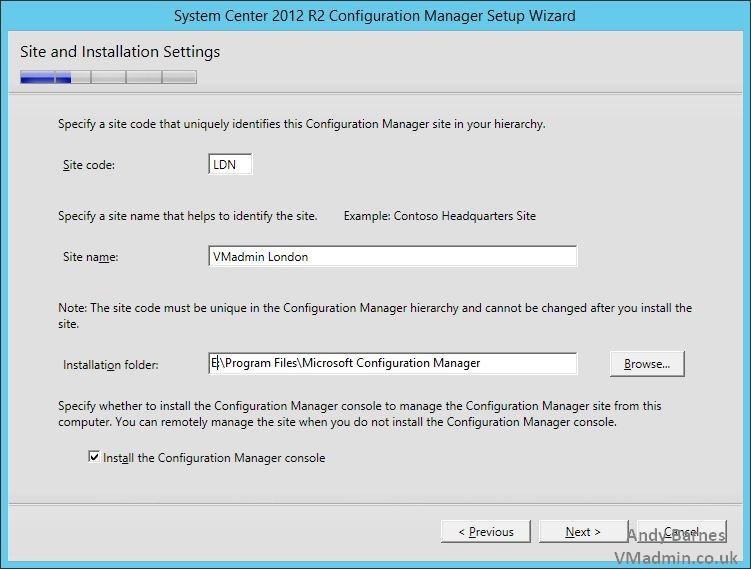
10. Give your primary site a code (this cannot be changed later).
11. Give your site a name.
12. Choose the installation location for SCCM and tick install configuraiton manager console
13. We are installing this as a single primary site server , select "Install the primary site as a stand-alone site"
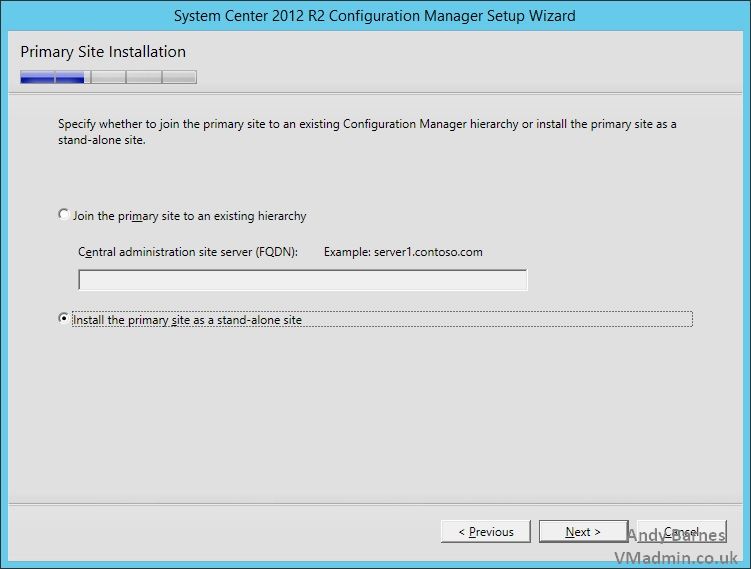
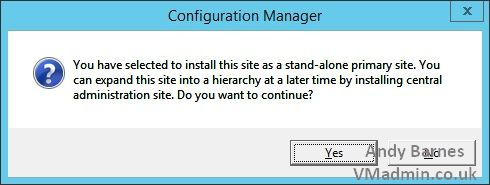
14. Note that if later you want to manage this primary site by installing a central administration site you now can do that at a later date.
Click Yes.
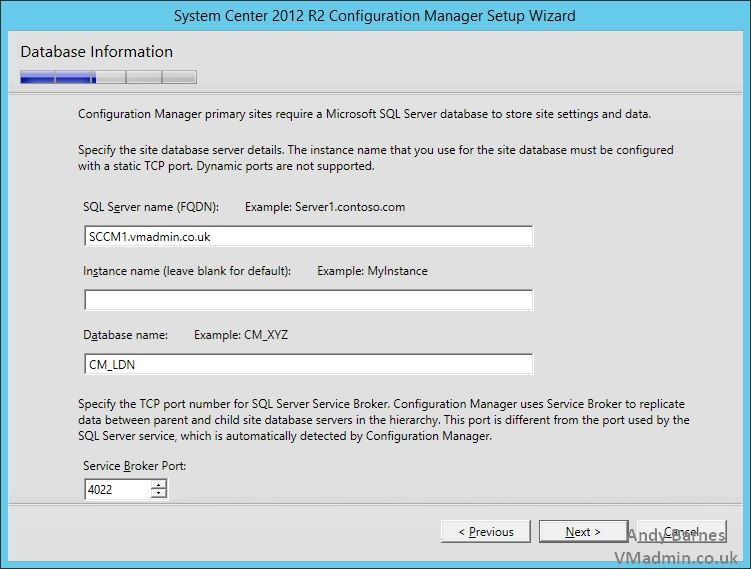
15. Enter the FQDN for your SQL server (inc instance name if not default), remember the collation must be correct for SCCM as stated in the prerequisites.
16. Enter the DB name for your SCCM database and click Next.
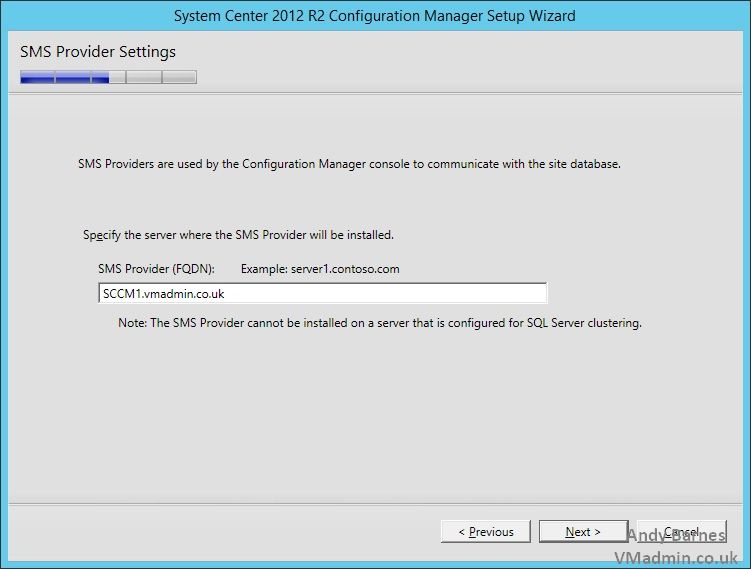
17. Enter the FQDN of your SCCM server, this will be your SMS provider.
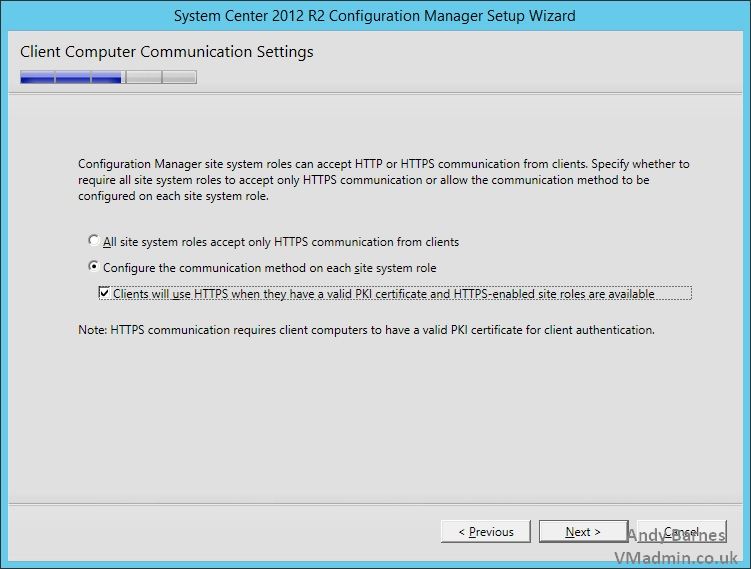
18. Select if you want to use soley HTTPS client communication or if you want to use HTTP if there is no valid PKI certificate for HTTPS.
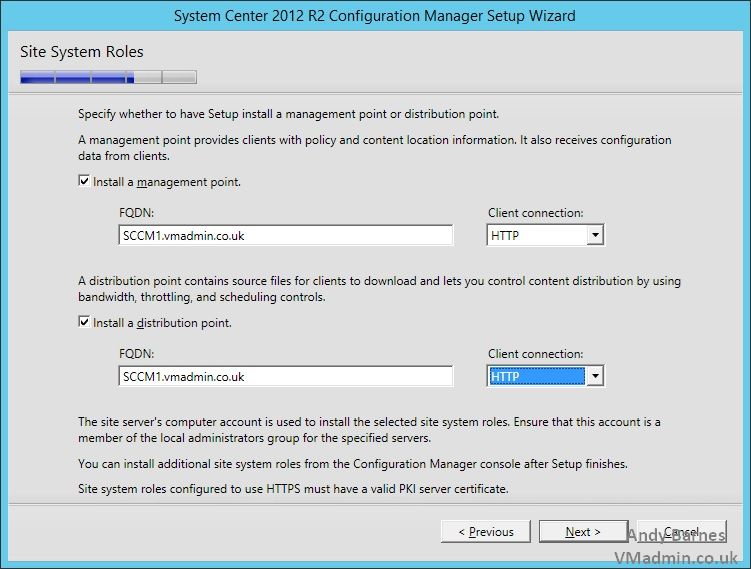
19. We will install a "management point" and "distribution point" on our primary site server.
Choose HTTP for the client connection.
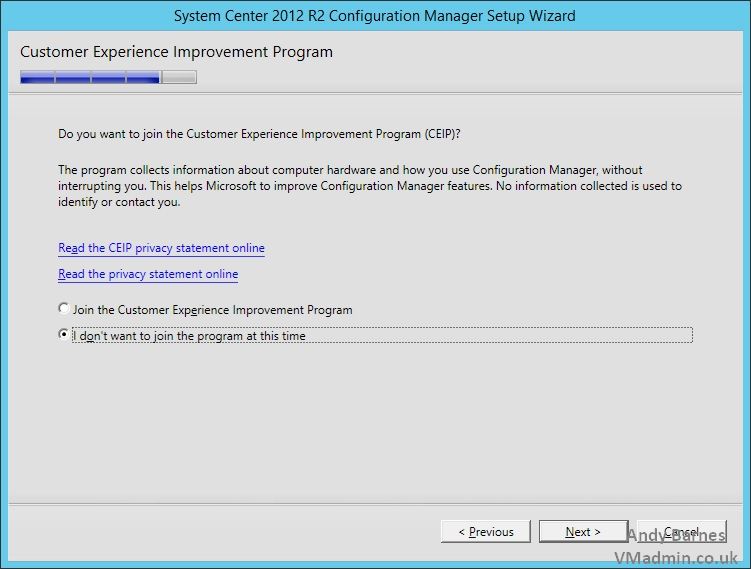
20. Opt out if the customer experience improvement program if you wish.
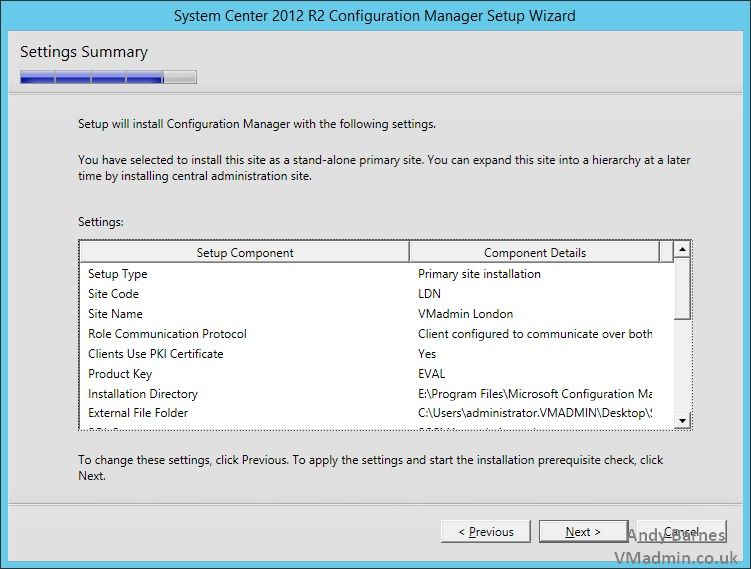
21. Review your settings and click Next..
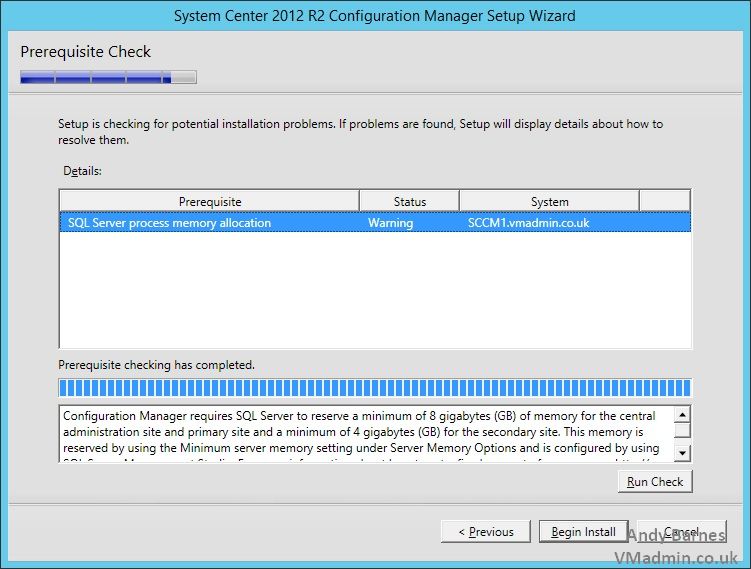
22. The SCCM installer will perform a prerequiste check.
If you are missing any of the previous steps this will highlight any problems and advise what you need to do.
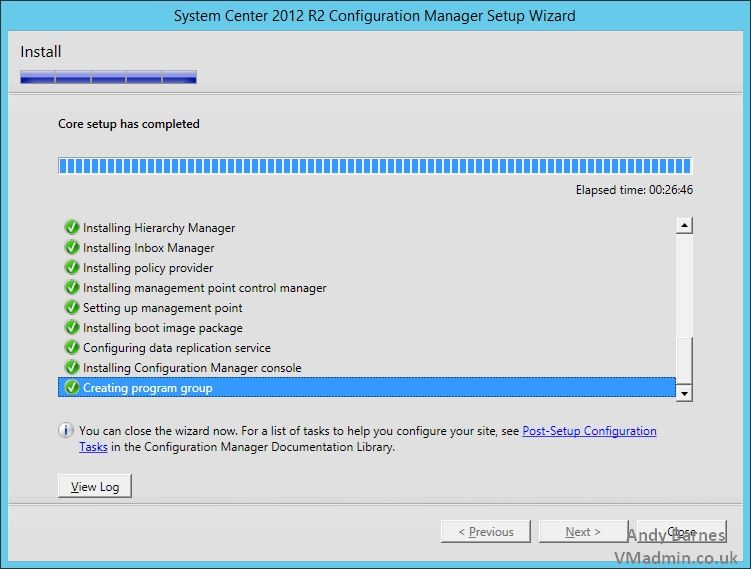
23. SCCM 2012 R2 will begin to install, this is a good time to get a cuppa!
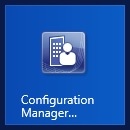
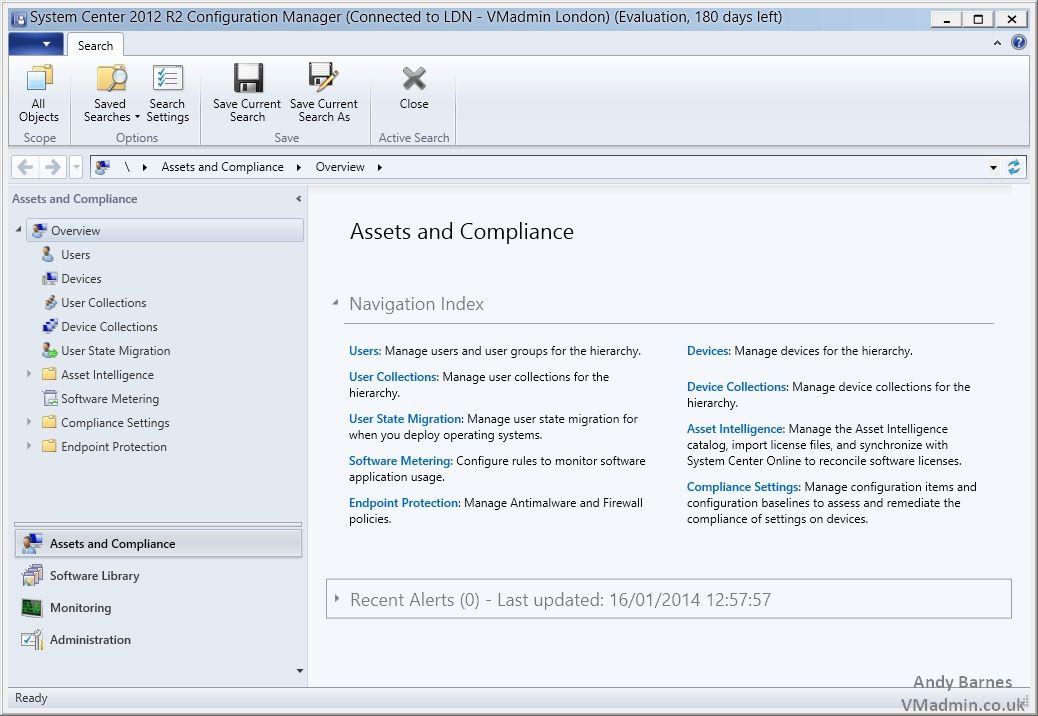
24. Once installation has completed sucessfully you will find the Configuration Manager Management Console on the Start menu tile (Windows Server 2012) as shown below.
25. The management console will connect to your site and your ready to then perform post tasks such as import your AD users/computers, create task sequences and so on, which I will cover in further posts.
Next up part 3, where we will perform the post install configuration of SCCM.
System Center Configuration Manager SCCM 2012 R2 Installation Step by Step - Part 3
Share this blog post on social media:
Tweet


Latest Blog Posts
- vSphere 7 U1 - Part 3 - Creating a Datacenter, HA/DRS Cluster and Adding a Host
- vSphere 7 U1 - Part 2 - Deploying vCenter 7.0 U1 VCSA
- vSphere 7 U1 - Part 1 - Installing ESXi 7.0 U1
- Veeam CBT Data is Invalid - Reset CBT Without Powering Off VM
- View Administrator Blank Error Dialog/Window After Upgrade