If you missed any of the previous parts of the series or want go back here is the jump list:
- vSphere 5.5 - Part 1 - ESXi Server 5.5 (inc U1) Install
- vSphere 5.5 - Part 2 - vCenter Single Sign On (SSO) Install
- vSphere 5.5 - Part 3 - vCenter Inventory Service Install
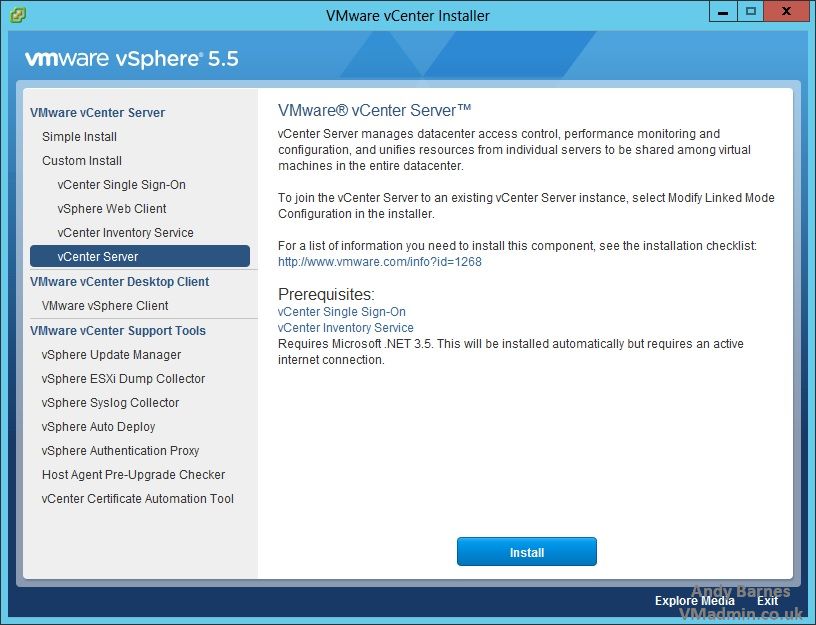
- vSphere 5.5 - Part 4 - vCenter Server Install
- vSphere 5.5 - Part 5 - vSphere Web Client Install
- vSphere 5.5 - Part 6 Creating a Datacenter, HA/DRS Cluster and Adding a Host
- Windows Server 2008 SP2 64-bit (Standard, Enterprise or Datacenter)
- Windows Server 2008 R2 SP1 (Standard, Enterprise or Datacenter)
- Windows Server 2012 (Standard, Enterprise or Datacenter)
- Windows Server 2012 R2 (Standard, Enterprise or Datacenter) - supported if you are installing vCenter 5.5 U1 (not 5.5)
- Microsoft SQL Server 2008 R2 Express (Note: Microsoft SQL Server 2005 Express is intended for use with small deployments of up to 5 hosts and/or 50 virtual machines)
- Microsoft SQL Server 2005 SP4 32-bit
- Microsoft SQL Server 2005 SP4 64-bit
- Microsoft SQL Server 2008 SP3 32-bit
- Microsoft SQL Server 2008 SP3 64-bit
- Microsoft SQL Server 2008 R2 SP1 32-bit
- Microsoft SQL Server 2008 R2 SP1 64-bit
- Microsoft SQL Server 2012 SP1 32-bit
- Microsoft SQL Server 2012 SP1 64-bit
- Plus other Oracle and IBM DB2 databases (see matrixes)
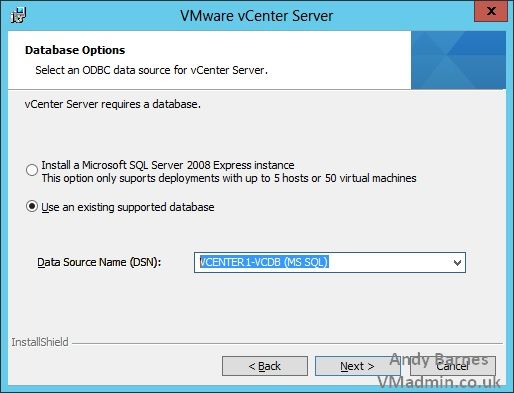
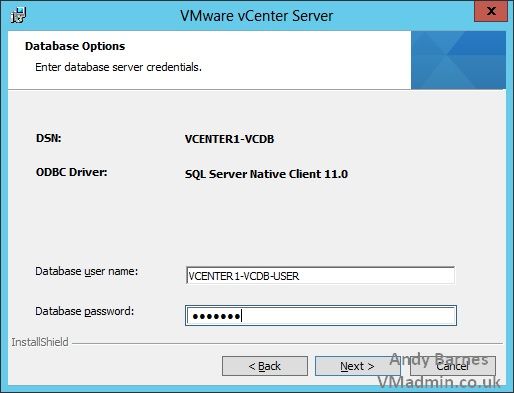
13. If deploying a small scale deployment (5 hosts and upto 50 VMs) you can choose to use SQL Server 2008 Express (which is actually 2008 R2)!.
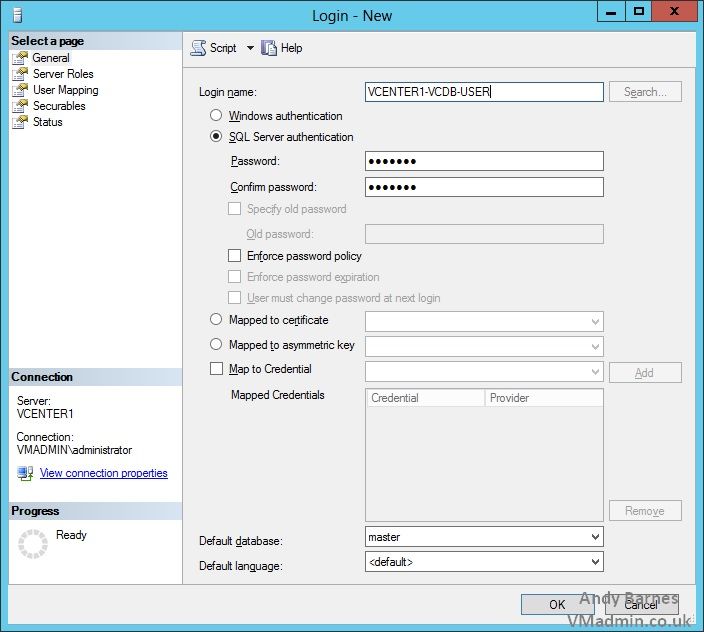
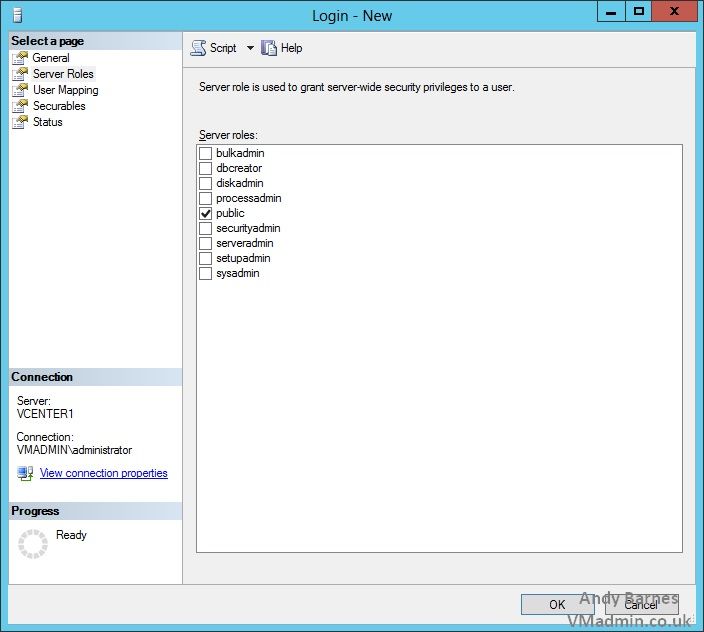
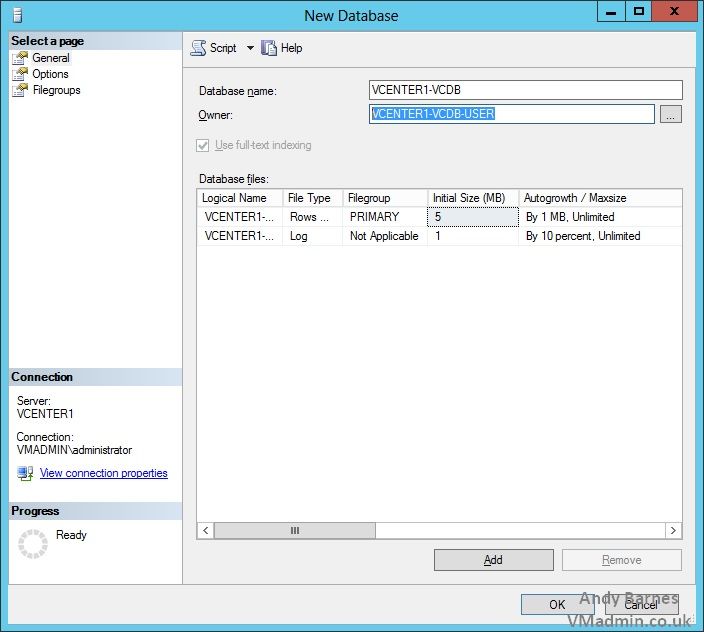
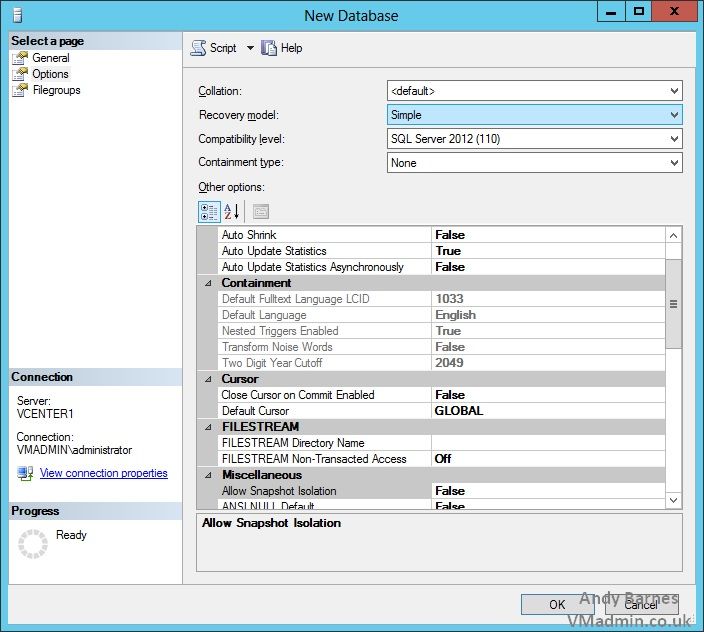
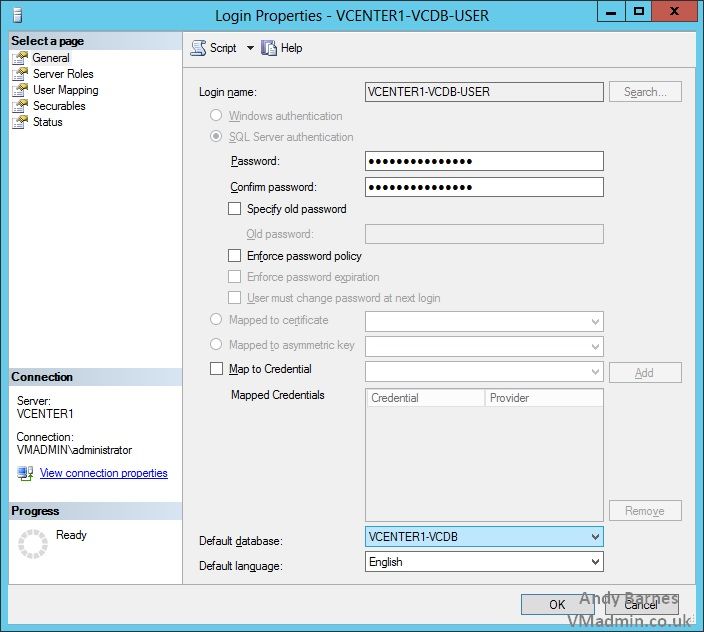
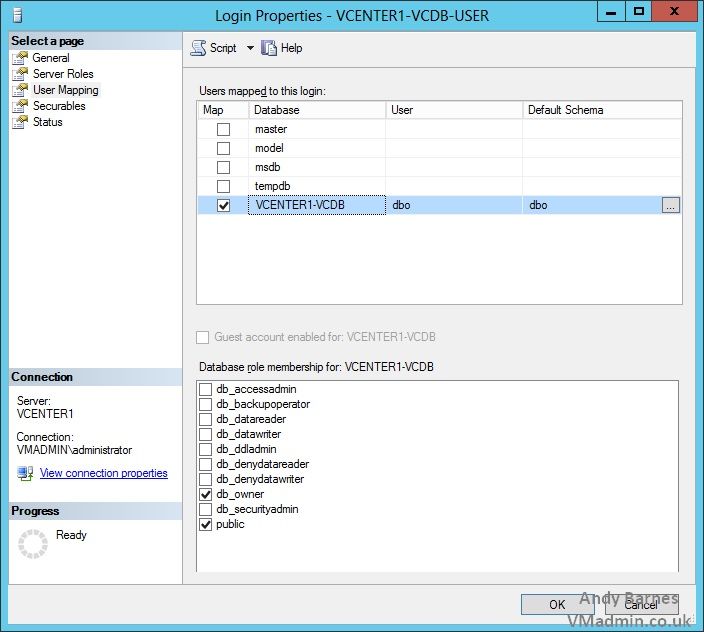
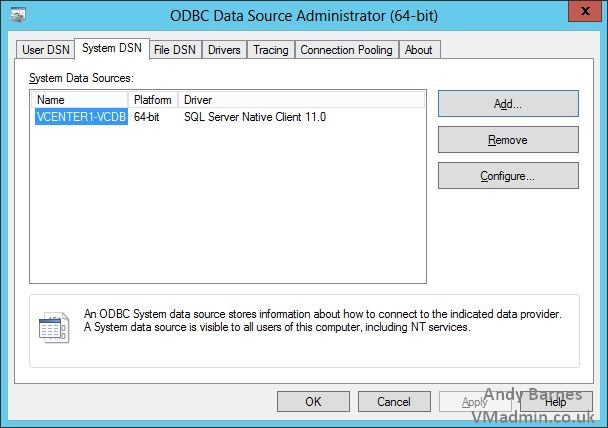
If using an full SQL server installation (either local or remote) like we are here, ensure you created a 64-bit DSN, choose to use an existing database and select your DSN.
Click Next.
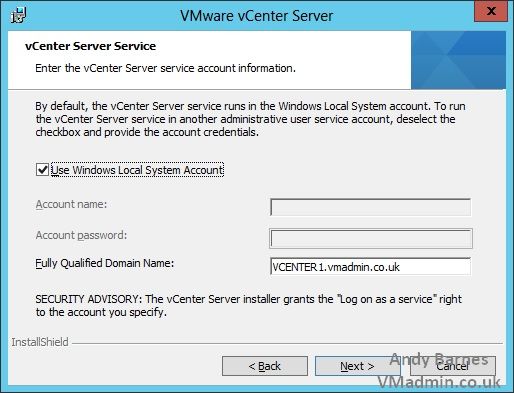
15. Choose to run the vCenter service under the "SYSTEM" account or recommended user-specified account.
This can be a standard active directory account with local administrator rights on the vCenter server.
The account will be grated "Log on as a service" right on the server.
Click Next.
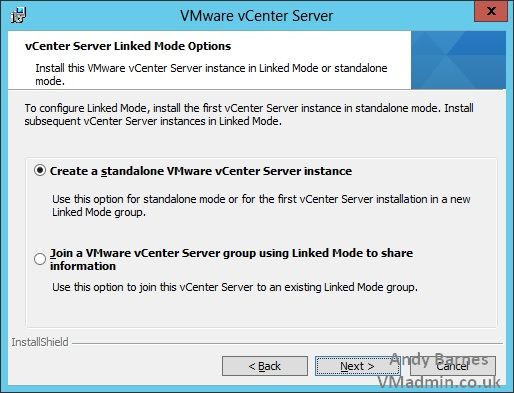
16. As this will be the first vCenter installation choose "Create a standalone VMware vCenter Server Instance".
You would create linked mode vCenter servers if you have muliple vCenter servers, most likley if you were deploying a vCenter at two different datacenters for use with Site Recovery Manager.
Click Next.
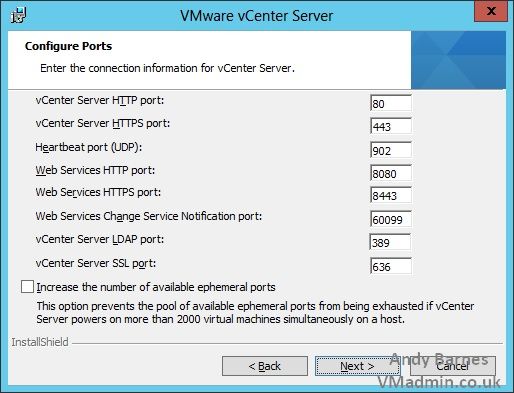
17. Verify the ports to use for vCenter server, change if required (I recommend keeping the defaults unless you have a very specific reason).
Click Next.
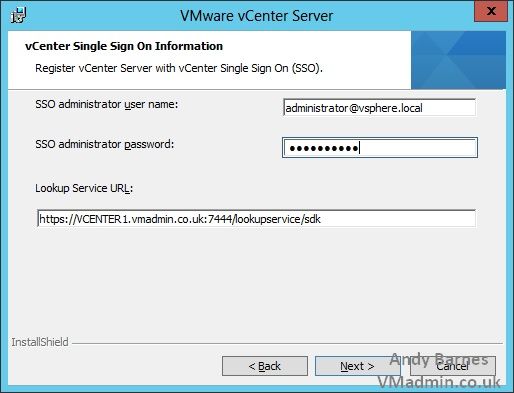
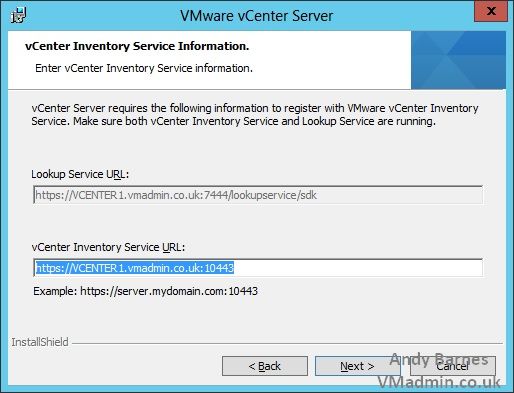
19. Enter your vCenter Single Sign On administrator credentials (This email address is being protected from spambots. You need JavaScript enabled to view it.) to register the vCenter Server with vCenter SSO.
Also enter the lookup service URL (e.g. https://vcenter1.vmadmin.co.uk:7444/lookupservice/sdk)
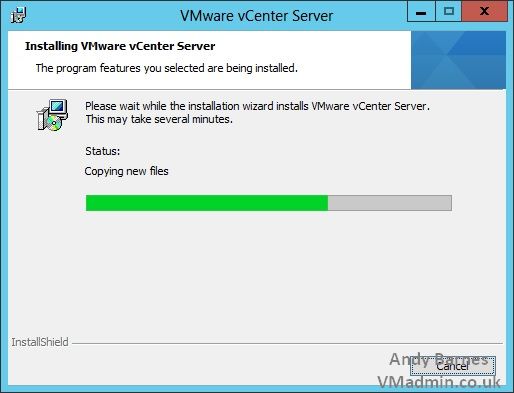
25. The installation of vCenter server will complete, Click Finish.
Next up is to install the vSphere Web Client (instead of the vSphere Client) so we can connect to and manage our vCenter Server.
If you missed any of the previous parts of the series or want go back here is the jump list:
- vSphere 5.5 - Part 1 - ESXi Server 5.5 (inc U1) Install
- vSphere 5.5 - Part 2 - vCenter Single Sign On (SSO) Install
- vSphere 5.5 - Part 3 - vCenter Inventory Service Install
- vSphere 5.5 - Part 4 - vCenter Server Install
- vSphere 5.5 - Part 5 - vSphere Web Client Install
- vSphere 5.5 - Part 6 Creating a Datacenter, HA/DRS Cluster and Adding a Host
Share this blog post on social media:
Tweet


Latest Blog Posts
- vSphere 7 U1 - Part 3 - Creating a Datacenter, HA/DRS Cluster and Adding a Host
- vSphere 7 U1 - Part 2 - Deploying vCenter 7.0 U1 VCSA
- vSphere 7 U1 - Part 1 - Installing ESXi 7.0 U1
- Veeam CBT Data is Invalid - Reset CBT Without Powering Off VM
- View Administrator Blank Error Dialog/Window After Upgrade