Windows To Go is an enterprise feature of Windows 8 and is quite simply the Windows 8 operating system installed onto a USB drive which potentially can be run from any computer which supports it.
When you create a Windows To Go drive, your installing the Windows 8 Enterprise operation system onto the USB drive, which then on top of you can install drivers, applications, customisation, join to a domain etc.
This article covers the creation of a Windows To Go workspace with System Center Configuration Manager 2012 SP1 (SCCM).
We will use an existing boot image, operation system image and task sequence in SCCM, that is being used to deploy physical desktops.
You will need a certified Windows To Go USB key of 32GB or greater in size, I found I needed a 64GB key for the extraction space (not any old USB key will suffice it needs to be a certified one).
More info can be found here http://www.microsoft.com/en-gb/windows/enterprise/products-and-technologies/devices/windowstogo.aspx
A Windows To Go drive is achieved in two phases:
Phase 1 - Create Pre-Staged Media
Phase 2 - Create Windows To Go Workspace USB key from Pre-Staged Media
1. Open Configuration Manager and browse to your task sequences
2. Right click a task sequence and select "Create Task Sequence Media"

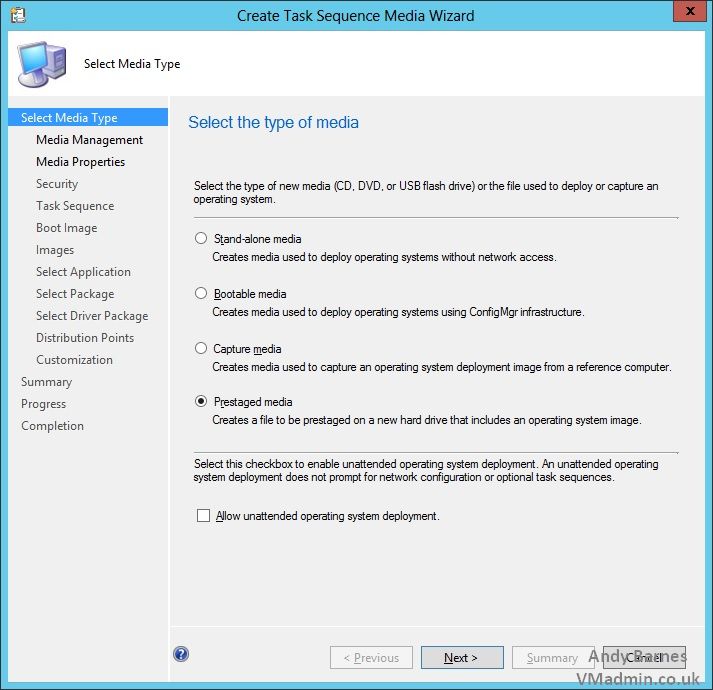
3. Select "Prestaged media" in the Create task sequence media wizard.
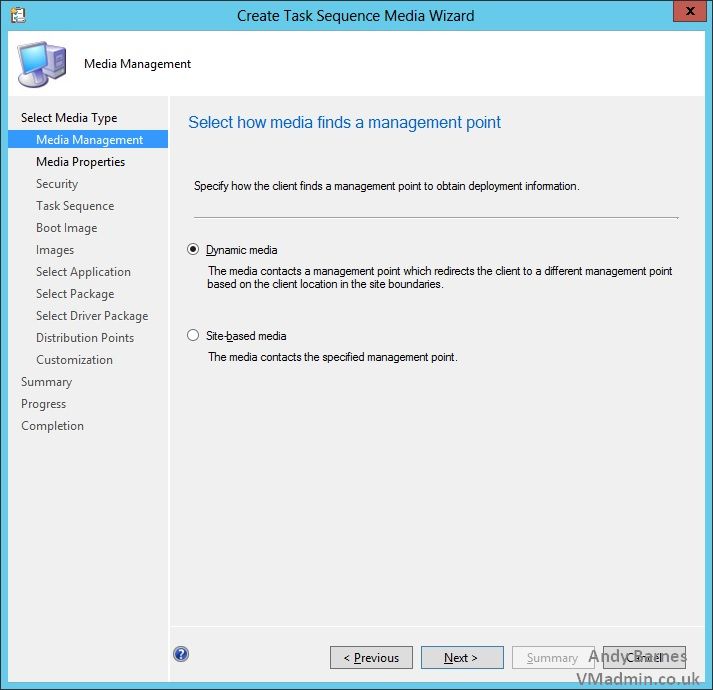
4. Select either "Dynamic media" or "Site-based media" depending on which you prefer to use.
I'm using dynamic so a management point will automatically picked up depending on the clients site.
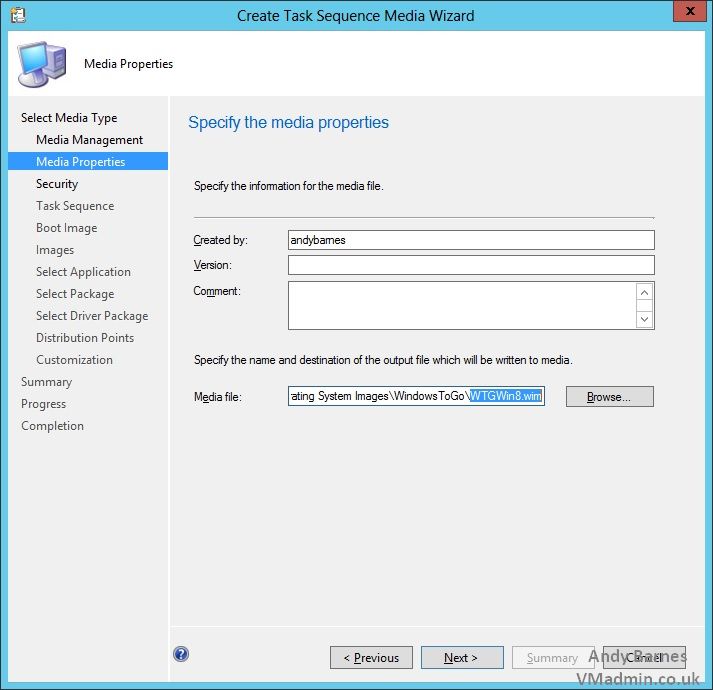
5. Enter a name and location to save the prestaged media .WIM file to
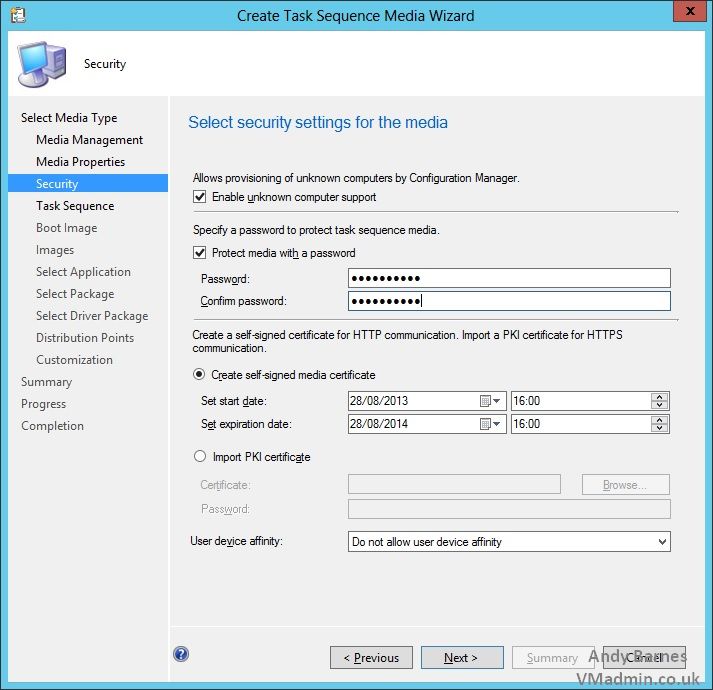
6. Enable unknown computer support unless you are adding the computer objects into SCCM.
If your enabling unknown computer support definitely protect the media with a password (particularly if it be joined to the domain as part of the build).
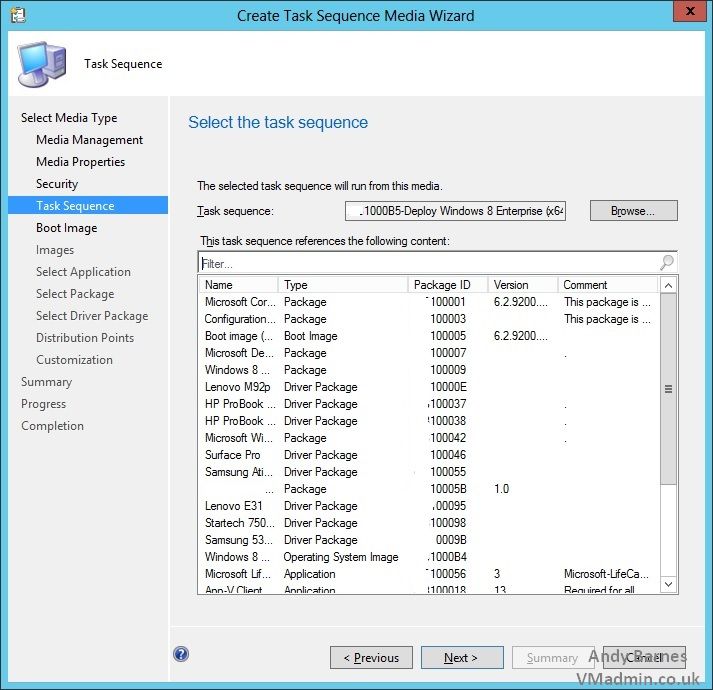
7. Select your task sequence which builds your Windows 8 desktops and contains your operating system image as one of the tasks.
Note all the packages the task sequence requires will be prestaged for the Windows To Go drive to work and run the task sequence.
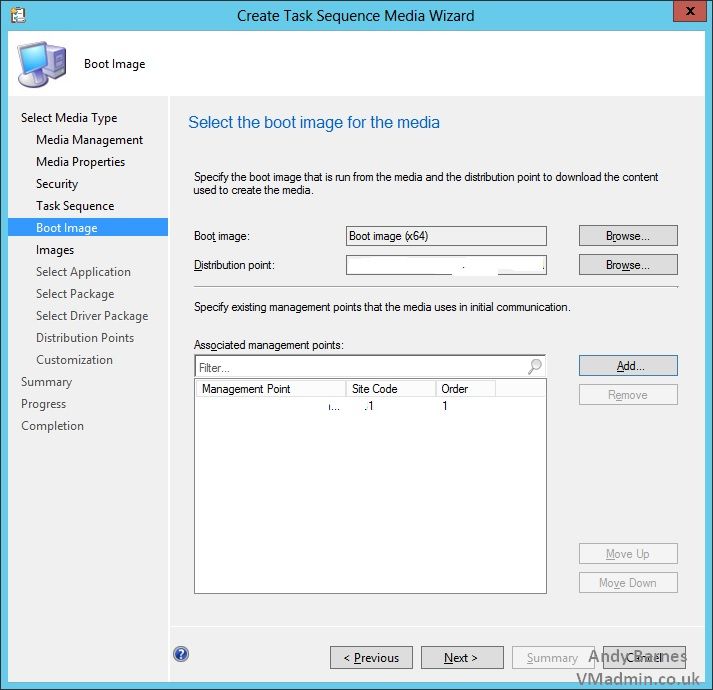
8. Select your boot image you wish to use. I'm using a 64 bit boot image (my OS image is also 64 bit).
Choose a distribution point to download the content from to create the media (the closest or fastest link is what you want here).
Add a management point which will be used for the initial communication.
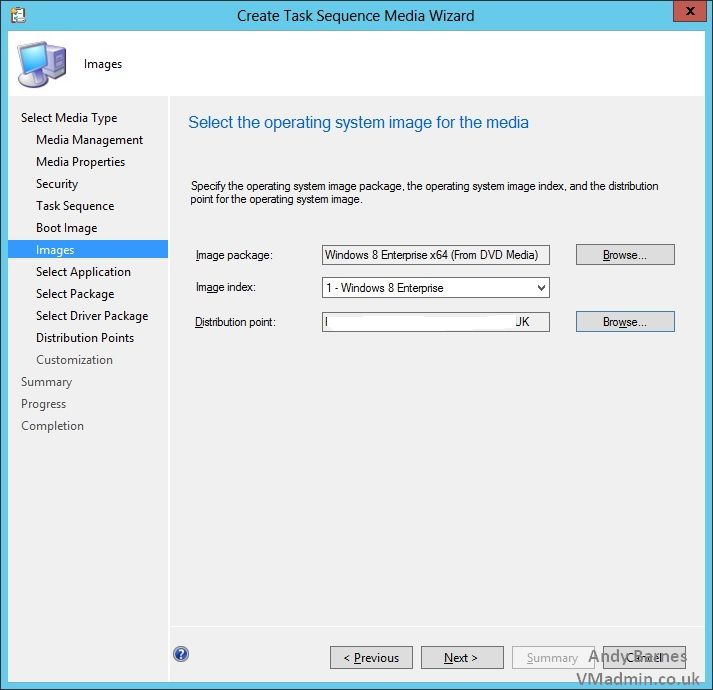
9. Select the operation system image, image index and distribution point for the OS image.
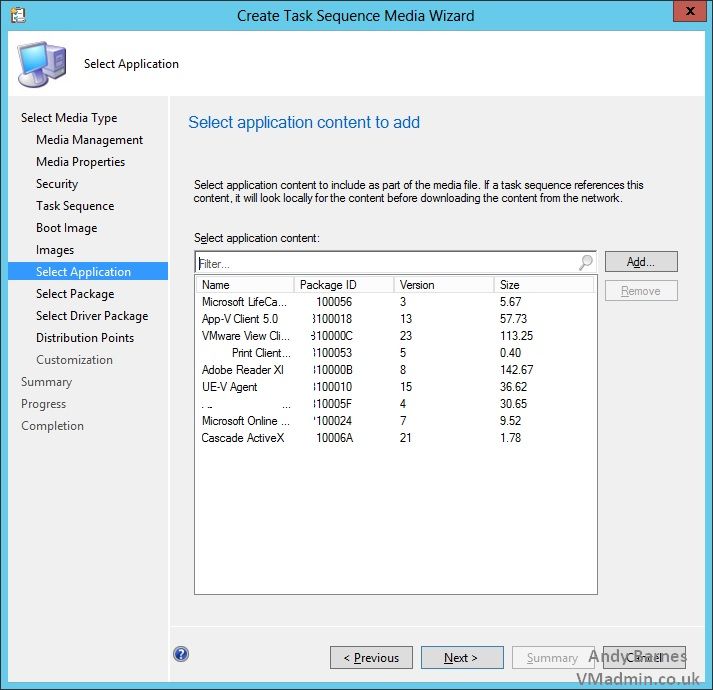
10. Add any additional application content you require for the build to save downloading it.
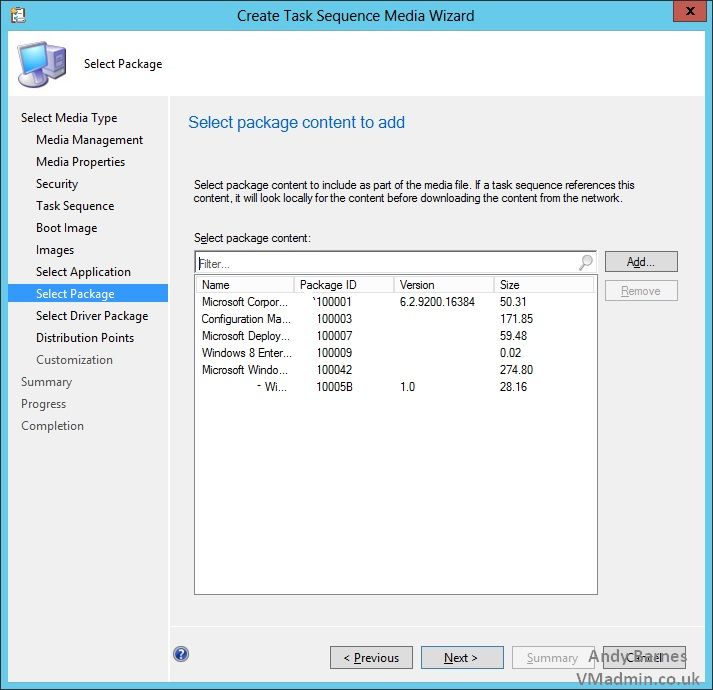
11. Select any packages you want to add to the USB key to save downloading them.
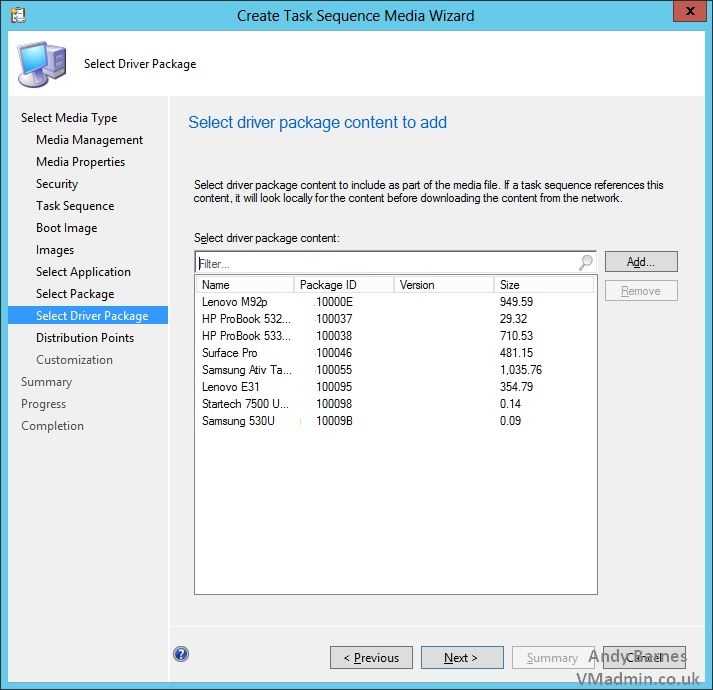
12. Add drivers if required..
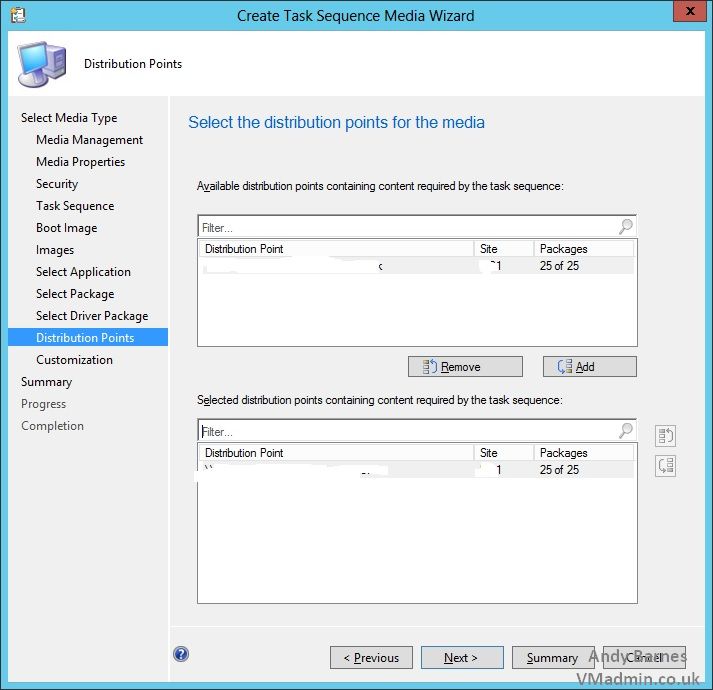
13. Select the distribution points you want to use, which contain the content/media for the tasks sequence.
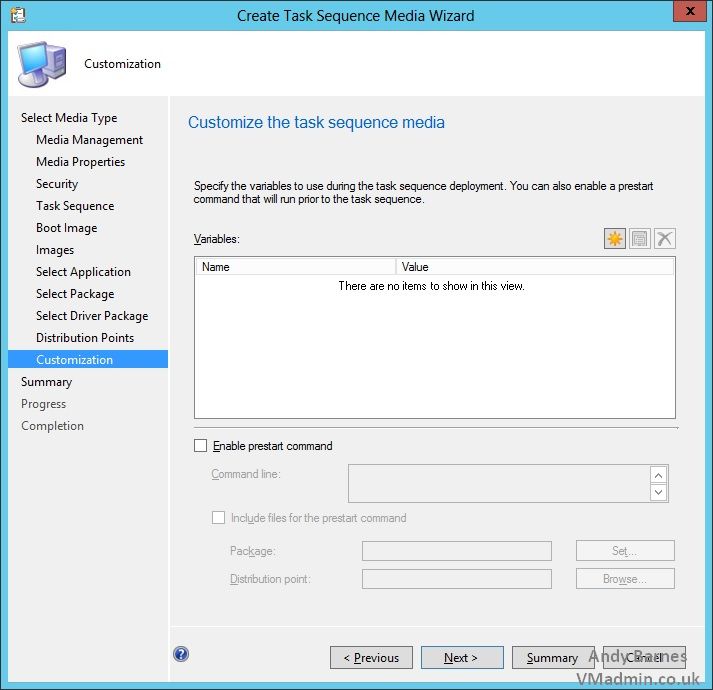
14. If you wish to use any custom variable for your TS media, here is where you add them.
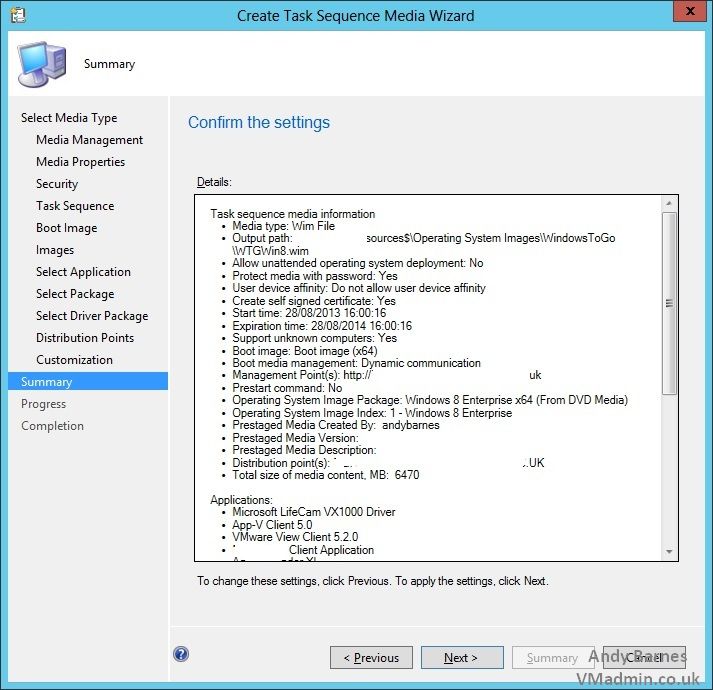
15. Check your prestaged media settings and Click Next.
Get a coffee, browse some more of vmadmin.co.uk and wait for the prestaged media to be created.
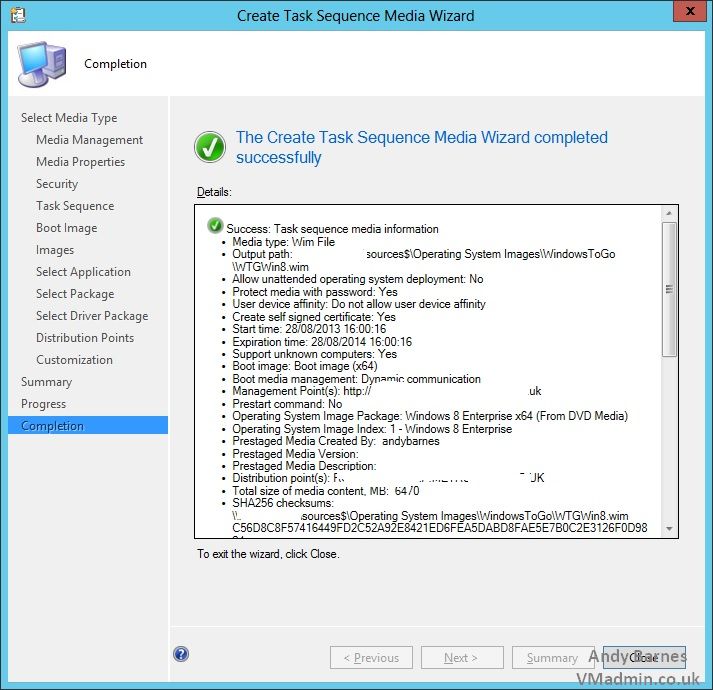
16. Your prestaged .WIM image has now been created in the location you specified.
17. Now we are phase 2, where we need to provision the Windows To Go drive from our SCCM prestaged media.
I'm going to assume you have your Windows To Go USB drive in hand and your going to do this on your client PC/laptop rather than the SCCM server (which might be virtual or physically in a DC).
18. Create a folder on your desktop called "WindowsToGo"
19. Copy your SCCM prestaged media .WIM file (created in the above steps) to this new folder.
20. Copy "WTGCreator.exe" from <SCCMInstallationDir>\OSD\Tools\WTG\Creator\ to your new folder.
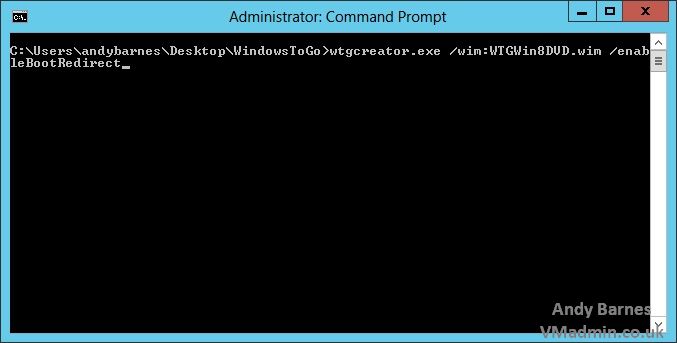
21. Open a ADMINISTRATOR command prompt (cmd.exe) and run the following:
wtgcreator.exe /wim:WTGWin8.wim /enableBootRedirect
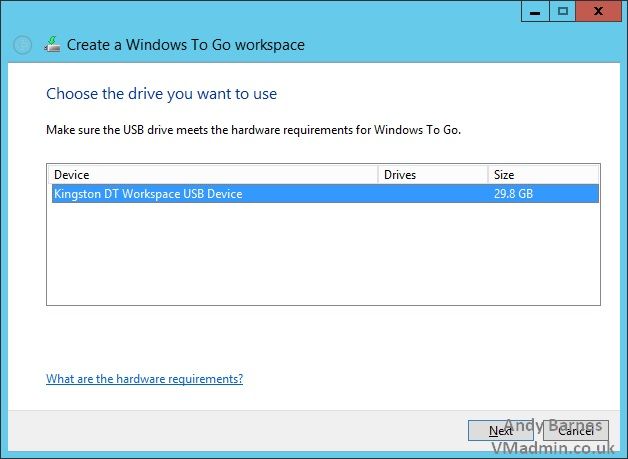
22. The "Create a Windows To Go Workspace" dialog will open.
23. Insert your Windows To Go certified USB drive, it will be detected momentarily, Click Next.
24. Your Windows To Go USB drive will be formatted, Click "Create".
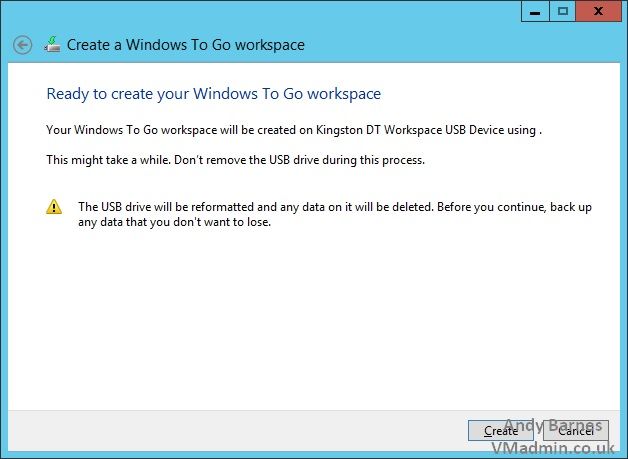
25. Your Windows To Go workspace will be created from your SCCM prestaged image.
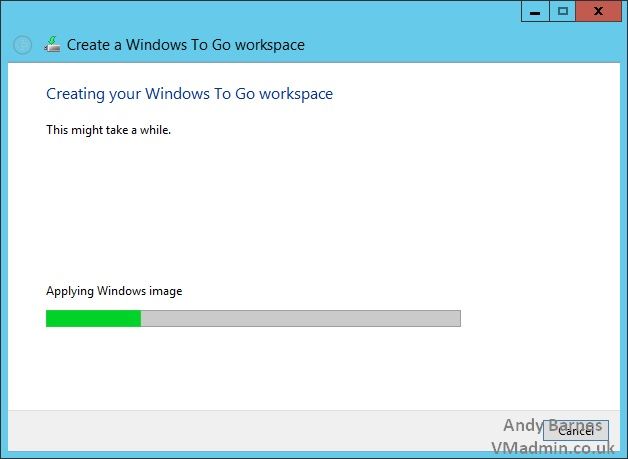
26. Once the image has been applied to the Windows To Go Drive you simply need to plug the WTG USB drive into the PC/laptop/tablet device which will be used with the Windows To Go workspace.
Upon doing so your task sequence will run, installing your drivers, applications, applying windows updates, joining the domain as per usual which will only happen once. It's important you let the task sequence run through otherwise you may have to re-create the Windows To Go drive again. Yes it will take 30 mins or so, whatever your task sequence normally takes to complete.
Share this blog post on social media:
Tweet


Latest Blog Posts
- vSphere 7 U1 - Part 3 - Creating a Datacenter, HA/DRS Cluster and Adding a Host
- vSphere 7 U1 - Part 2 - Deploying vCenter 7.0 U1 VCSA
- vSphere 7 U1 - Part 1 - Installing ESXi 7.0 U1
- Veeam CBT Data is Invalid - Reset CBT Without Powering Off VM
- View Administrator Blank Error Dialog/Window After Upgrade